Browsing Category

Quilting

Quilting topics such as patterns, projects and plans

Keeping it Simple

I’ve been working on a new project for about the last 4 weeks now. Oh golly. A month. Ok so I’ve been working on this new project for a month. I’m still not happy with it. The math keeps coming up wrong. It uses shapes that I cannot layout with my quilt design program (it’s based on part of a hexagon and part of a triangle, so at least not with minimal effort and I didn’t want to have to take six months to figure out how to use the program). So this one has to be done the REALLY old fashioned way of jump in and start making it and figure out what’s going wrong.

The first one was ok but had way too much negative space in it, so I started over.

The second design I like a lot. It is a bit fiddly but once you get going it’s not bad. Nice layout of the main block, not too much negative space but I can’t make it be square. The block isn’t square so the quilt won’t be square. It will be a close to squarish rectangle and that’s just a factor of the design.

I really wanted a square and I really wanted to map it out on the computer first, so back to the computer I go. Several hours of banging my head against the keyboard and looking at all of the options in the program later, I had something.

The third design was pretty flipping AWESOME except I didn’t realize that somewhere along the line I had traded my hexagon for an octagon, and had blithely gone about cutting out a bunch of pieces of fabric. Anyone who was at First Friday this month may have noticed that at one point I looked at what I had sewn and then very quietly just packed it all up and put it away. That’s because the mistake meant I was making 3 dimensional objects instead of a flat, 2 dimensional quilt.

Insert heavy sigh here.

Got home and Saturday picked out all of the sewing I had done Friday and returned my 3 dimensional objects back into flat pieces of fabric and tried to start over. About 20 minutes in, it hit me: why am I making this so hard? Why am I intentionally making a design that is going to be difficult to piece, and require a chart, and constant reference back to instructions? This project is supposed to be something fun that can be accomplished by any skill level, and something that can support socializing and companionship while being made. I don’t want that to be overly difficult, I want it to be relaxing and fun.

By now the fabric I had been working with was starting to look a little worse for the wear. It was starting to fray and two pieces were more than a little stretched out. I got on line and ordered a new layer cake to use in what will be the FOURTH version of the project. I can lay this version out on the computer. I’m *pretty sure* I can make this one square, like I had originally envisioned. Fabric and color will make the intricacy of the design, not the piecing. Ok this could work. But I’m still gonna have to make it to be sure.

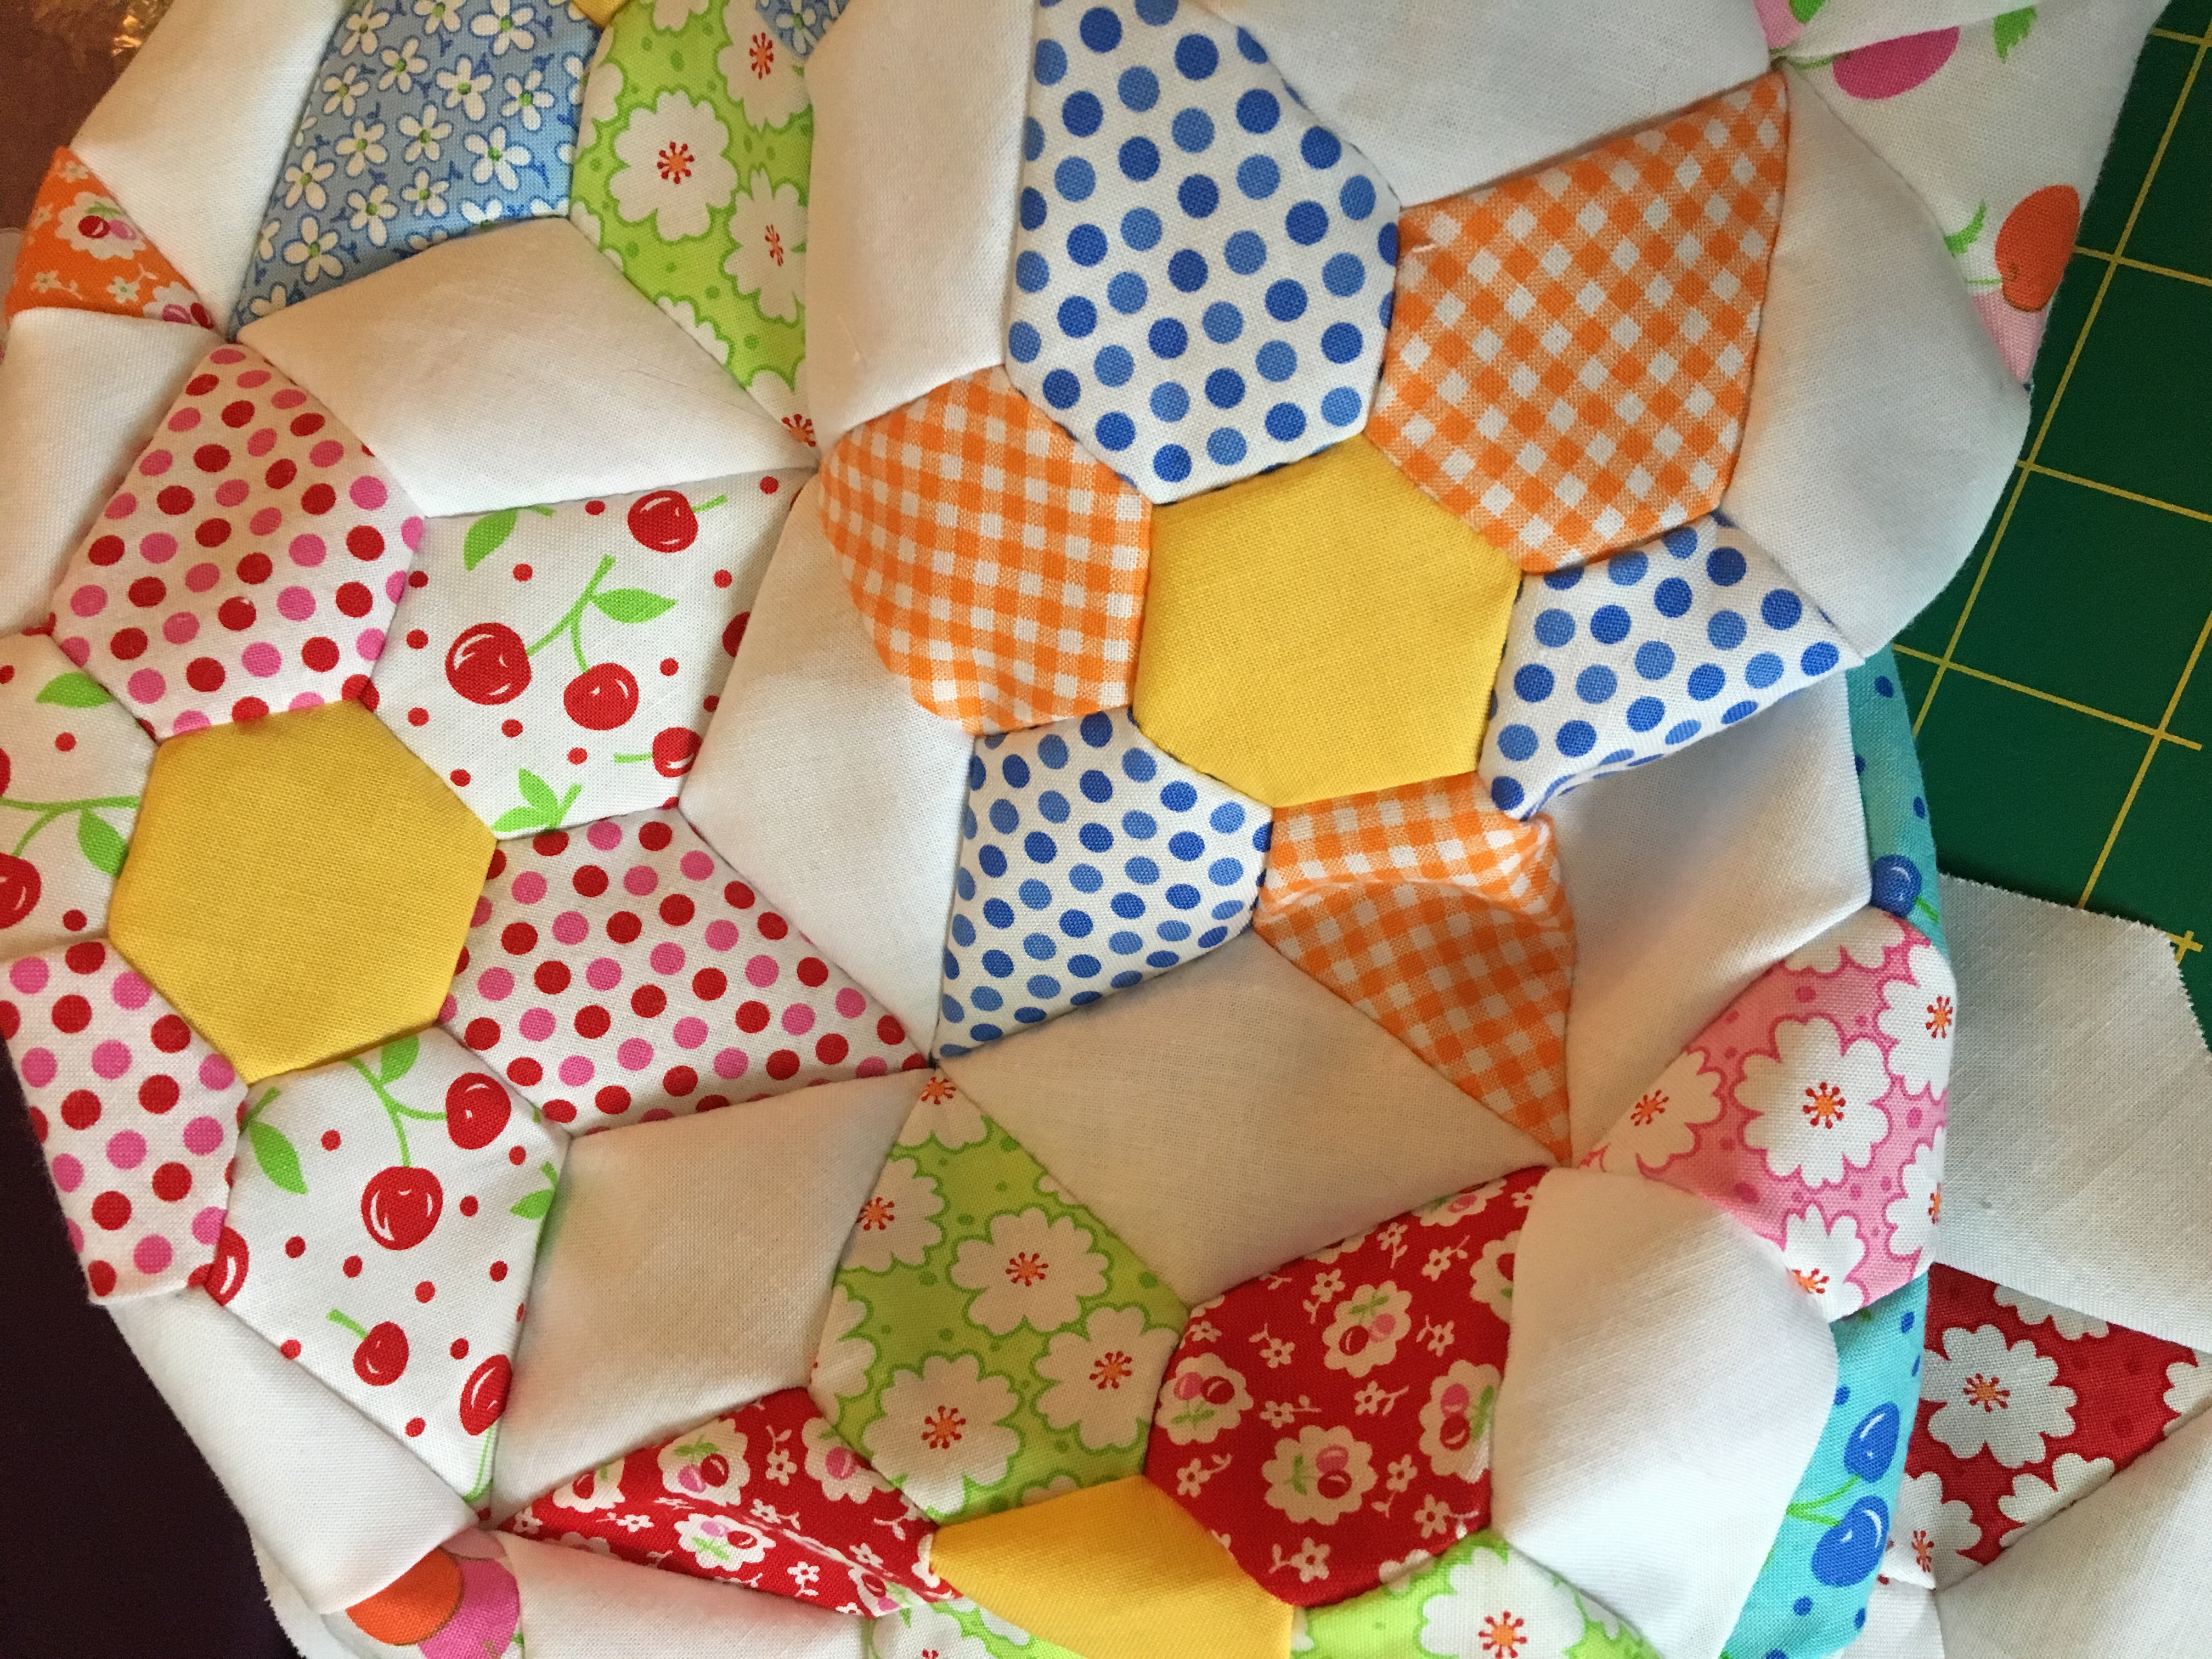
How often in life do I make things way more complicated than they have to be? Between my mental expectations and emotional expectations, I need to stop and look at what I’m working on and look at what will do well in the situation, not so much what I’m trying to get out of it. I’m still pondering this, and trying to figure out how to put it in practice, but I now have two small pieced quilts to give me a reminder of this.

Habitual Habits

Habits are funny things. They setup camp deep in the psyche and are difficult to budge. I have some good habits. I cannot drive a car if I do not have a seatbelt fastened. It’s odd but it’s there. I also can’t go to sleep without taking off my mascara. I’ve tried and it doesn’t work.

On the flip side of that I have some bad habits too. I scatter shoes all over my house. ALL OVER my house. The only improvement I’ve made to that habit is that I at least keep a pair together, it used to be so bad, my dog was trained to find the mate to a shoe for me. Why is it so easy to make bad habits, and so difficult to make good habits. I would think the mechanism is the same, but the bad habits just seem to stack up without a second thought, and making good habits is like running a marathon.

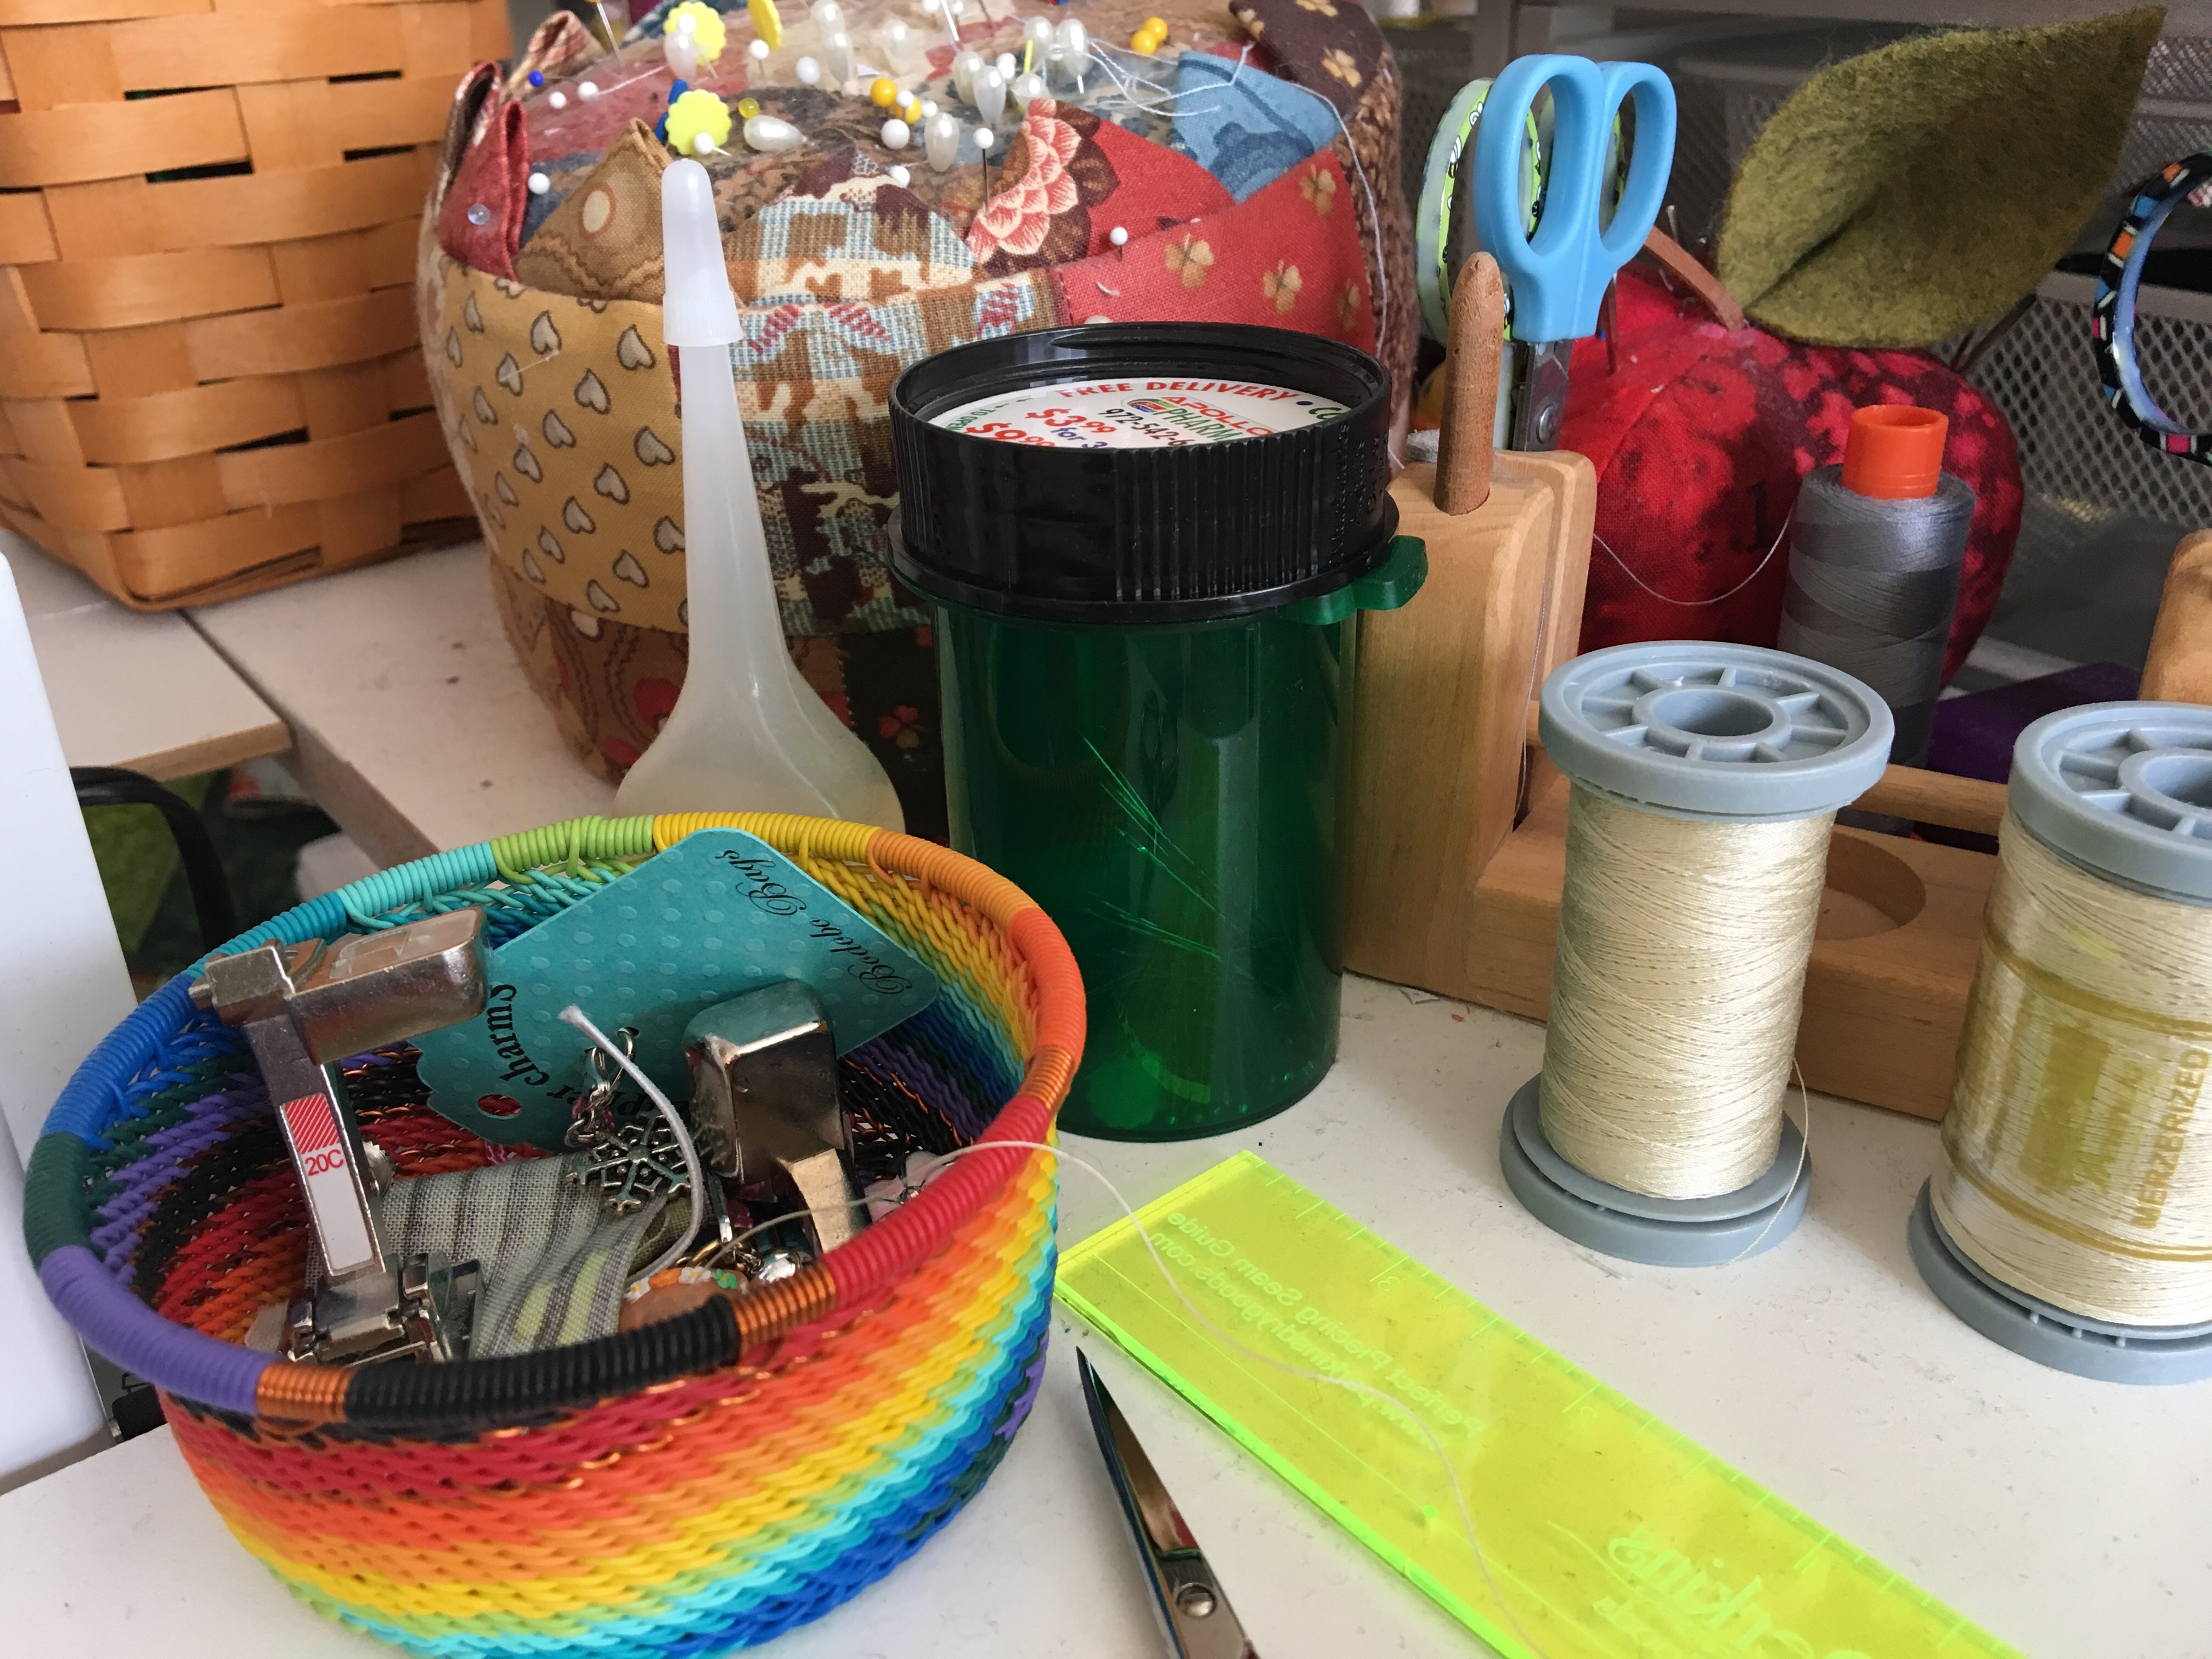
Sewing has a lot of possibility for habits. When changing the thread on my machine, I cut it at the spool on the top and pull the thread through from the needle. It can damage the tension discs to pull the spool off the machine, thus pulling the thread backwards through the discs, they are not designed for that. I also put bent pins and used machine needles in an empty pill bottle before putting them in the trash. That way they can’t poke through the bag or worse poke me when taking out the trash.

I have noticed in my life that when there is a reasonable explanation for doing something a certain way, I develop the habit fairly easily. I give you the seatbelt, thread and needle examples above. All three have an element of safety (2 for me, 1 for the machine) so those are easy for me to do. So far I have not found a reason to put my shoes away. I guess if I tripped over them I might find a safety factor but so far I’m not there, so they stay scattered all over the house.

I’ve been looking at my stash and my sewing room and realizing I could make some better habits there, but again, without a safety factor, I find it difficult to do. Putting things away so they are neat is NOT my jam. LOL. Putting things away so I can find them later is slowly gaining some momentum. I have been slowly making a specific place for things so that I can find them and I’m getting better about keeping that up. It keeps me from wasting a lot of time looking for stuff when I don’t have a lot of time to sew anyway.

I’m going to keep working on my habits, the good ones make our lives better, and the bad ones are an opportunity for personal growth. Except the shoes. I don’t think that’s going to change.

I love a good mystery!

I’ve been involved with mystery quilts almost as long as I’ve been quilting. My first one was very interesting. It was actually a huge misunderstanding. I thought I was going to read a mystery novel and make a quilt that somehow coordinated with the novel! Oh my goodness. I also had no understanding of light/medium/dark in fabric, and based on the finished quilt, I had one light and all the rest were darks. So that translated to almost no contrast in the quilt at all.

Fast forward about 10 years and I started designing mystery quilts for a local guild. I never forgot that first experience I had, so I tried really hard to make sure there was enough information in the fabric selection instructions that students would get a quilt that they liked. I try to specify which fabrics really need to have a high contrast from other specific fabrics.

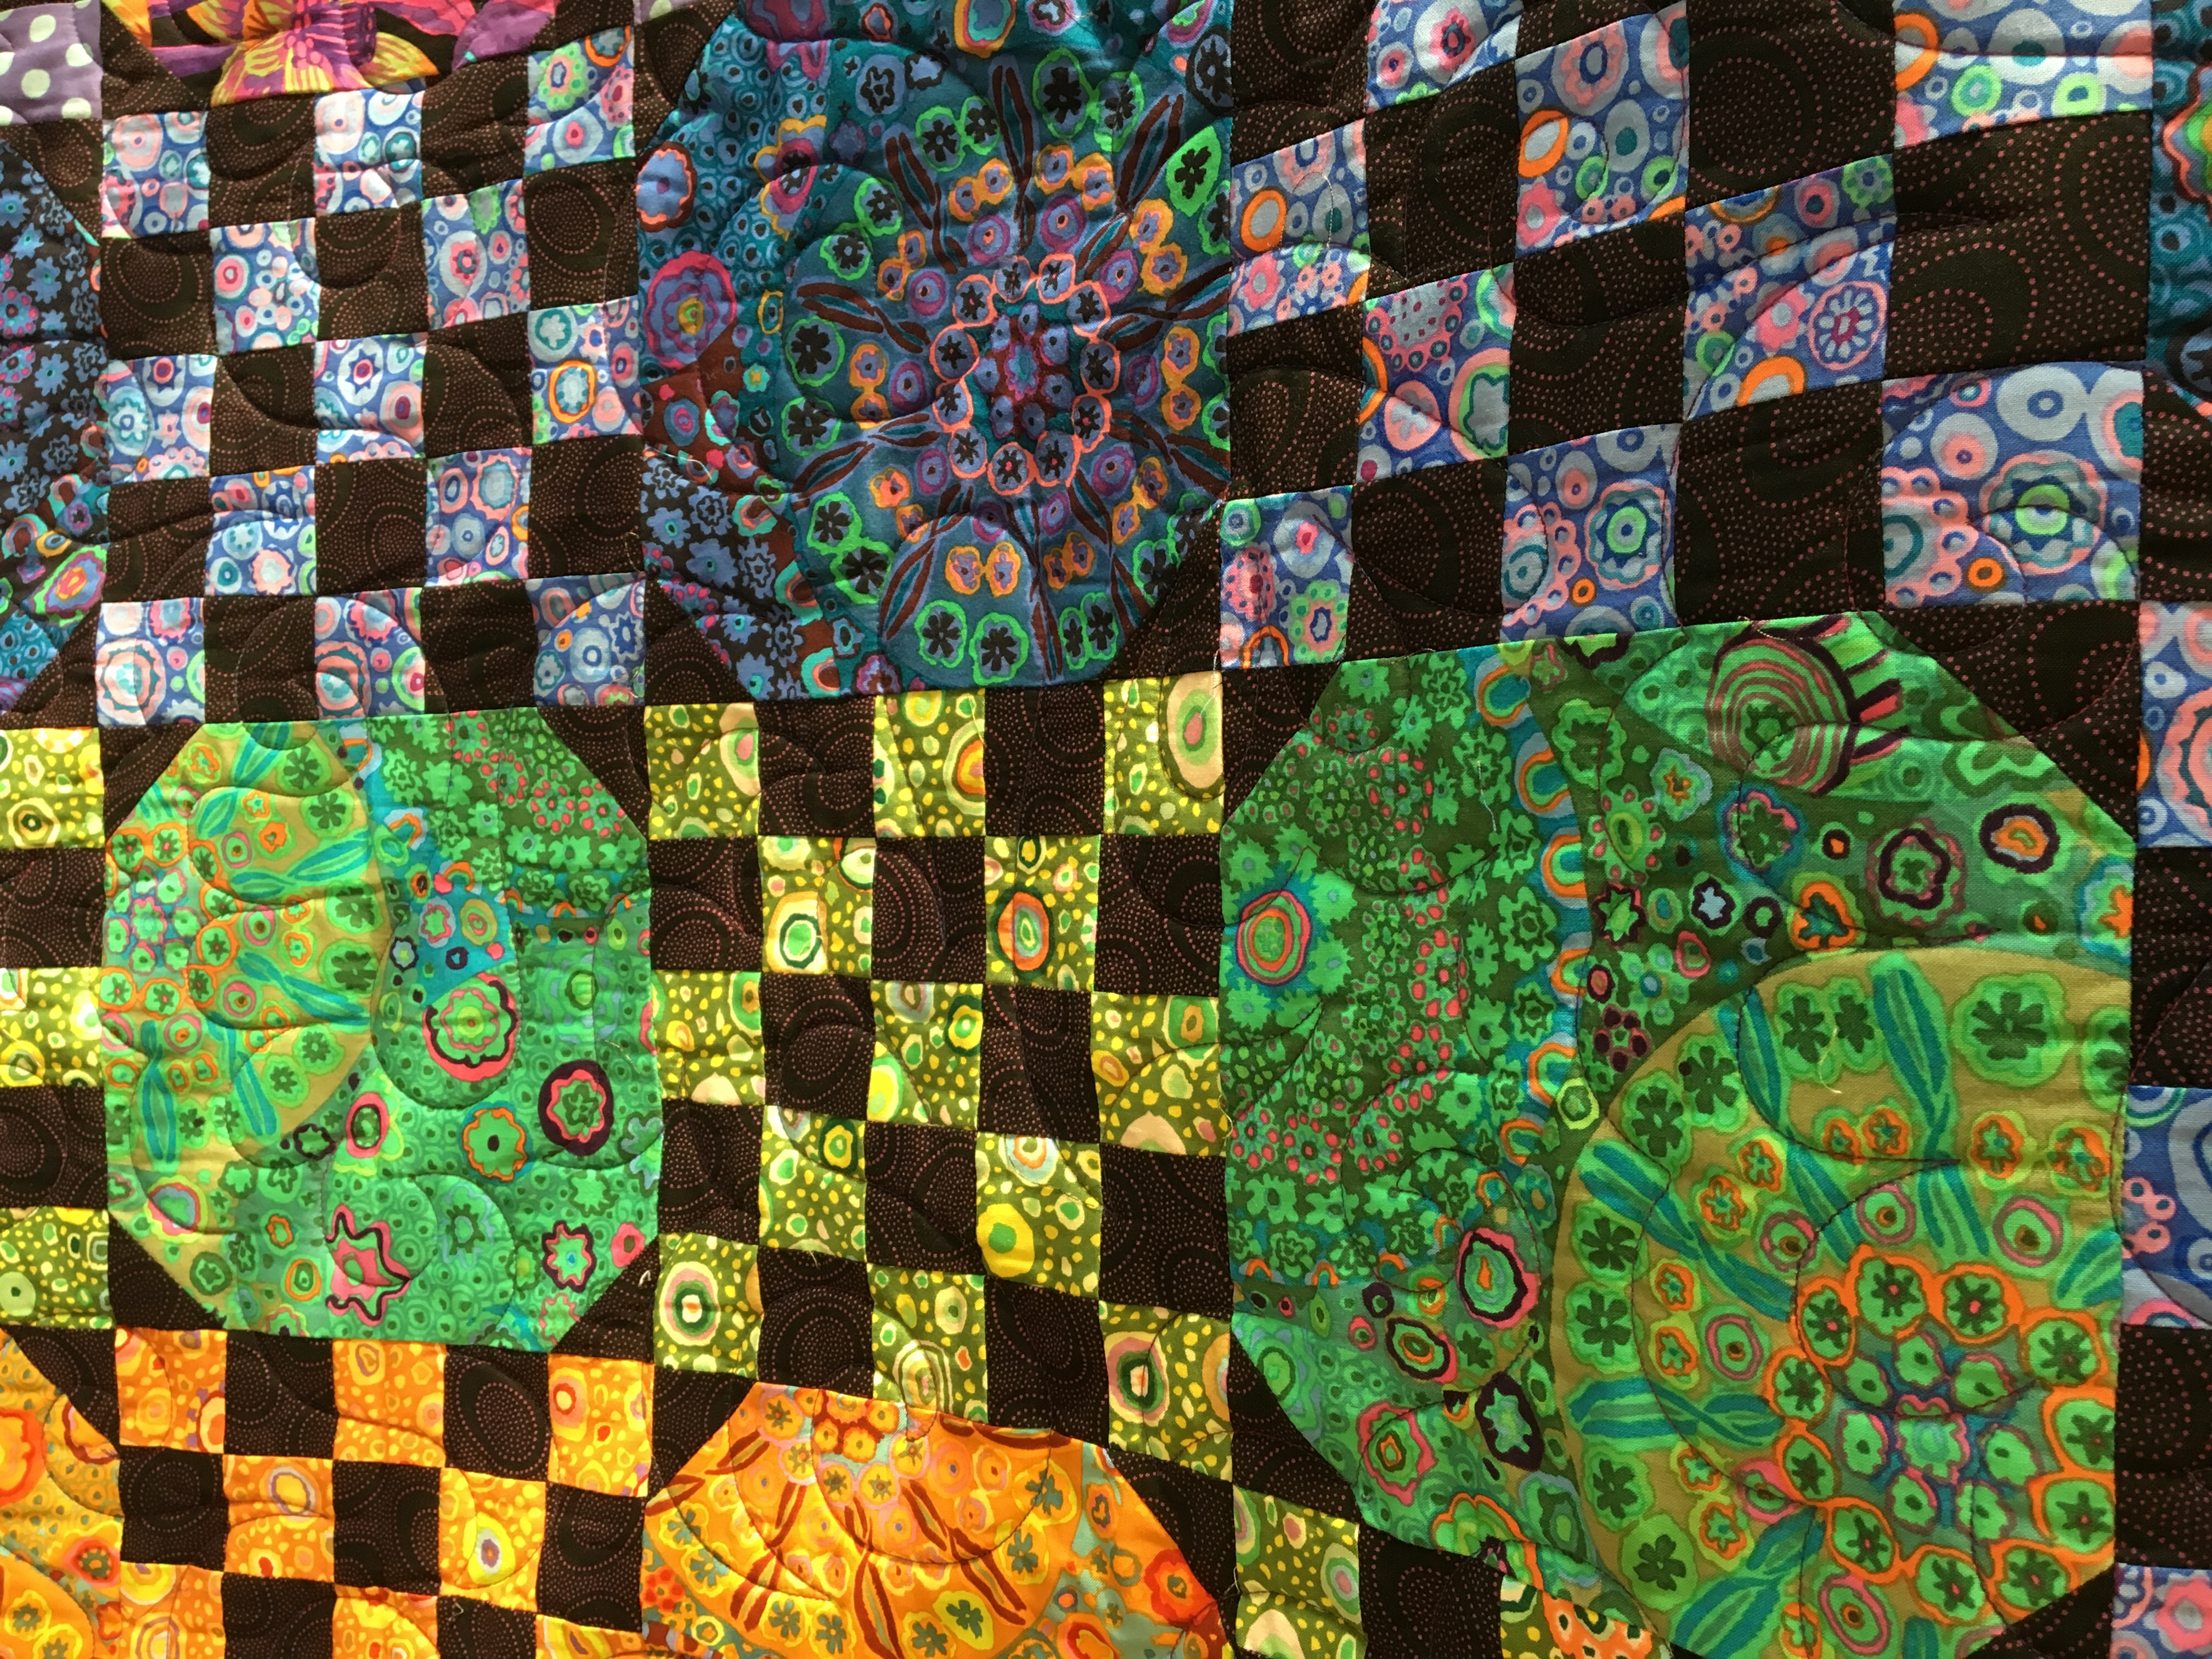
I also tried to give a selection of sizes to make for the mystery, I can see where it can be daunting to throw yourself into a queen sized quilt when you have absolutely no idea where you are going to end up. I did that last year with the Kaffe Fassett Mystery in 2018. I think I got really lucky – I picked the darker color way and I like the end result. I would not have been happy with the lighter color way, but that’s just how I’m wired. It’s a big quilt (82×82) for not knowing how it was going to turn out, but I like it.

I’ve been asked to design a new mystery this year, and I’m really enjoying the process again. Some things are constant – I like stars a lot and I still like to use them in a mystery. Some things have changed – I really really like scrappy quilts, the scrappier the better and that can be a challenge to use in a mystery quilt if people aren’t expecting that. The audience contains a lot of newer quilters who don’t have The Stash Of The Ages in their sewing room to pull from. So it can be a little scrappy but needs to support someone who is buying all the fabric for the quilt. I still like large quilts but I’m trying to keep this one smaller than a twin size so that it’s not overwhelming for a new quilter. A lot of folks would be shocked if the first clue were to sew 864 half square triangles….

Right now I’ve got three possible designs out there and I keep tweaking them a bit and coming back to the same one as my favorite. I really hope it gets picked for the project. Soon it will be time to break down the steps and write the instructions then it’s time for: Come, Watson! The game is afoot!

Backing a Quilt

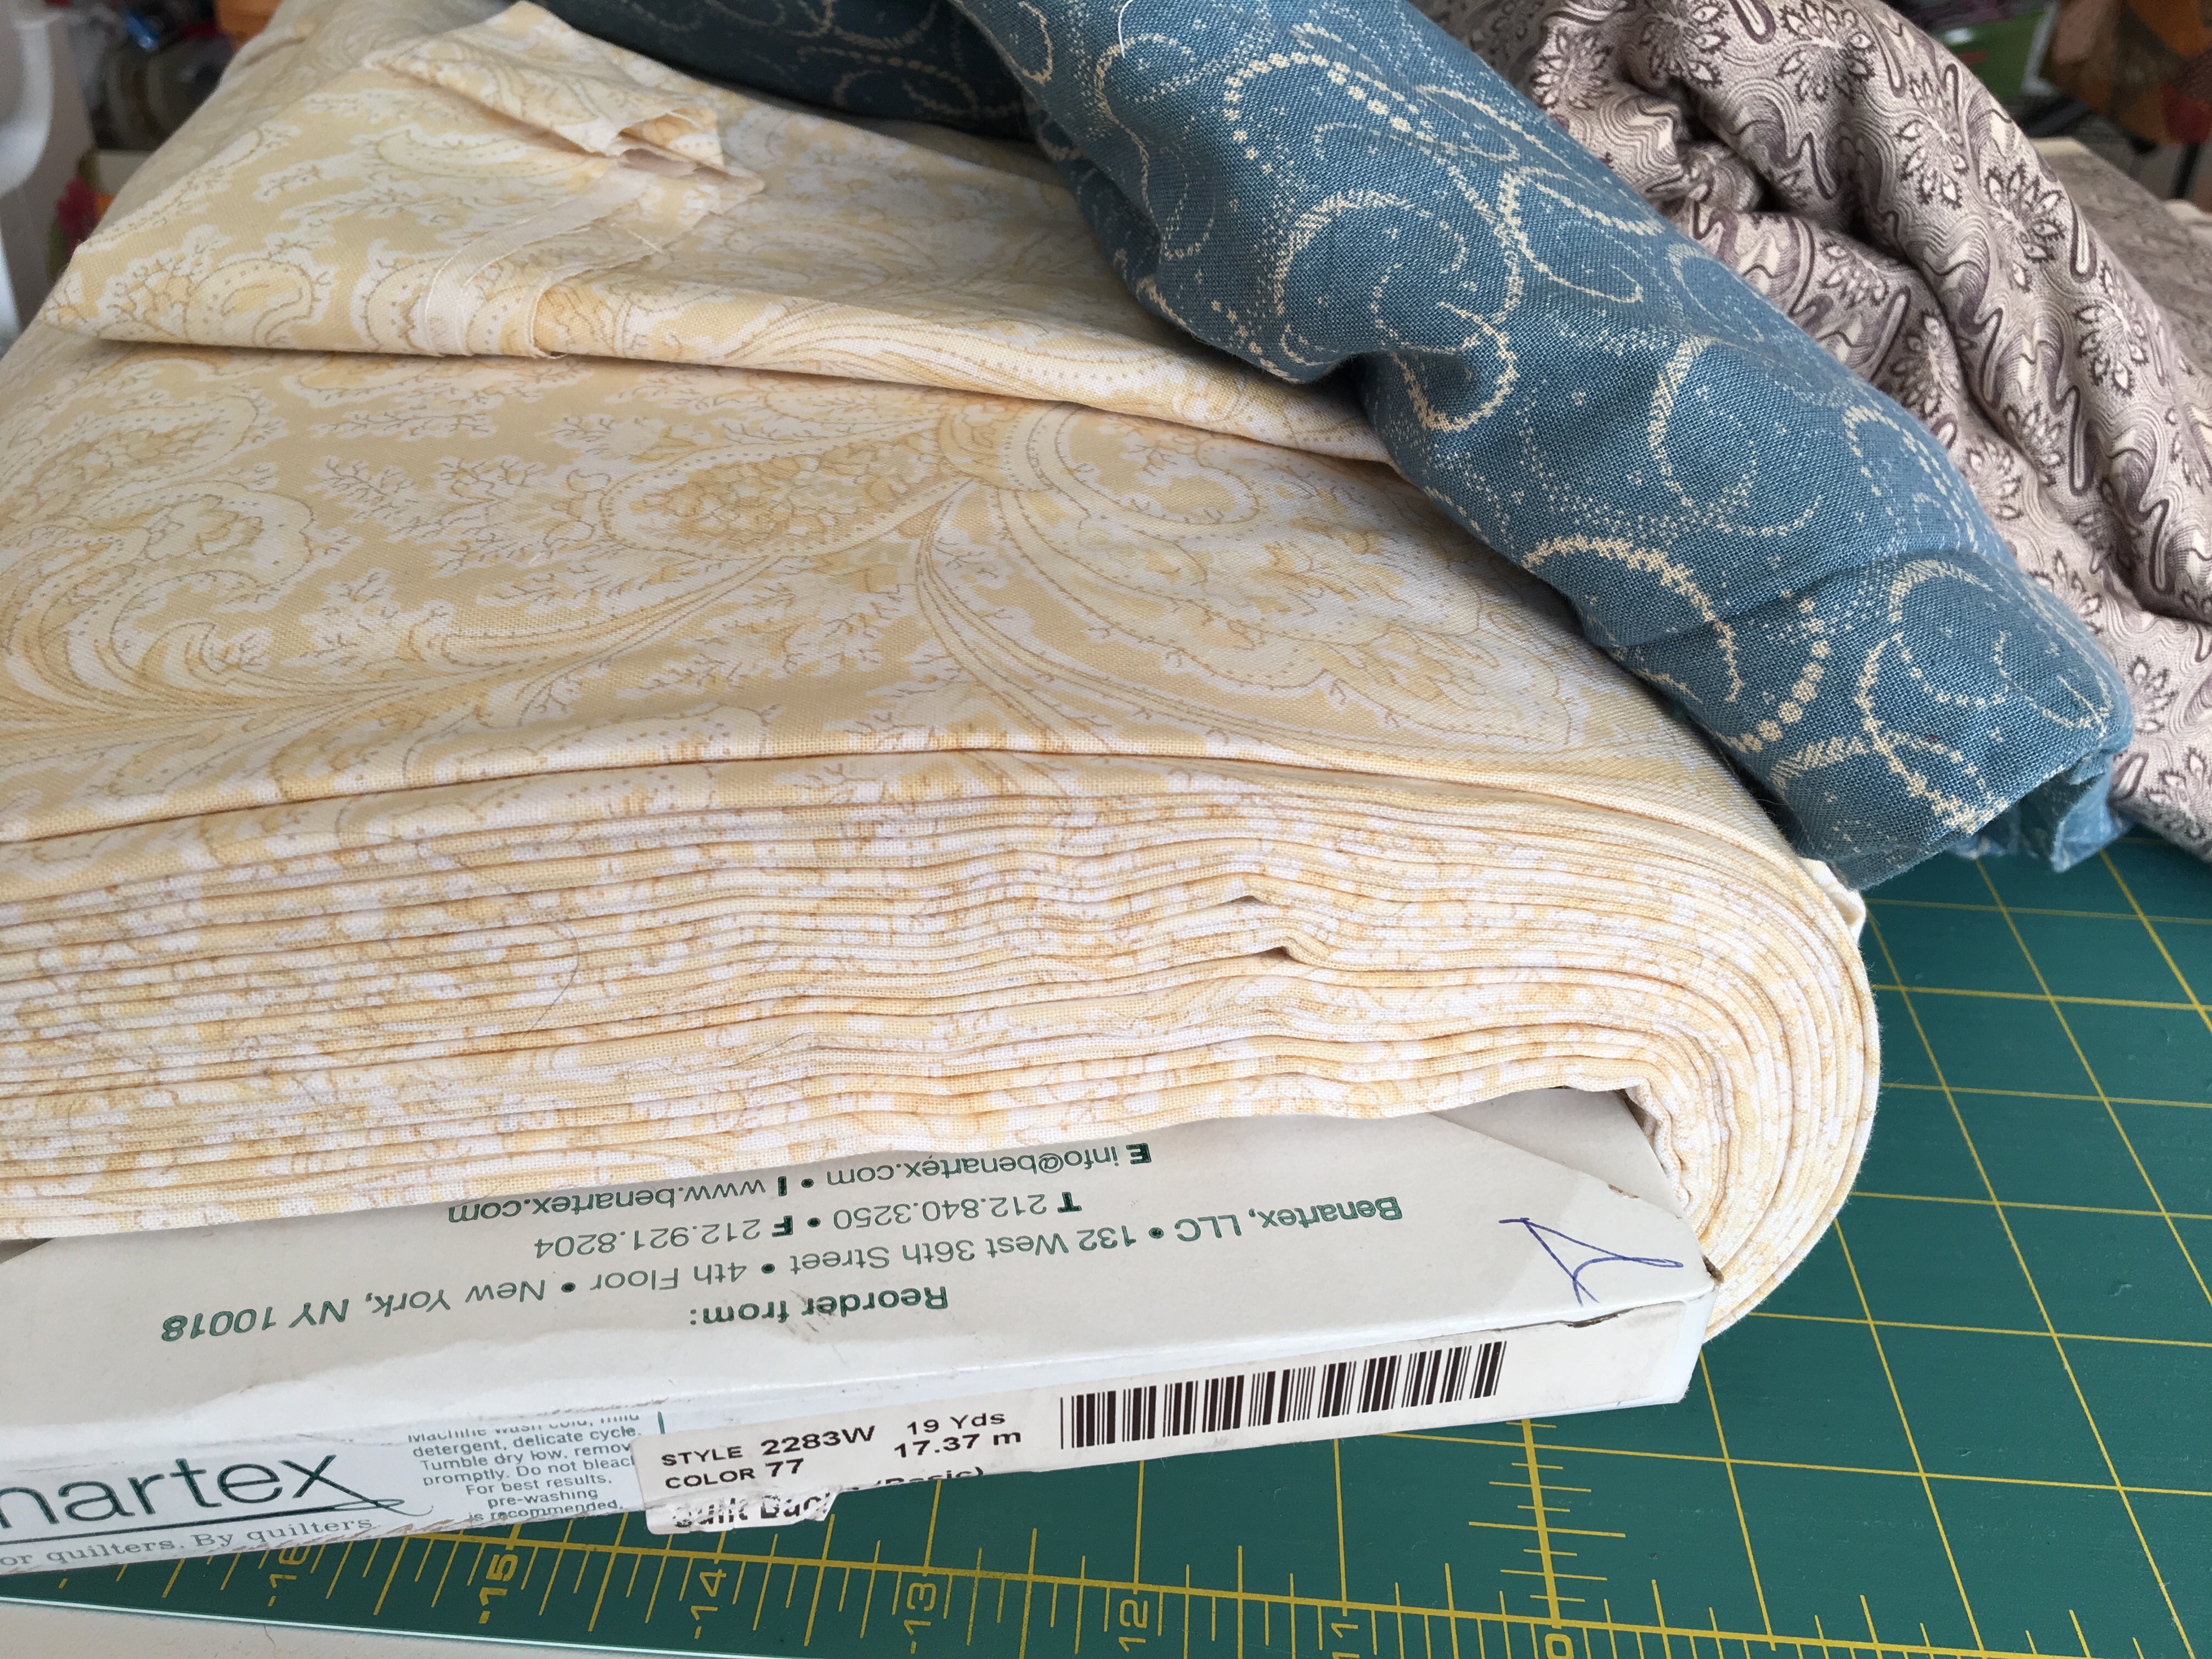
Now that I’m doing a lot more quilting, I’m in need of a lot more quilt backs. I’ll be honest, I’ve been a fan of the 108″ wide quilt back fabric since it came out, but let’s back up a minute.

I have noticed that quilt backs are about as diverse as the quilting community is. There are those who want the back to coordinate with the front. There are those who want the back to be randomly pieced from leftover fabric from the quilt top. There are those who just really don’t care what is on the back of the quilt. I fall into the latter category. I’m trying to have a decent fabric on the back that will stand up to washing and after that I don’t have much of an opinion. I don’t care if it matches, and I’ve found lately I’m even going in the opposite direction, making sure the quilt back is about as different from the quilt as I can get it.

I also want it to be easy. I don’t want to spend as much time piecing the back as I did the front. I also don’t want to have to try to center the top on the back so that it is as regular as the quilt – again, way too much work for me. I do take the time to split 45″ wide fabric so that I have two seams across the back instead of one in the middle. That way I’m not folding the finished quilt where the seam sits, causing more wear, but outside of that I really don’t do much piecing at all on the back.

There’s also a technical reason I don’t like pieced backs all that much: the give is different. When you piece, the more pieces there are, the more give (or stretch) there is in the piece. If I insert a strip of pieced blocks in the middle of a quilt back, those are going to stretch in a very different manner than the large pieces of fabric above and below them. This can affect how that part of the back lays as it is quilted and how it looks. I know a lot of long arm quilters who aren’t bothered at all by this, but it’s yet another thing for me to manage while I’m working the whole quilt.

One of these days I really dream that I will have enough time to deal with all of this and make intricately pieced backs to go along with my quilt tops. It would get more fabric out of my stash and being used for sure. I will probably still take great delight in making the back clash a bit with the front, that’s like my own inside joke and that’s not going to change, but for now, 108″ wide backs get me across the finish line, let me focus on getting to know my CAD software better, and get more things out of the UFO pile so that’s where it is.

One of these days I will be confident enough in what I’m doing

Quilt as Desired….

How many quilt patterns have I had over the years that give detailed instructions for piecing the quilt top, then end with the sentence “Quilt as desired.” I think I’ve even used it in some of my own patterns if I’m very honest about it, despite the fact that these words are almost useless to the quilter. Of course the quilter can quilt it as desired. You don’t buy a pattern with a legal requirement to only quilt the quilt a single way, that would be silly. So yes, quilt as desired, but what does that mean to you?

When I really started quilting seriously in the early 90’s, machine quilting was done on your home sewing machine, long arm quilting machines were just coming onto the scene, and ‘real’ quilting was still done by hand. I remember how hard it was to get long arm quilting accepted by quilt shows, whereas now they give special awards for machine quilting. My how times do change. Even though things are different now, there are a handful of useful guidelines to help you figure out how you desire to quilt your quilt.

When I’m looking at a pattern I usually take into account the quilting. If the quilt top is very intricately pieced, with very little negative or background space, most detailed custom quilting is going to be completely lost unless you get right up on top of the quilt to see it. The thought of doing intricate custom quilting where nobody will notice seems like a waste of effort to me. That being said, picking an edge to edge or all over pattern that compliments the quilt can be tricky too. There are so many to chose from. I have noticed that for pieced quilts, I like very rounded and flowing E2E designs. I like the contrast of the straight lines in the piecing with the fluid lines of the quilting and how that looks on a finished quilt. A quilt with a more modern design, though, can really benefit from an angular quilting pattern, including matchstick quilting or very narrow parallel lines.

In the realm of custom quilting, the idea is that the quilting enhances the quilt design helping to accentuate the pattern, which is very subjective to the quilter. The one point that I think matters a lot is that the density of the quilting is very even across the quilt. I say this for two reasons. 1) if there are giant areas that are not quilted and other areas that are heavily quilting, you will have a really difficult time getting a quilt that lays flat and square after it’s washed. 2) if you are putting the quilt in a show, a large range in quilt density can make it look like you ran out of time or ideas before you finished quilting the quilt. I have had this issue in the past. I am really intense in my quilting in the center of the quilt and by the time I get to get borders, I’m late and I’m tired and I do just enough to anchor the fabric. It always ends up looking unfinished in the end and I’ve always regretted not doing more work to finish out the quilt.

The other aspect of quilting is in regards to the use of the quilt once it’s finished. If it’s going to sit in the backseat of my car for my dog to sit on, it may not need to be custom quilted, BUT that quilt would be an excellent opportunity to practice new skills where the outcome doesn’t matter to the stated purpose of the quilt. Your dog is not going to judge you on the quality of your custom quilting job and it’s a chance to learn new skills. In a lot of cases, quilted and bound is more important in my world than how it is quilted. I would love to get caught up enough to the point where I could chose to do a lot of detailed work on a quilt, just for me to enjoy at home, but I’m not to that point yet. Close but not there. I am on the edge of wanting to do more custom quilting and I’m sure I will do several tops, not because they have to have custom quilting but just because I need the practice and experience.

This is one area where looking at magazines, or Instagram or Pinterest can really help. You can look at a variety of quilts and see all the amazing ways that other quilters have chosen to quilt them. If you find a designer or quilter that produces work you really like, look at their posts carefully, see what kind of a style they have and how you can incorporate those ideas into your own quilts. There are also some really good skill building books on the market for custom quilting – Angela Walters has written some amazing books with instruction on how to do some of her more popular designs.

As with a lot of aspects of quilting, this comes down to some amount of talent coupled with a WHOLE LOT of practice. We won’t get good at it without doing it regularly. I keep telling myself that I will not be good at custom quilting if I never do any custom quilting. I just need to get a little farther through my pile of UFOs….

Out of the frying pan, into the fire

About two months ago, I replaced the CAD system on my long arm machine and have been thrilled to pieces with that decision. I have quilted 6 quilts in the last two months. Which is fantastic. My goal was 1 quilt a month. I’ve made up for the first part of the year and then some. I’m all excited about this development until I looked around the sewing room.

Where there had been a pile of tops that needed quilting, now there is also a pile of quilts that need binding. I did not see that coming at all. I was so focused on the bottle neck of getting tops quilted, that I didn’t think at all about the subsequent need to get a binding on them. Granted binding is a lot faster to complete than quilting is, but still, it’s another step.

My background is in Industrial Engineering, which is all about process evaluation and improvement. I have seen many times in my work life, where addressing a bottleneck in a process, just uncovers that the next step is not optimized, but you don’t see that because the bottleneck ahead of it, throttles things down to where that step looks just fine. I have seen this enough times, I should have seen that this would be the case if I started quilting a lot faster than I had been, but no, this was a big surprise this weekend.

The good news in all of this, is that the new system does not require me to hover over it constantly waiting for it to have an issue. I can step away a bit, so now it looks like what I need to do is set myself up so that while I’m quilting something, I’m putting a binding on something else. Honestly the bulk of these will have binding finished by machine anyway, so I should be able to get through these fairly quickly. The key will be not letting a giant pile stack up of ‘to be bound’ quilts so that I face that mountain.

This whole situation has me thinking a lot about unintended consequences. We get so focused on one thing in life, that we don’t always think through all the things it might impact. Especially if the item is a proverbial burr under the saddle, we just focus on dealing with that one thing, and when that one things is settled, only then do we look around to see what effect it has on everything else.

This really is a good problem to have. I’m thrilled that the new system has proven to be so easy to use and that I can be so productive with it. I’m only getting started at using the full functionality so it will just get better. This is a good problem to have, to have it be so straight forward to quilt an all over pattern that looks so good that I’m cranking through quilt tops. It will slow when I start doing custom work, but even that is an EXCELLENT problem to have as I wouldn’t have even considered doing custom work with the old system (I did some but the system couldn’t do what I wanted to do, it’s not designed that way). More room for growth and I’m sure there will be a different unintended consequence from that but I’ll keep focusing on the positives and keep working those bottlenecks one at a time….

Binding that looks continuous on a quilt

I love binding quilts. It’s the last step before you can yell TA-DA! And hold up your finished project. Attaching binding has been a fairly straight forward process except the start stop point. I’ve tried a number of different methods, but they always were very obvious as the start/stop when looking at the quilt. At best, it was a straight seam instead of a bias seam, at worst it was a giant lumpy mess where there should have been a smooth transition.

A few years ago I learned how to get a bias seam that matched all my other binding seams so that you couldn’t tell which one of those seams was the start/stop of attaching the binding, and I get this effect without math or any kind of special tool so I thought I’d share it.

I prepare my double fold binding the same way for every quilt. It doesn’t matter how wide you make your binding, nor does it matter if you are using bias binding or straight of grain binding, this technique works the same way every single time. I hope you find this tutorial useful. This is the most ambitious tutorial I’ve written so far, and I’ve tried to include enough pictures to illustrate each point.

Hiding the start/stop point of the binding with a bias seam:

Start attaching your binding leaving about a 12″ tail of binding, and start in the middle of a site. For mini quilts, I start right before the corner as I need about 18″ of space on the side to make this technique work.

Attach the binding the whole way around the quilt, mitering the corners as you go. When you get back around to the side where you started, stop sewing leaving yourself about an 18″ gap with no binding attached at all.

Square up the end of the binding where you started leaving the tail about 9″ long

Cut the ending piece of binding so that it over laps the starting piece by how wide it is. I use the piece I cut off from the start as my guide so I don’t have to remember how wide the strips were cut for that particular binding. I actually make this cut just a tiny bit less than the width

Overlap compared to width of binding strip

Using the piece I cut off to gauge where to trim the ending piece

Closeup showing how it’s just a tiny bit less than the width of the binding

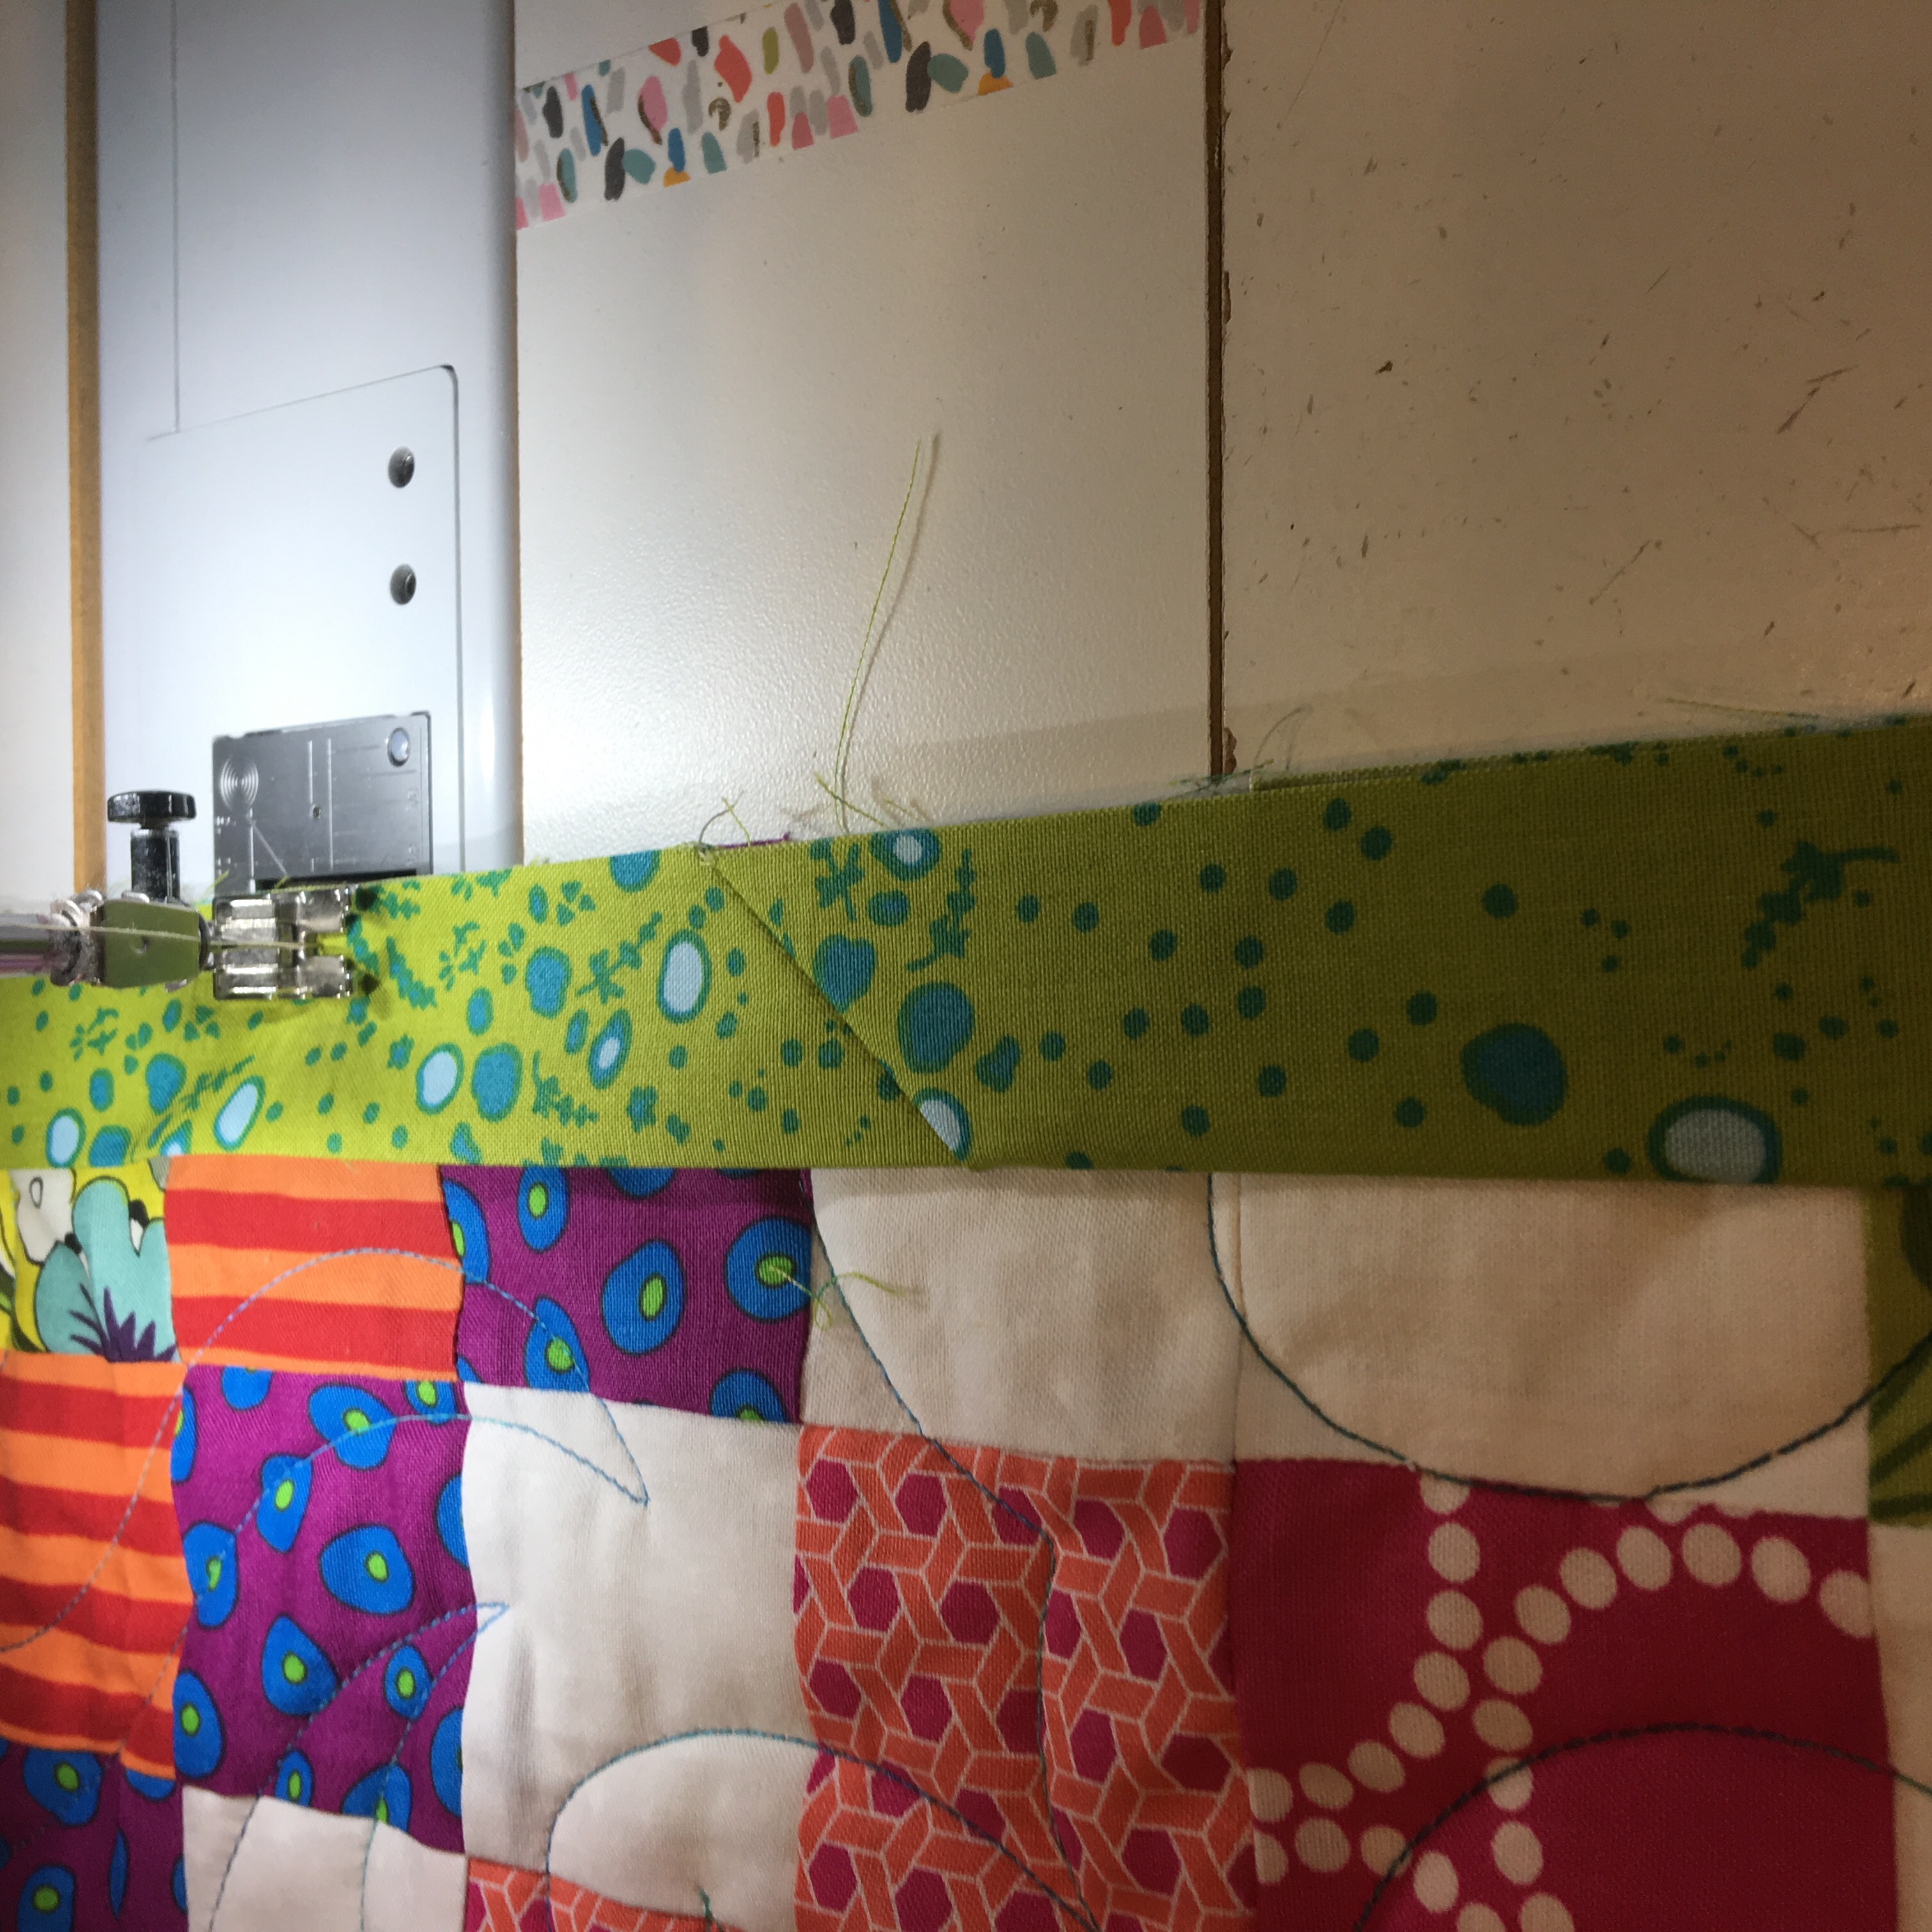
Next I open up both the start and ending binding strips and lay them right sides together at right angles. I find using two pins here is very useful, you will be sewing from the top outside corner of the top piece to the bottom inside corner of the underside as shown in the picture below.

Binding pinned right sides together ready to sew together with a bias seam.

Once the seam is done, I take the pins out and before I trim anything, I smooth the binding flat to make sure the seam goes the right direction and that I don’t have a twist in either piece.

Binding smoothed out to confirm seam is correct and there’s no twist.

Trim the seam so that there is only a 1/4″ seam allowance left.

Smooth the binding out so that it is folded and lays flat and attach the remaining gap to the quilt top. The start/stop point of the binding will now be a bias seam just like all the other seams in the binding.

Start/Stop bias seam for continuous binding.

When chain piecing becomes meditation

Meditation has been around for ages, and is very commonly addressed in our busy modern world. There are applications for my iPhone for mediation. I can take a yoga class to work on meditation. I can sit in stillness and block out the world. Okay, well if you have met me you know there’s no way I’m doing that last thing, but I understand the value of meditation and over time I am finding more and more that my quilting and knitting tap into a very old form of meditation.

If you are like me and cannot get into the stillness aspect of meditation (my mind will wander or I will fall asleep, neither of which help to achieve my goal) there is another form of meditation that uses repetitive physical motion to calm. Some methods involve walking a prescribed path but anything that has a motion that is repeated will work. I have found that both knitting and chain piecing in my quilting have repetitive motions that help me focus on the now, block out the world and find a sense of calm.

Specifically chain piecing in quilting brings me that sense of calm. Have 244 4 patches to sew? Great! That’s relaxing to me. 186 half square triangles? No problem! After the first few pieces, to make sure my stacks are setup right and that I can slide into production mode. As my hands make the same movements over and over, and as my eyes see the same scene over and over, I can unplug my brain and let it wander a bit. Let it go off leash, as it were. The more pieces I have to do, the deeper I can let my brain go on a subject. Over the years I have worked through some fairly big issues in my life, letting my brain sort around for solutions while I’m only half way paying attention to what it is doing.

I find a similar situation when I am knitting. Get me to a part of a project where there are just endless rounds of stockinette and I can achieve the same levels of mental calm. That’s one of the reasons I don’t chose to do horribly intricate knitting projects, those only add to the stress level, where as just sitting and knitting, like on a pair of socks, is a way for me to truly unwind my brain at the end of a long day.

The trick now seems to be always having some kind of project laying around that provides this level of repetition when I need it. I’m considering making a postage stamp quilt out of 1.5″ squares. That should give me some good fodder for chain piecing meditation. That and always keeping a pair of socks on my knitting needles….

When to give in and upgrade

We see new things coming out in sewing machines all the time. New features, new stitches, new presser feet, every year there’s something new. Bigger, better, faster, more than what we have at home. The two main barriers for me to upgrade are cost and learning curve. I want to use an item enough to get my money’s worth, and once I have figured out to use something, whether sewing machine or computer, I am loathe to start that process all over again just for new shiny.

I got my long arm in 2006 and we quickly established a tentative relationship. Bessie was always in charge. If Bessie didn’t want to sew, we didn’t sew. Over time I learned that she was very particular about ambient temperature and humidity and as I kept the environment to her liking, things went better. Honestly you could say the same thing about me. Just get it 52 and dry and I’m a grumpy individual. So we got to where we did pretty well together but I wanted more. Instead of upgrading Bessie, I added a computer control platform to her.

Here was another huge learning curve and not much instruction available. I learned to do the basic stuff and kept at it. I was able to take a class on line which helped clear up some confusion, but it always seemed to be counter intuitive and there were always issues. Always. I keep a notebook of every quilt I have quilted. I note size, thread, needle, quilting pattern and notes on how it went. I only have a small handful of quilts that sewed off without a single hitch. It was a very frustrating and defeating journey. (And no I am not going to name that software program, that’s not what this post is about).

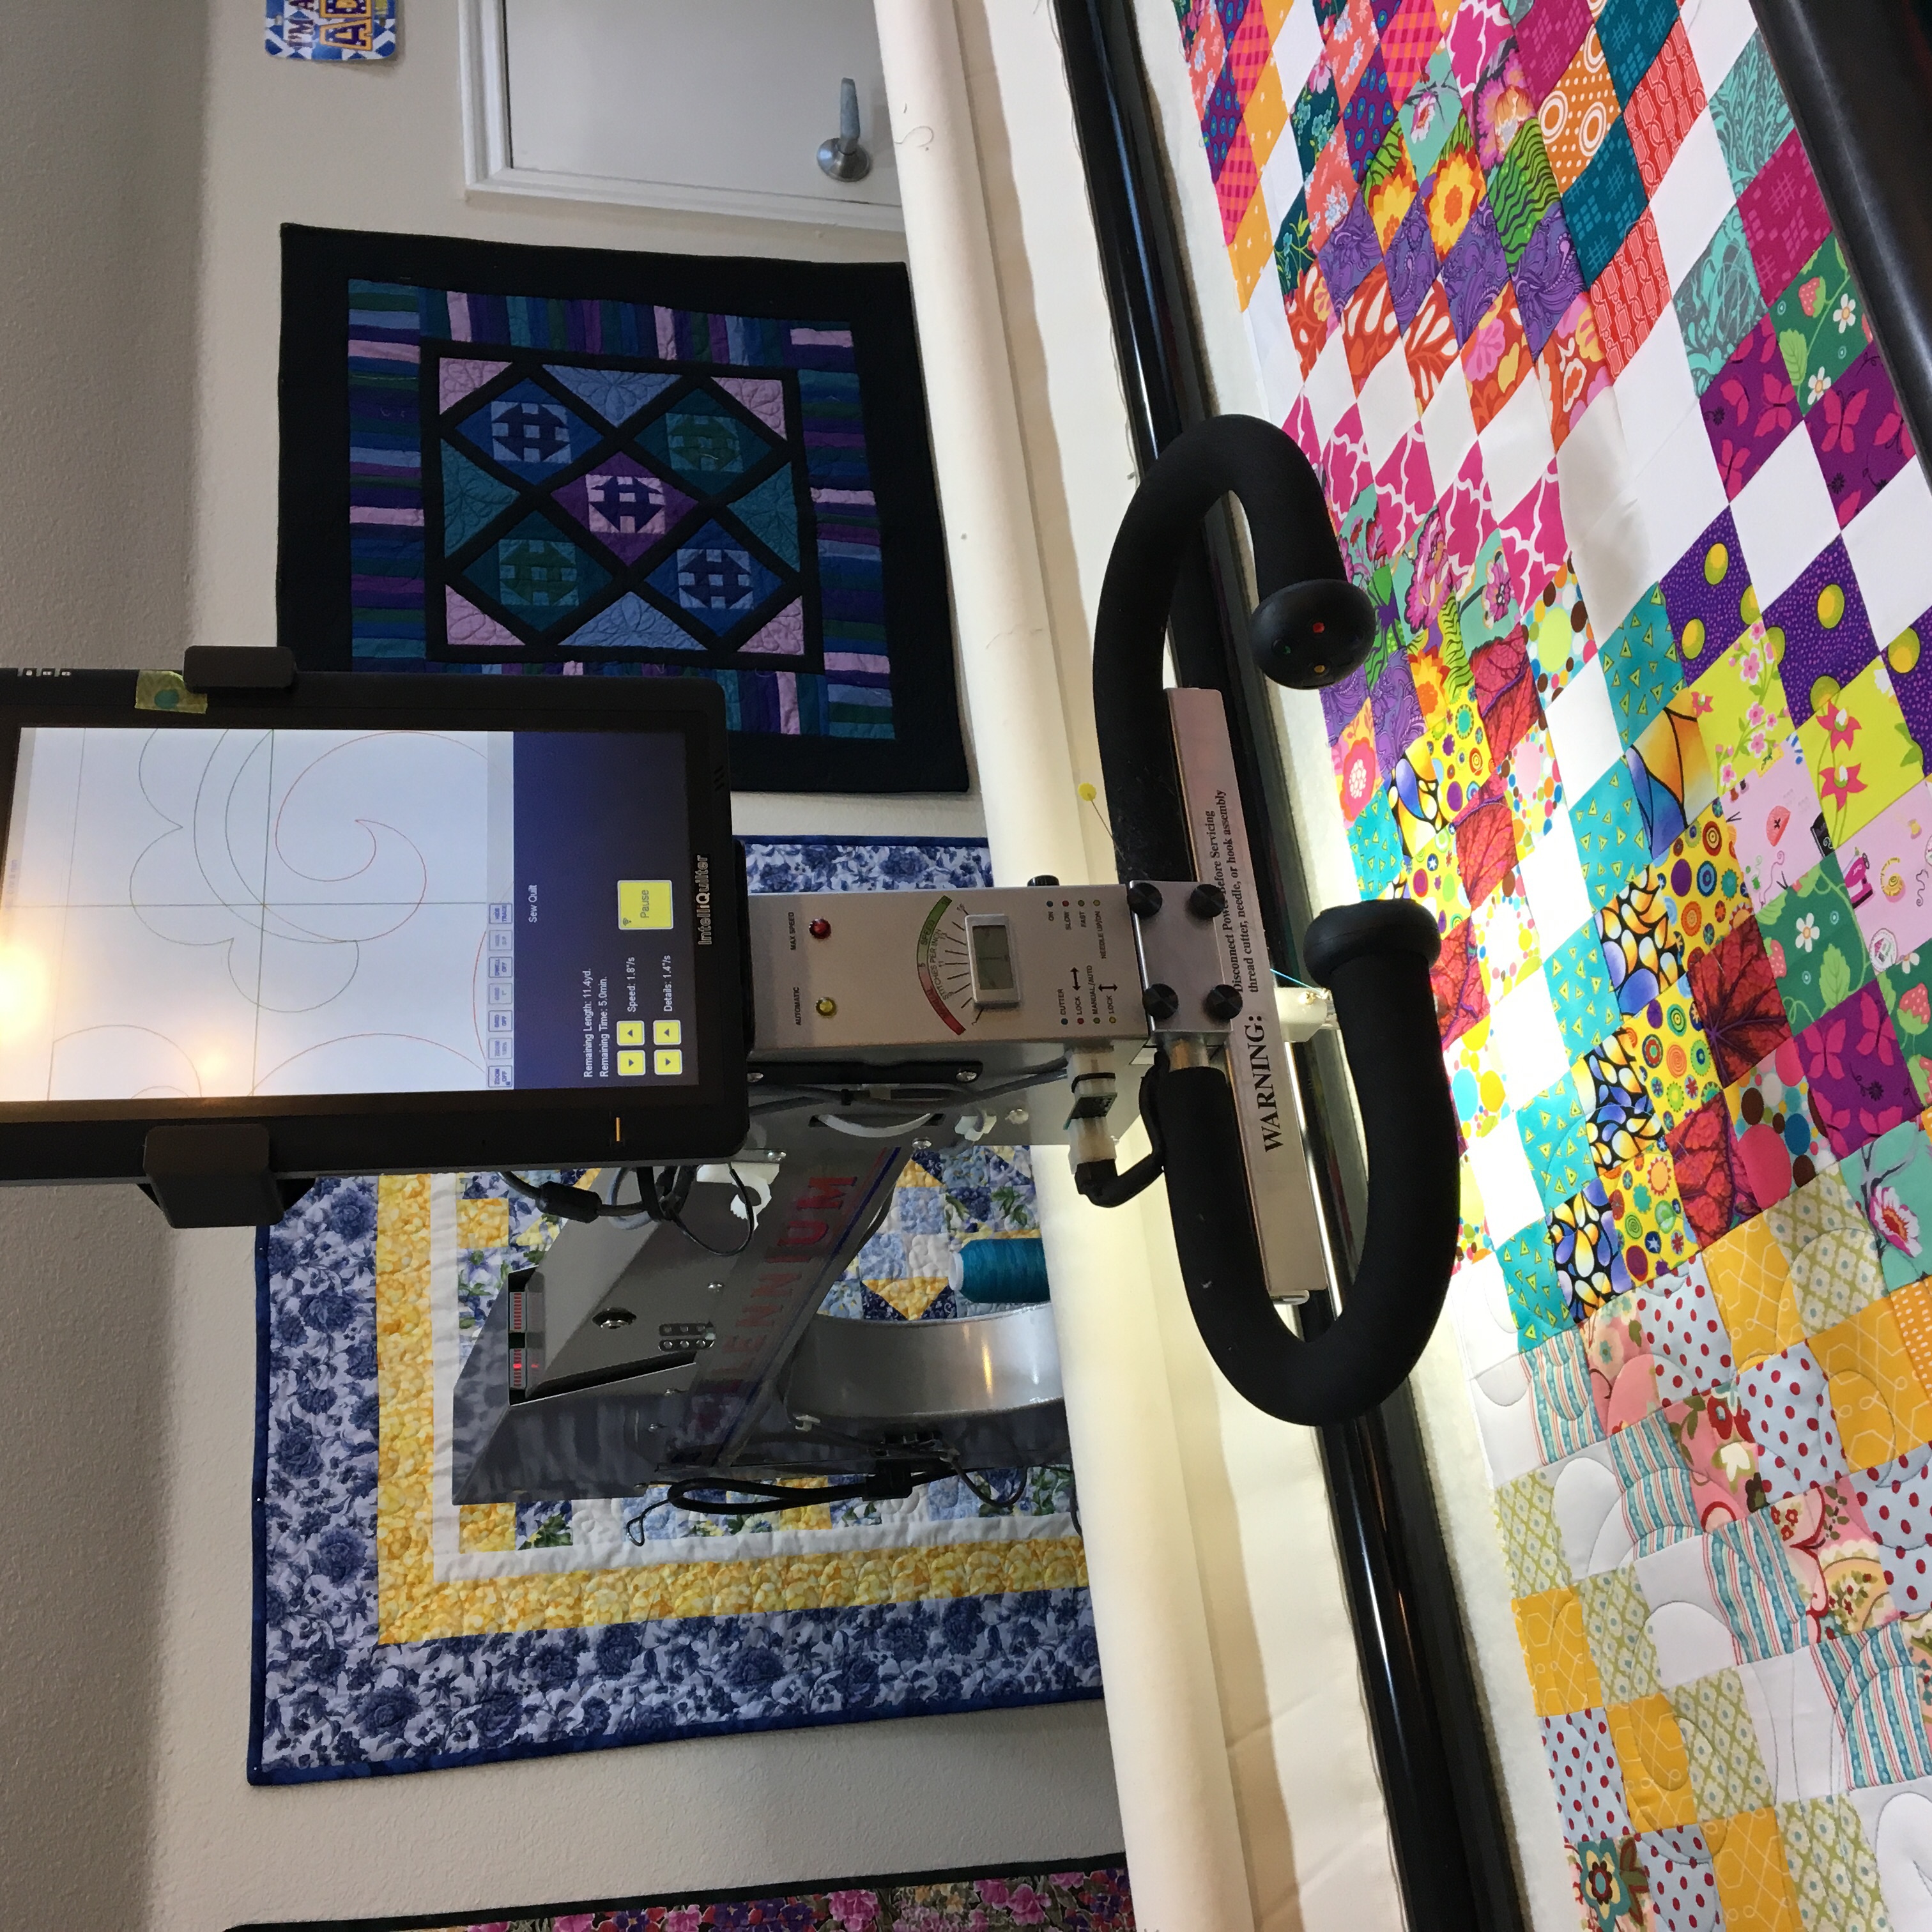
Unexpectedly this spring, I was talking to someone who mentioned IntelliQuilter and that I could put it on my type of Long Arm. I arranged for a demo and may I say OH MY LAMBCHOPS. It’s not just that it did the same things easier, it did things that my software package couldn’t even dream of doing. It had so much more potential and as I asked questions, there weren’t ‘hacks’ to get things done, there were actual ways to do it. I made the huge decision to make the financial outlay to get the new software. This was a huge decision. I was facing a large outlay of money and a large learning curve in front of me, but this time it looked like the potential was just as large. This was something worth going to the effort to do.

This got me to thinking, when do you know it’s time to make a change? How do I measure the frustration as a factor of learning curve, in other words, how much of this is me not knowing what to do, vs the system not being capable of doing what I want. When is my investment a loss because I’m not using it vs throwing a bit more money at the problem to get a solution that works for me. I was able to take the time to see a detailed demo of the new system and that put to rest a lot of my trepidation, the money would be well spent to upgrade so I decided to move forward.

Installation day was 4/4 and to say I was excited about it is an understatement. Quilts that have been in the to-be-quilted pile for YEARS are popping up in my head with an idea about how I can now quilt them the way I wanted to all along and be happy with the work. There was excitement and trepidation at the same time. So much to learn. I don’t have hours to spend at this in a good year, let alone in a year when I’m building a house too, but I have a plan for that. The last year my sewing mojo has been way out of whack. I know that part of that is because piecing a lot of tops when I am struggling to get the tops I have quilted was really bothering me. I am looking forward to a lot more finishes this year, especially moving forward with my plan to quilt one quilt a month. With my old system that goal seemed about all I can handle. With the new system, I should be able to meet that goal with minimal effort!

What’s in a name?

Humans like names. We name everything. Names do a whole lot of things: they help us categorize information, they help us remember information. All kinds of handy things. Quilting is no different. Units have names: half square triangles, flying geese, hourglass, square in a square. Blocks have names: Shoo-Fly, Broken Dishes, Log Cabin. Some of these names have been around for over 100 years, some are new. When someone designs a quilt, the pattern gets a name. Older patterns were often named after the main blocks in the quilt: Log Cabin Quilt or Tumbling Blocks quilt. There are also pattern names that have been around for ages – think Irish Chain Quilts or Trip around the world quilts

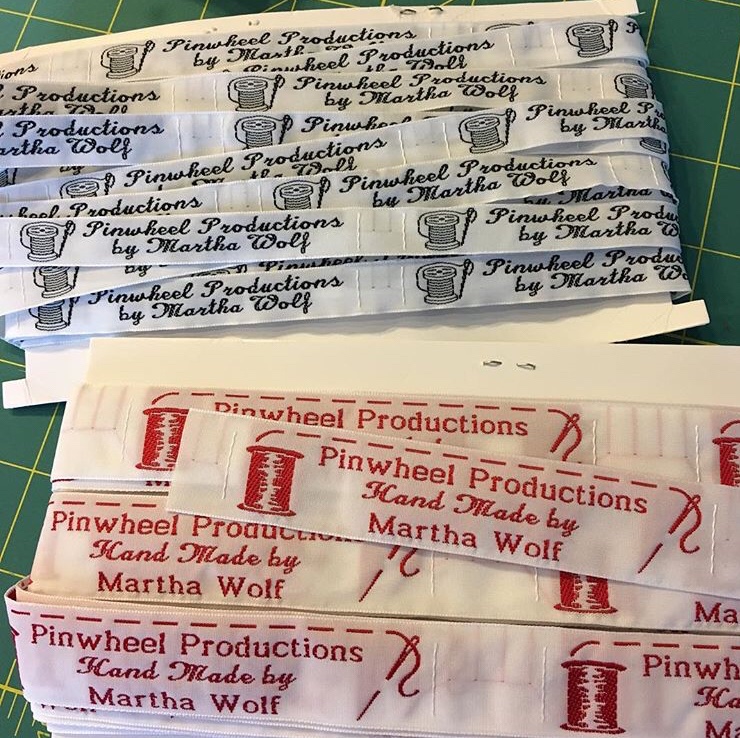
For a designer of quilts a new pattern needs to have a new name. It needs to be something that catches the eye of a quilter who is browsing. It would be nice if it is easy to remember so that when telling someone else about the pattern, a quilter can easily repeat the name to others. The best name I have ever come up with for my patterns is Fat Quarter Fabulous. I love alliteration anyway, and that just hits all the marks in my view. If I’m just making a quilt to use around the house, I can attach one of my dressmaking labels. At least that gets my name on the quilt in a more permanent fashion.

That being said, when a quilter is making a quilt and putting it in a show, one of the things always requested is the name of the quilt. The name of the pattern is requested somewhere else, this is the name you are giving your work of art that is a derivative of the quilt pattern. This trips me up every single time. I’d like the name to be catchy. I’d like the name to in some way, refer to the name of the pattern, or at least hint at it. I’d like the name to be short enough to fit on the label on the quilt and in the paperwork that I am sending in with the quilt. I will sit for hours staring at my quilt and the pattern and the form trying to come up with the perfect name. I see them all the time at shows: quilts with names that just fit the quilt perfectly and I wonder how they came up with that name? I struggle with this so much that I have stopped entering quilts in shows. Ok so honestly it’s not only just this reason, there are a few others, but this is a big part of it for me.

I have made the joke that I’m just going to start numbering my quilts. I will start with 1000 (I mean who really wants to start with 1, it would take 30 years to get up to a decent number). Heck I might even date code them so it has the completion year in the name. If I had kept track of when I started things I could include the full duration in the name: I give you 1032:1999100120191031. Yea that looks pretty impressive. It would be very straight forward to name every quilt, and the name would carry a lot of information. If I wanted to personalize it, I could add my last name or even my initials: 1032mlw:1999100120191031. I’m liking this even more. It would be pretty unique too – I haven’t seen anyone do this, and it would give me a lot of information for my own use for each quilt. I won’t make it retroactive, don’t want to have to go back and remake labels but going forward I like this plan.