Browsing Category

Quilting

Quilting topics such as patterns, projects and plans

Trimming to size: the secret to success

Accuracy has always been an elusive target for me in my quilting. When sewing clothing, and a 5/8″ seam allowance, you need to be accurate but it’s a little open to interpretation. In quilting, with only a 1/4″ seam allowance, and a lot of seams in a block or quilt, little things get really magnified.

The whole process can snowball too. If your block is made up of components, and your seam allowances are off in the component, then when you combine components, that will be off, and when you assemble blocks, those won’t be the right size, and so on and so on. It can get to be a really ugly situation. I am learning that the way to more accuracy is to measure and trim up as I go, ensuring that components are the right size, and blocks are the right size.

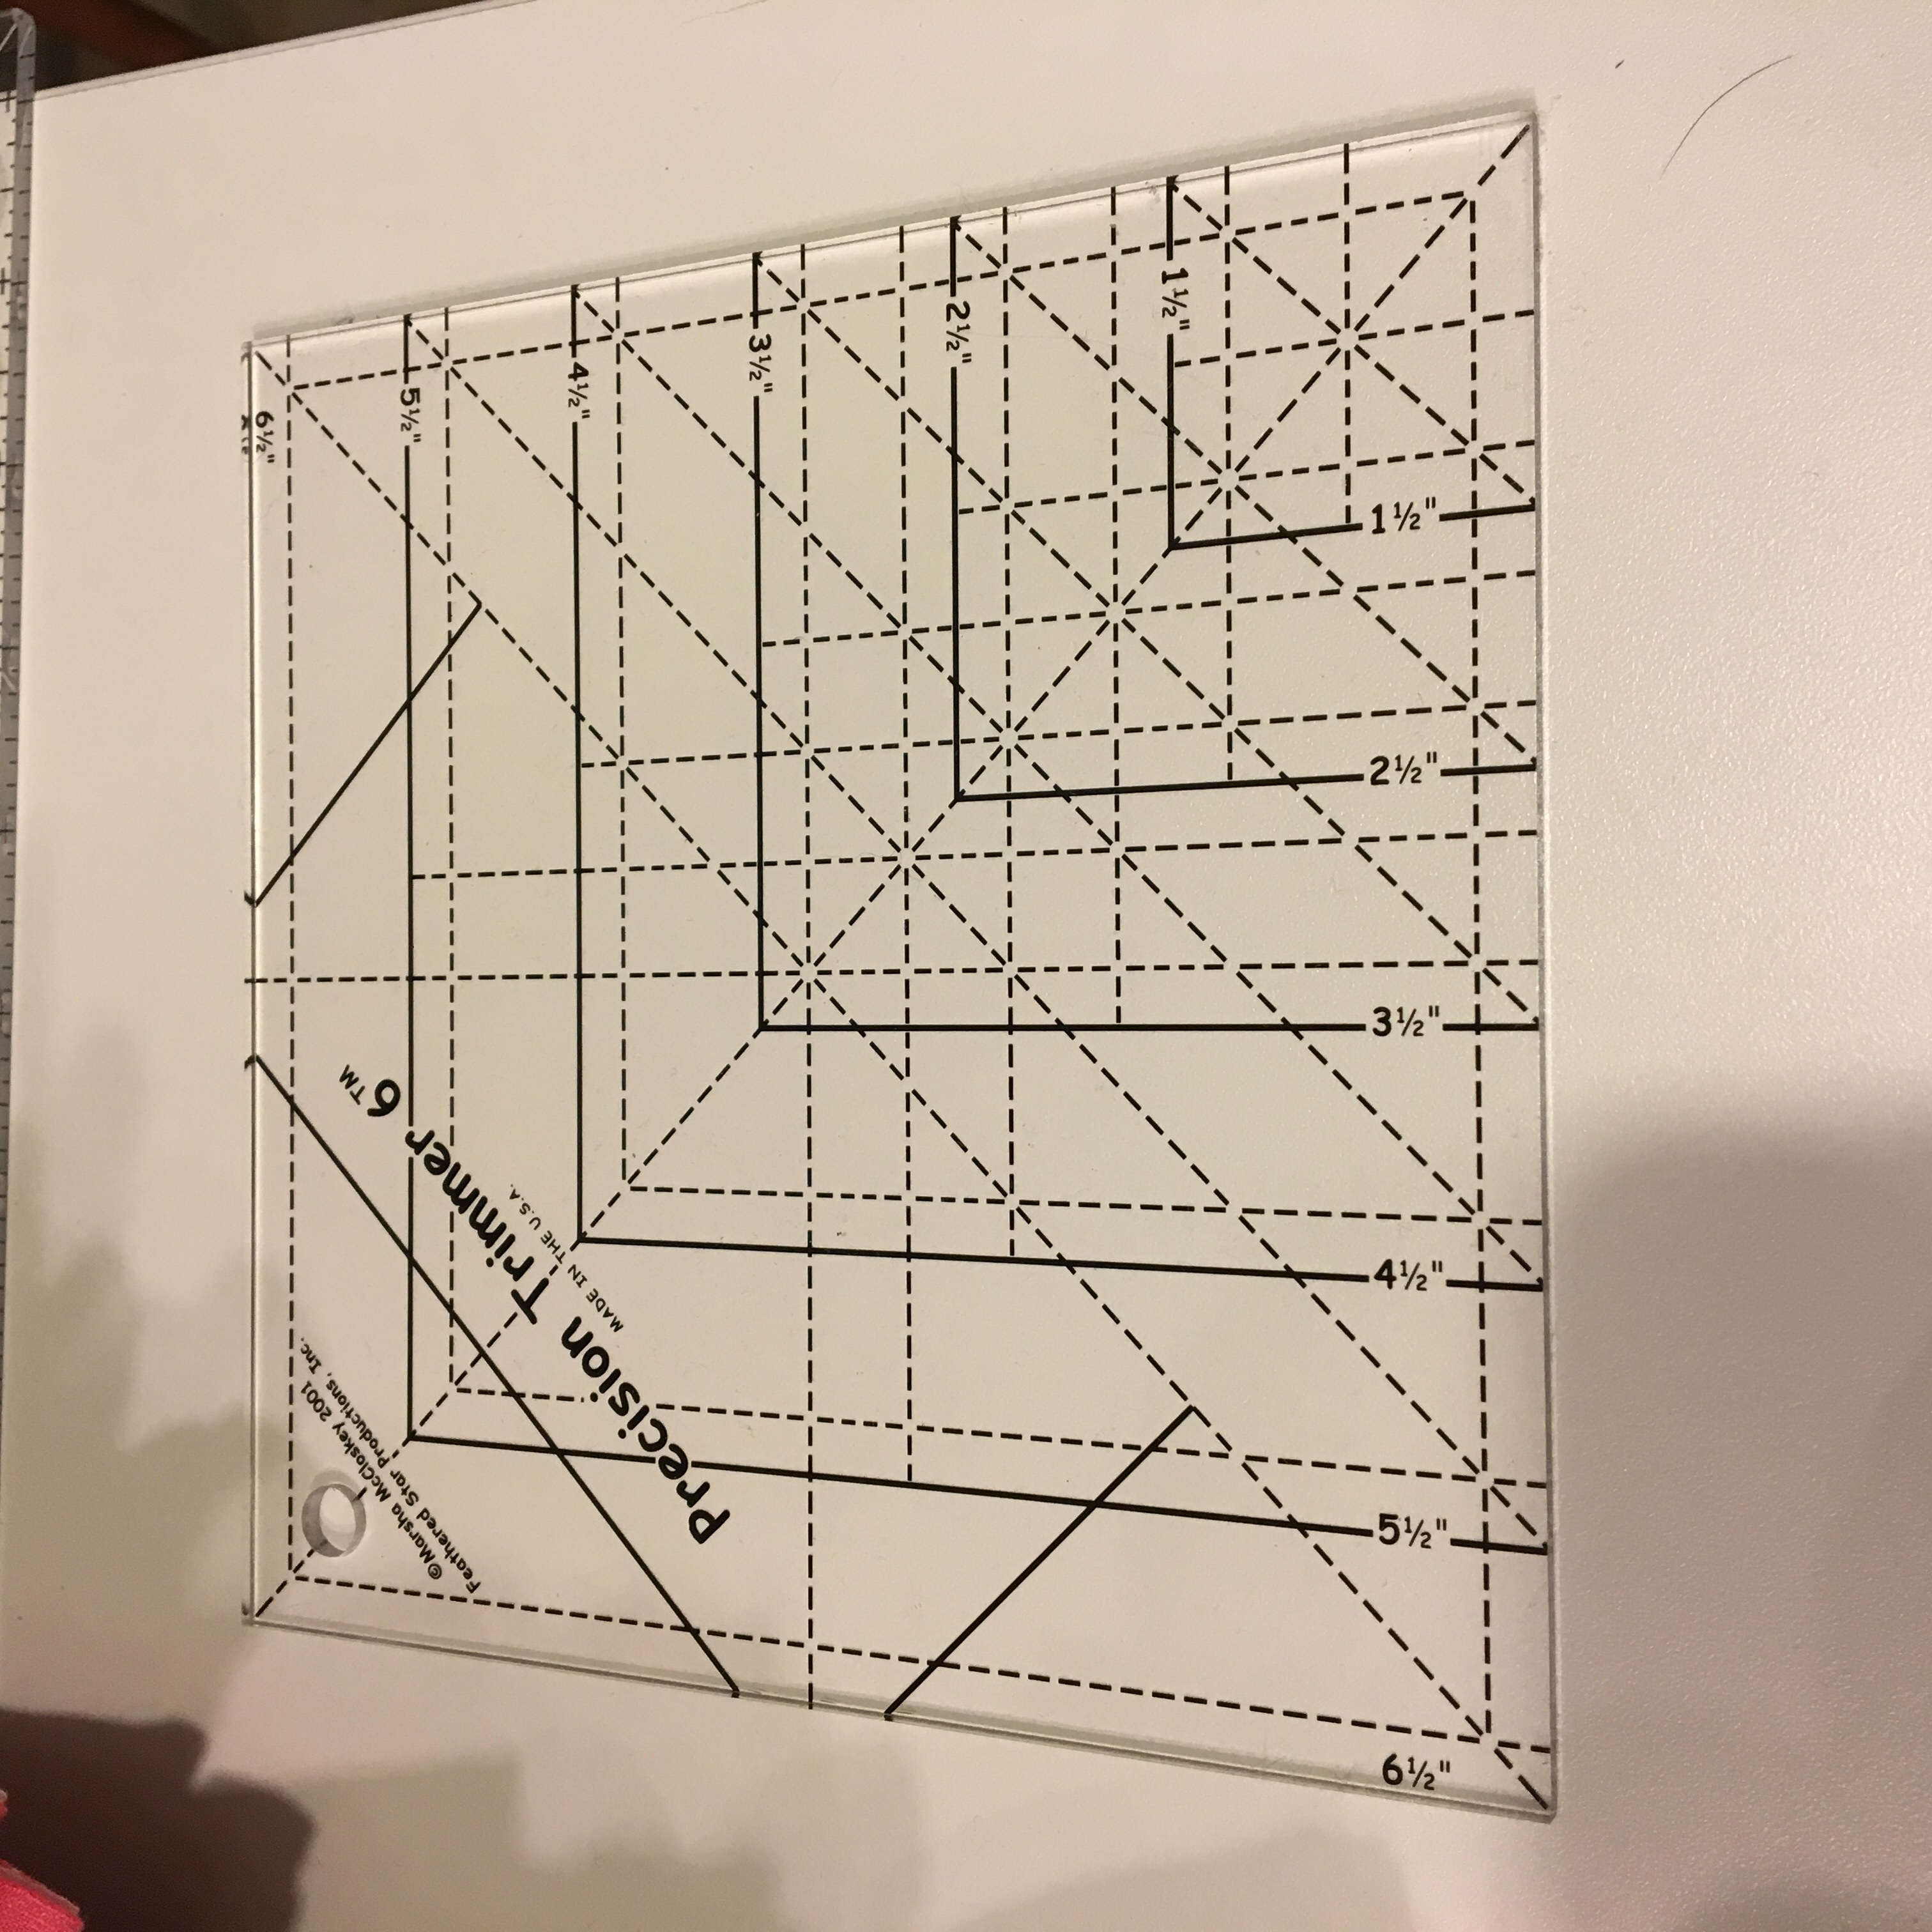
For example, most of the methods for making half square triangles leave room for inaccuracy to creep in. Some methods more than others, but that’s a story for another post. If I make my half square triangles and immediately swing into assembling those into components or blocks, it’s going to be tricky to get the blocks the right size. So now I make my half square triangles and square them up. I do the same thing with hour glass blocks. Pretty much anything with a bias seam in it, is going to get squared up. The most useful ruler I’ve found to do that is the Precision Trimmer. It’s got block sizes from 1″ to 6″ finished, with lots of extra registration lines so you can make sure that not only are things the right size but also squared up. Yes I have made a lot of parallelograms in my quilting career.

I still work on accuracy. I have a feeling I will always be working on accuracy but my precision trimmer helps tremendously!

Quilting in a series

I am a hobby quilter. I struggle to think of myself as an artist. I know a lot of quilt artists and they are amazing people. I was sitting with my coffee not too long ago (ok it was probably a couple of years ago but anyway) and was thinking about famous painters. They developed a personal style. They painted the same subject matter multiple times. Think about Monet and his water lilies. They had phases where their paintings followed a theme. Think about Picasso and his Blue Period. This is the sort of thing that defined being an artist for me.

I look at my quilting. I make a specific pattern one time and I’m done. I’m always on to the next great thing. The first 20 years of my quilting, there was no pattern. There was no driving subject matter. Then 13 years ago there started to be a subtle shift in how I work.

For a start I was designing patterns and needed shop samples. That meant if I made a design, I was going to make that quilt a lot of times. Not just once. Some of the designs I liked a lot and really enjoyed making it multiple times. Other patterns it was a chore to do it it several times. The only problem with this was that I had to make the samples exactly like the pattern. If I made it multiple times and I wanted to tweak the design, that would mean changing the pattern. I look back on the designs that I can make over and over vs the ones I only made a couple of times.

I look at the other work that I’m doing. Last week I talked about project vs process. I’m seeing that the quilts that I make multiple times, have a process element that I really enjoy, so that pulls me towards making that pattern multiple times. I’m not publishing patterns anymore (that’s a long post for another day), so I’m free to work on whatever catches my eye, and if I want to repeat myself, tweaking things a little bit each time, I have no barriers to doing that. So I can stay on a design element as long as I find it fascinating.

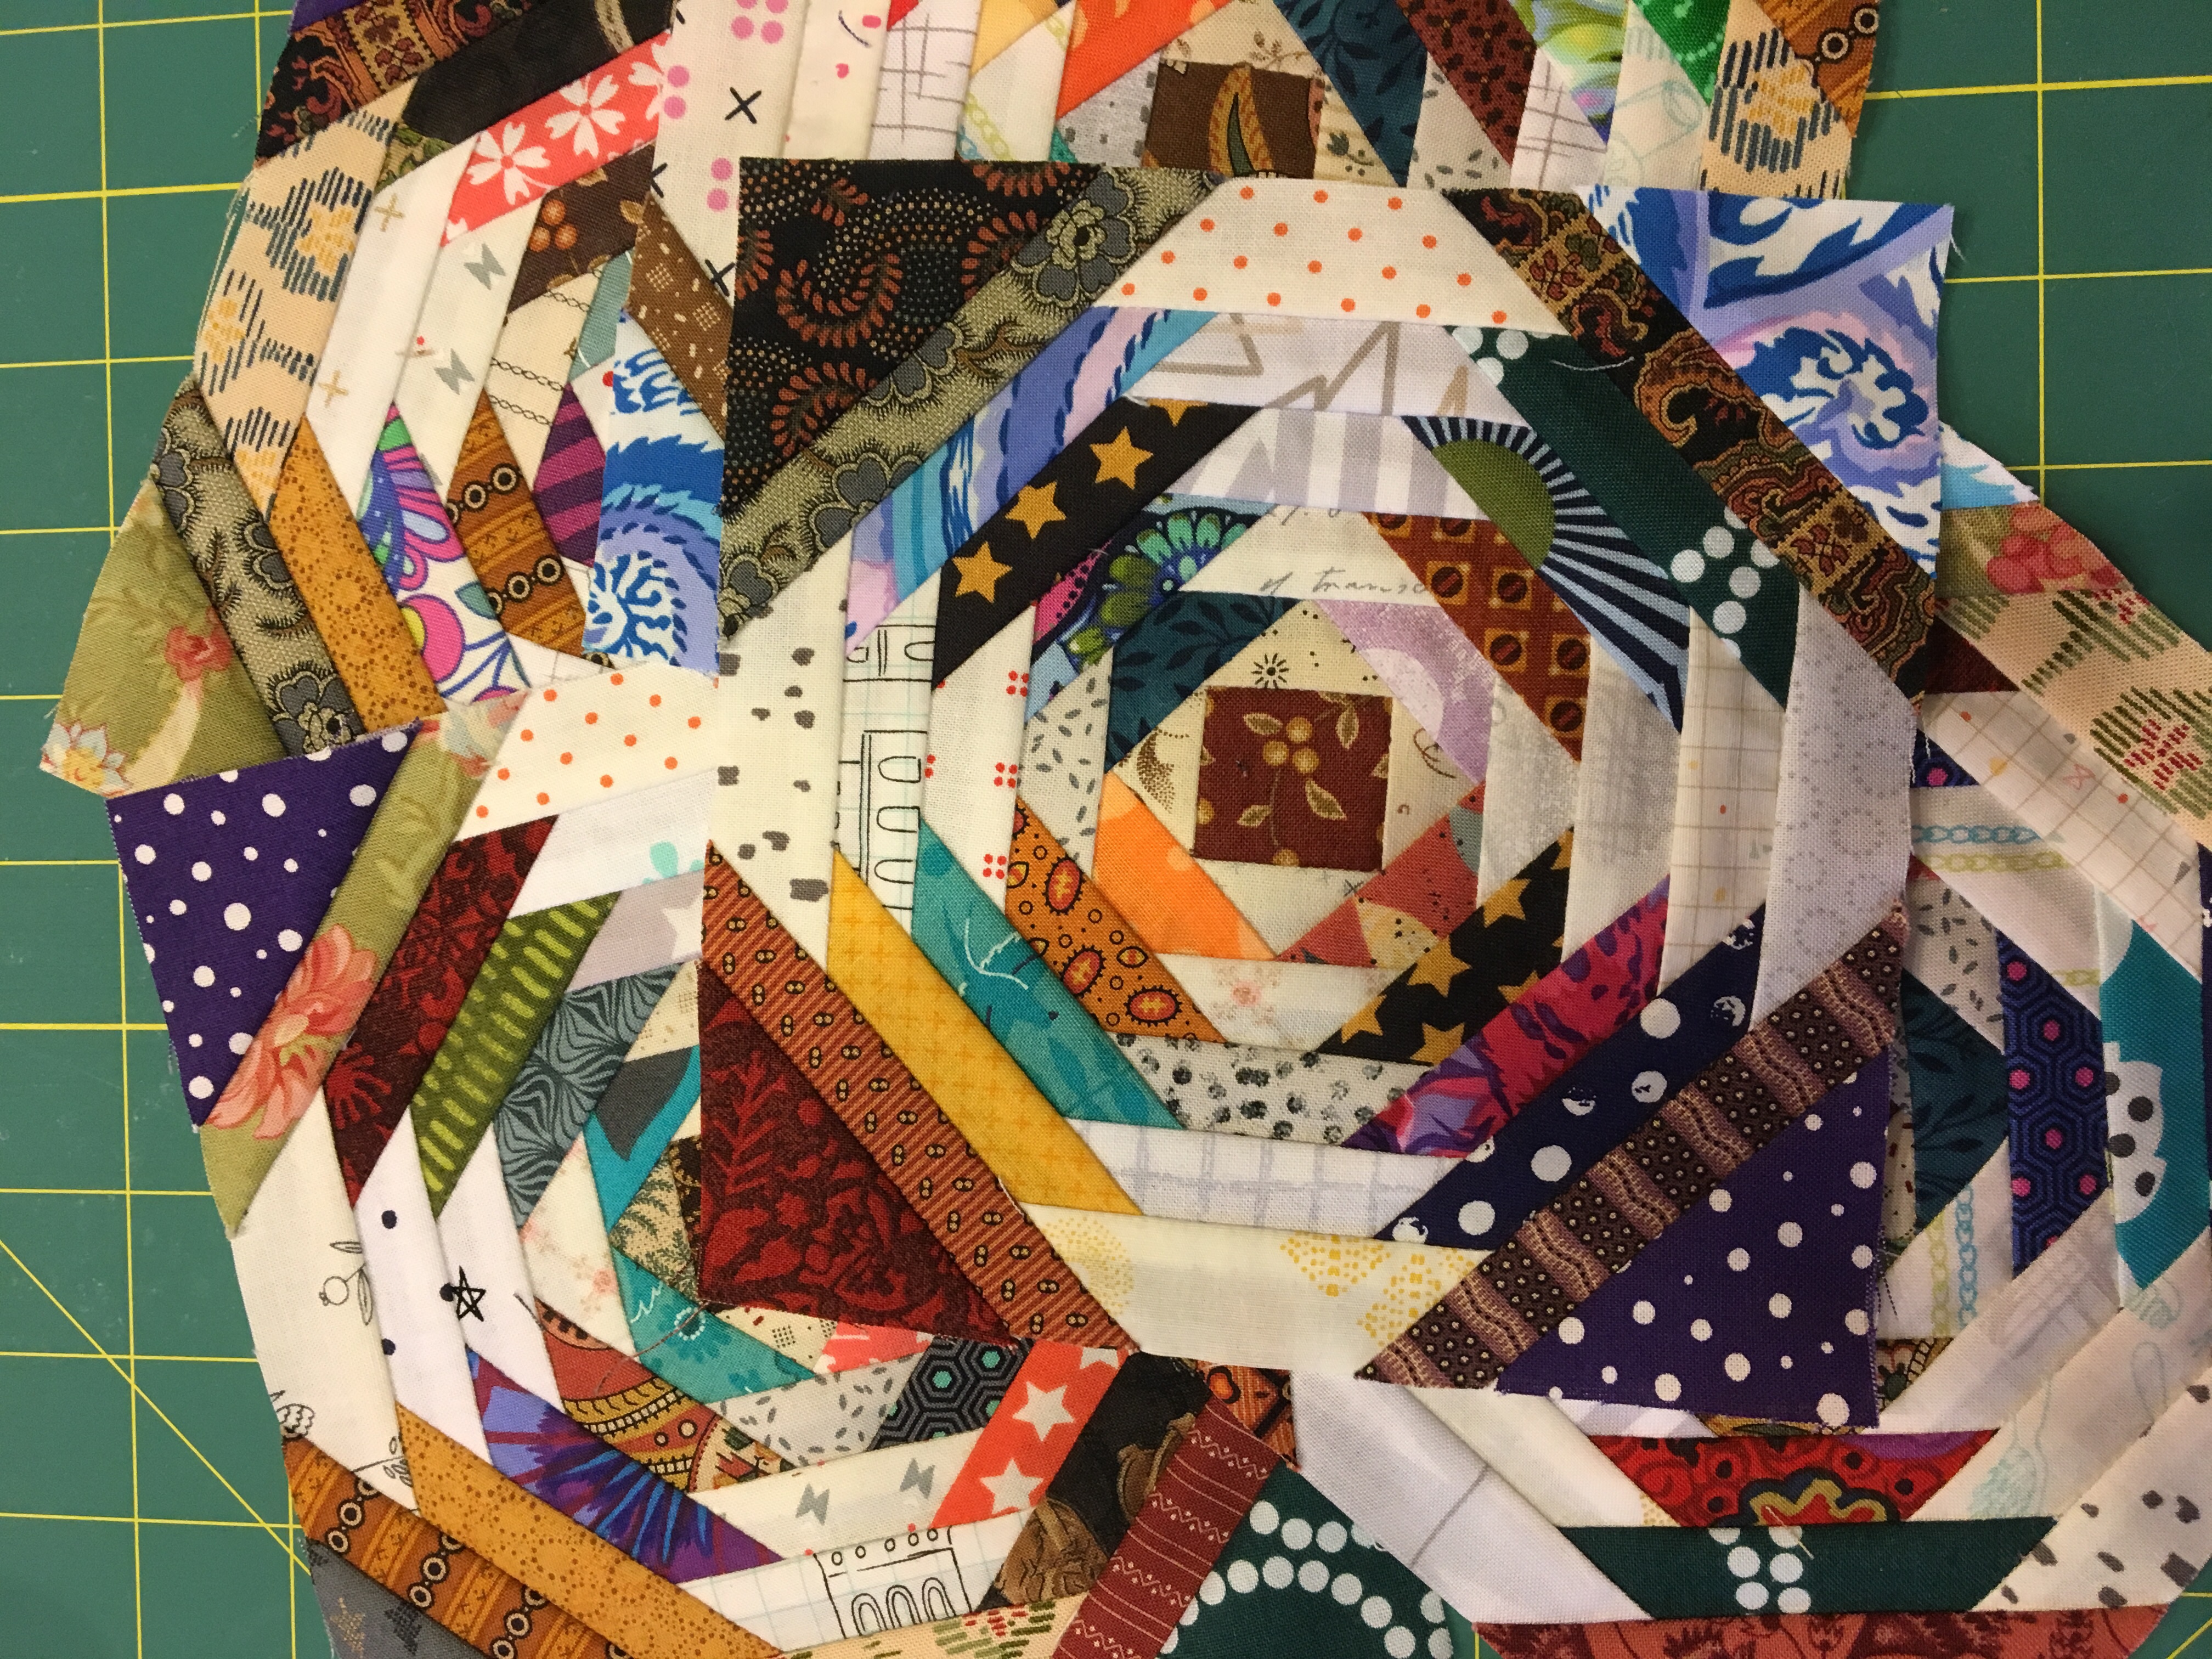
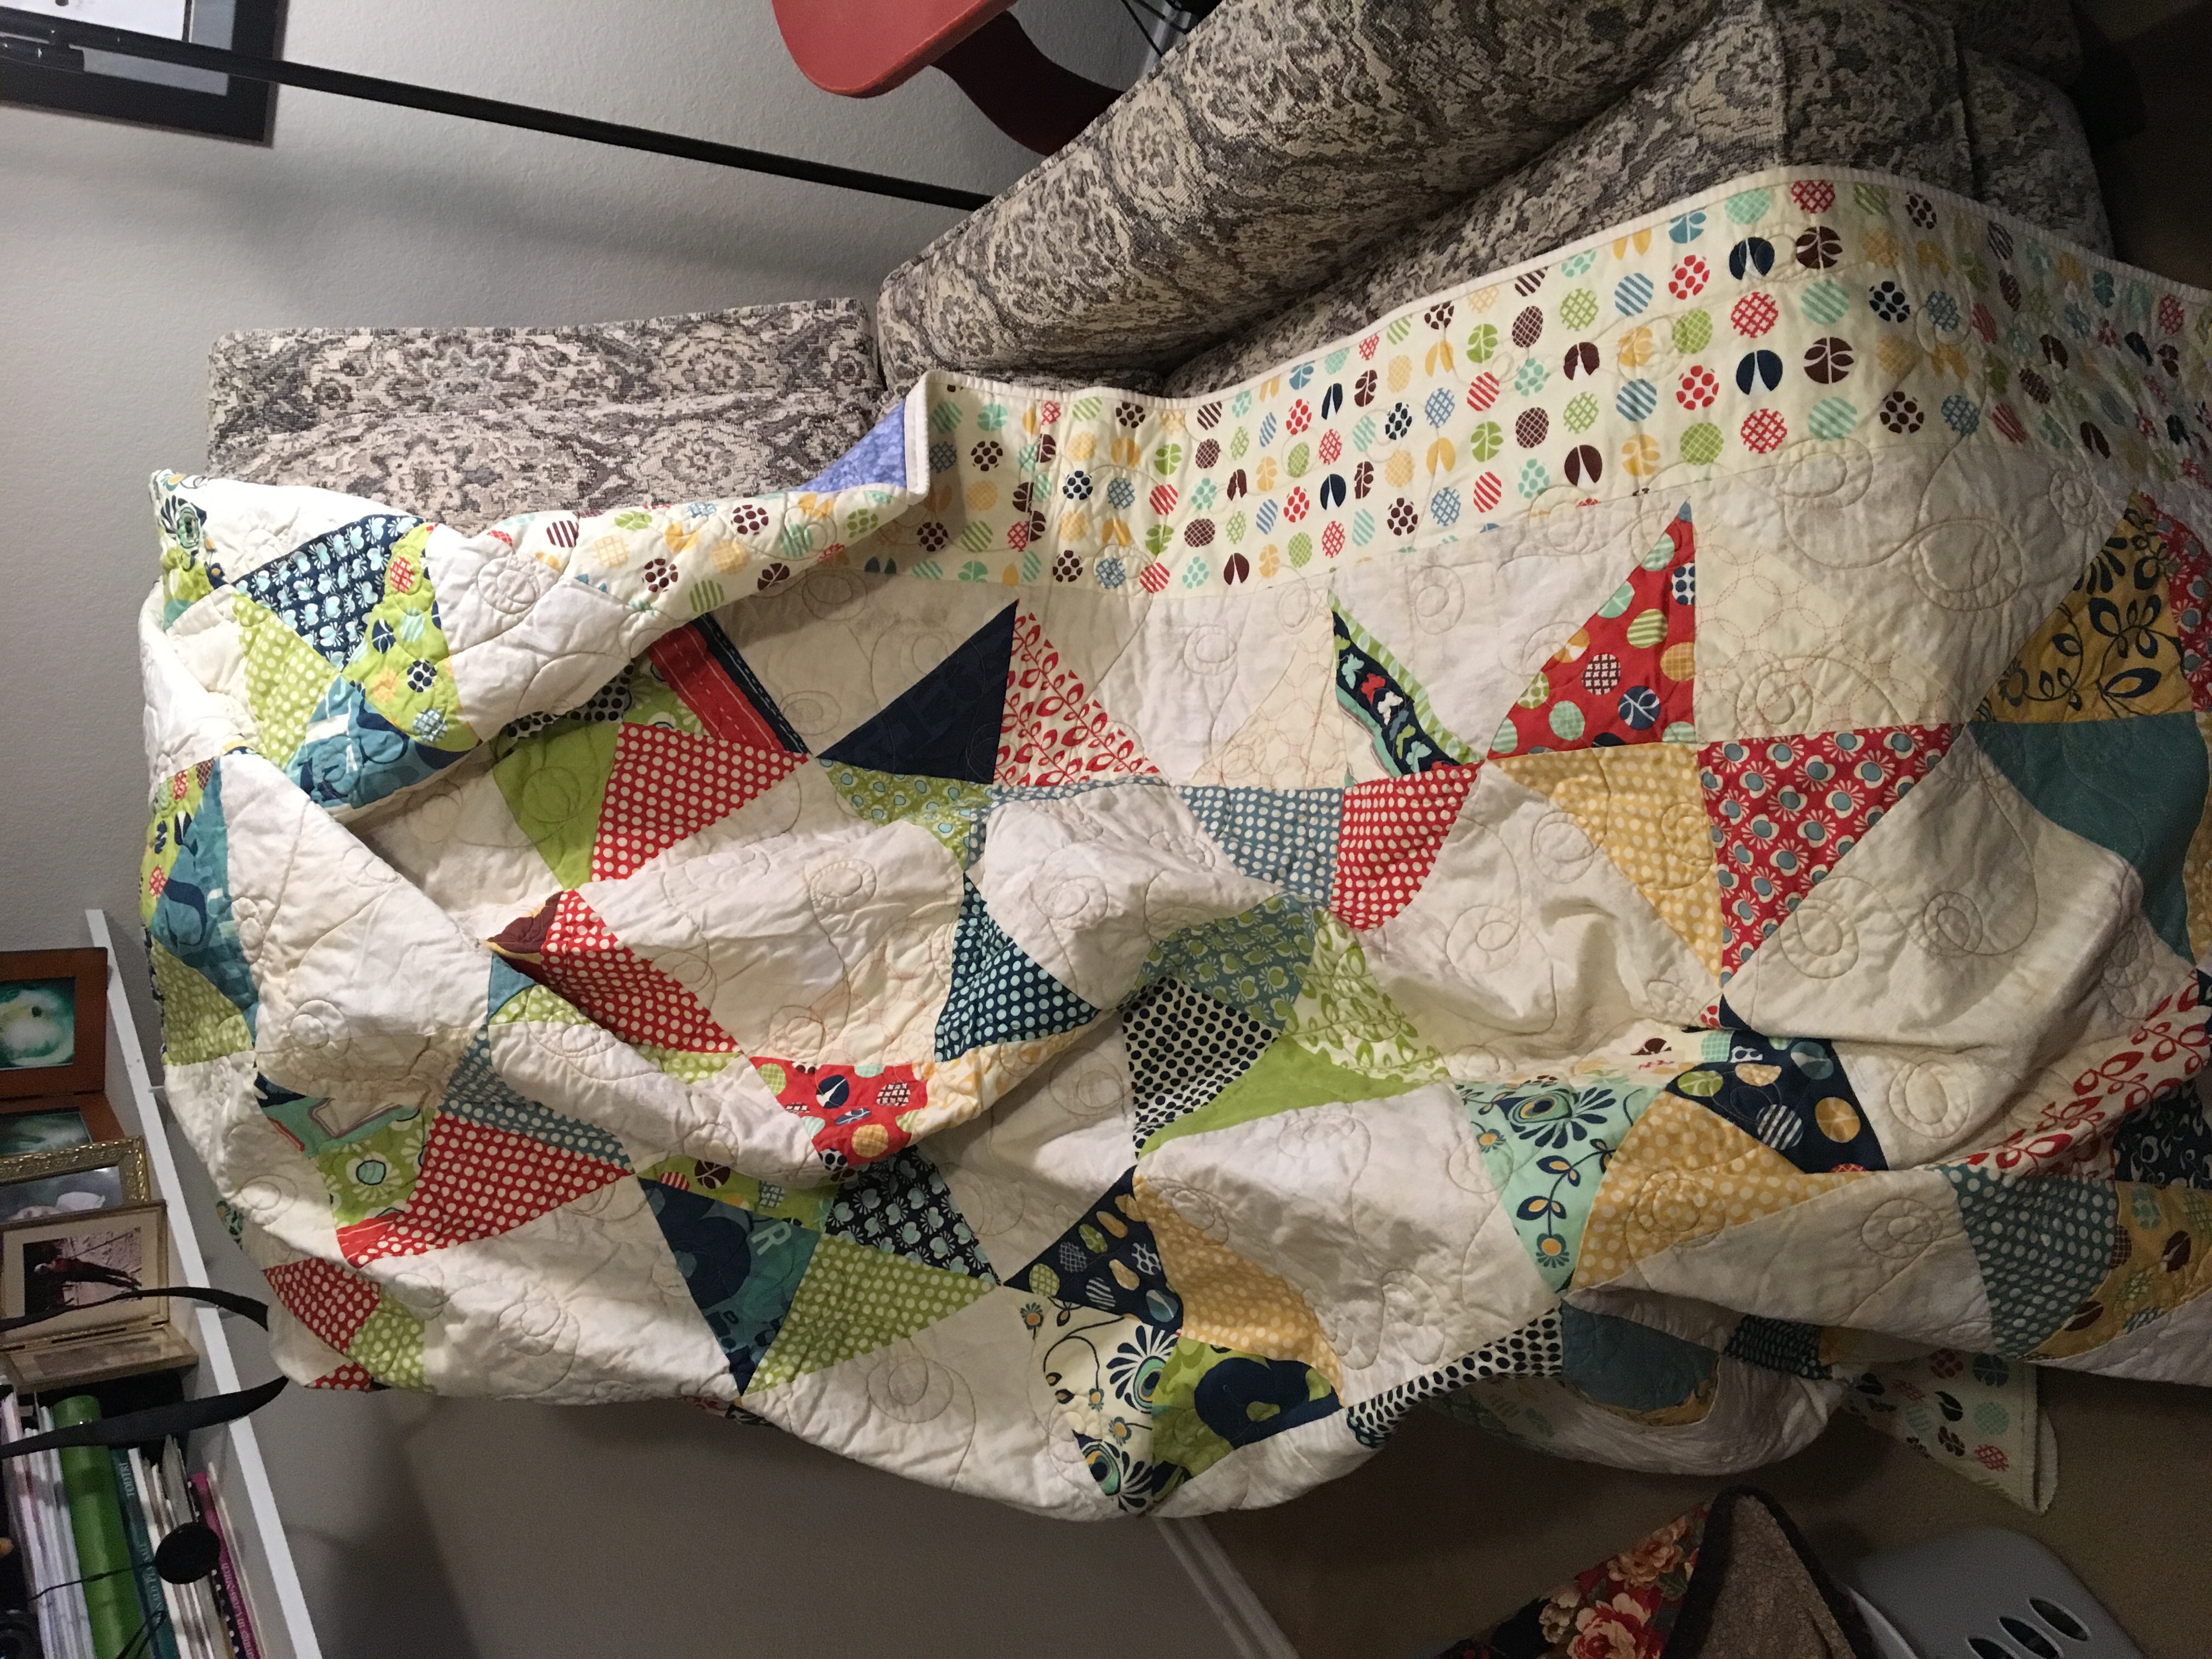
Lately things have been getting smaller. Smaller pieces. Smaller blocks. I still like big quilts so that means a lot more piecing and a lot more blocks but that’s ok. I guess as an artist, I’m entering my Small Period. I’m also doing a lot with half square triangles. Can’t get enough of them. So maybe this is my Triangle Period. I’m digging deeper and deeper into what I can do with a shape and what it can become. In both of these areas it’s all about the scrappy. More scrappy is better. If not 10 fabrics, how about 100 different fabrics in a quilt. This is definitely my Scrappy Period. I like the juxtaposition of the repetition in the small blocks with the randomness of having 100 fabrics in a quilt. This is a whole new direction for me, discovering that even though I can’t draw at all, maybe there is an artist deep inside of me.

Two different roads: Project vs Process

I read a lot about a lot of different subjects and a LONG time ago I read an article about how people approach projects, noting that there are project people and there are process people.

Let’s first cover the types:

Project people focus on the project as a whole, and usually work to completion of one item before moving on to another item. The satisfaction is derived in a large part from the execution of the project as a whole, and the completion of each project.

Process people focus on individual parts of the process. Satisfaction is derived from doing particular tasks, and completion rarely factors into the equation. Process people often work on multiple projects at the same time, enjoying the doing more than the finishing.

I’m a process person. Oh boy am I a process person. I like to sew. I don’t necessarily like to cut but you have to cut to be able to sew. I don’t like to iron much so there’s a lot of steps I just finger press rather than use the iron. (Side note, this can have some benefits, you’d be surprised). I especially like the planning and designing part of the process. I am working on a BUNCH of quilts at the same time. I love making the first few blocks so that I can see my idea turn into something with real fabric. I enjoy quilting a lot, but you have to actually finish piecing a top to have something to quilt.

My mother was a project person. She would decide to make something (she made clothes rather than quilts), she would buy the supplies and she would finish that item before moving on to the next thing. Every now and then, if she didn’t like how the project was turning out, she might have two things going at once but usually it was one thing at a time and she finished everything.

There was a long time that we did not understand each other at all. I would derive great joy from planning a project, getting the supplies, and starting the project just to have it disappear into a box and never see the light of day again. I felt guilty about this for a long time. Most of my life I would say. I had wasted my money. I had wasted my time. I had nothing to show for it. That’s what everybody would tell me. Then I found this article and I realized that I had derived great joy from the part of the process that I performed. The money was not wasted. The time was not wasted. I didn’t have boxes to check like the project people did, but I was getting better at my chosen hobby, and most importantly, I WAS ENJOYING MYSELF.

What I find MOST fascinating about all of this, is that once I gave myself license to be a process person, and to enjoy the journey rather than the destination, I started to complete things. More things than I ever had before. I stuck with quilting. My mother assumed it was just a phase like the multitude of other hobbies I had tried, but today I’m closing in on 30 years as a serious quilter. I’ve been knitting over 50 years. That’s quite a streak I’d say, and I actually have some sweaters I’ve finished about about 45 pairs of socks. Pretty nifty for a process person.

I will always work on multiple projects at the same time. I will always start something new when I have lots of things in work but that’s OK. I’m a process person. I’m enjoying every minute of my journey, and I’m finishing the things that I really like because I like them, not because I have an obligation. I’m coming into my own as a process person and enjoying the destination.

A thread on thread

As a long time quilter, I get asked about what kinds of thread I like to use in my quilting and why. Everybody is different, and there is no “right” answer, but I thought I’d share some of my thoughts on thread.

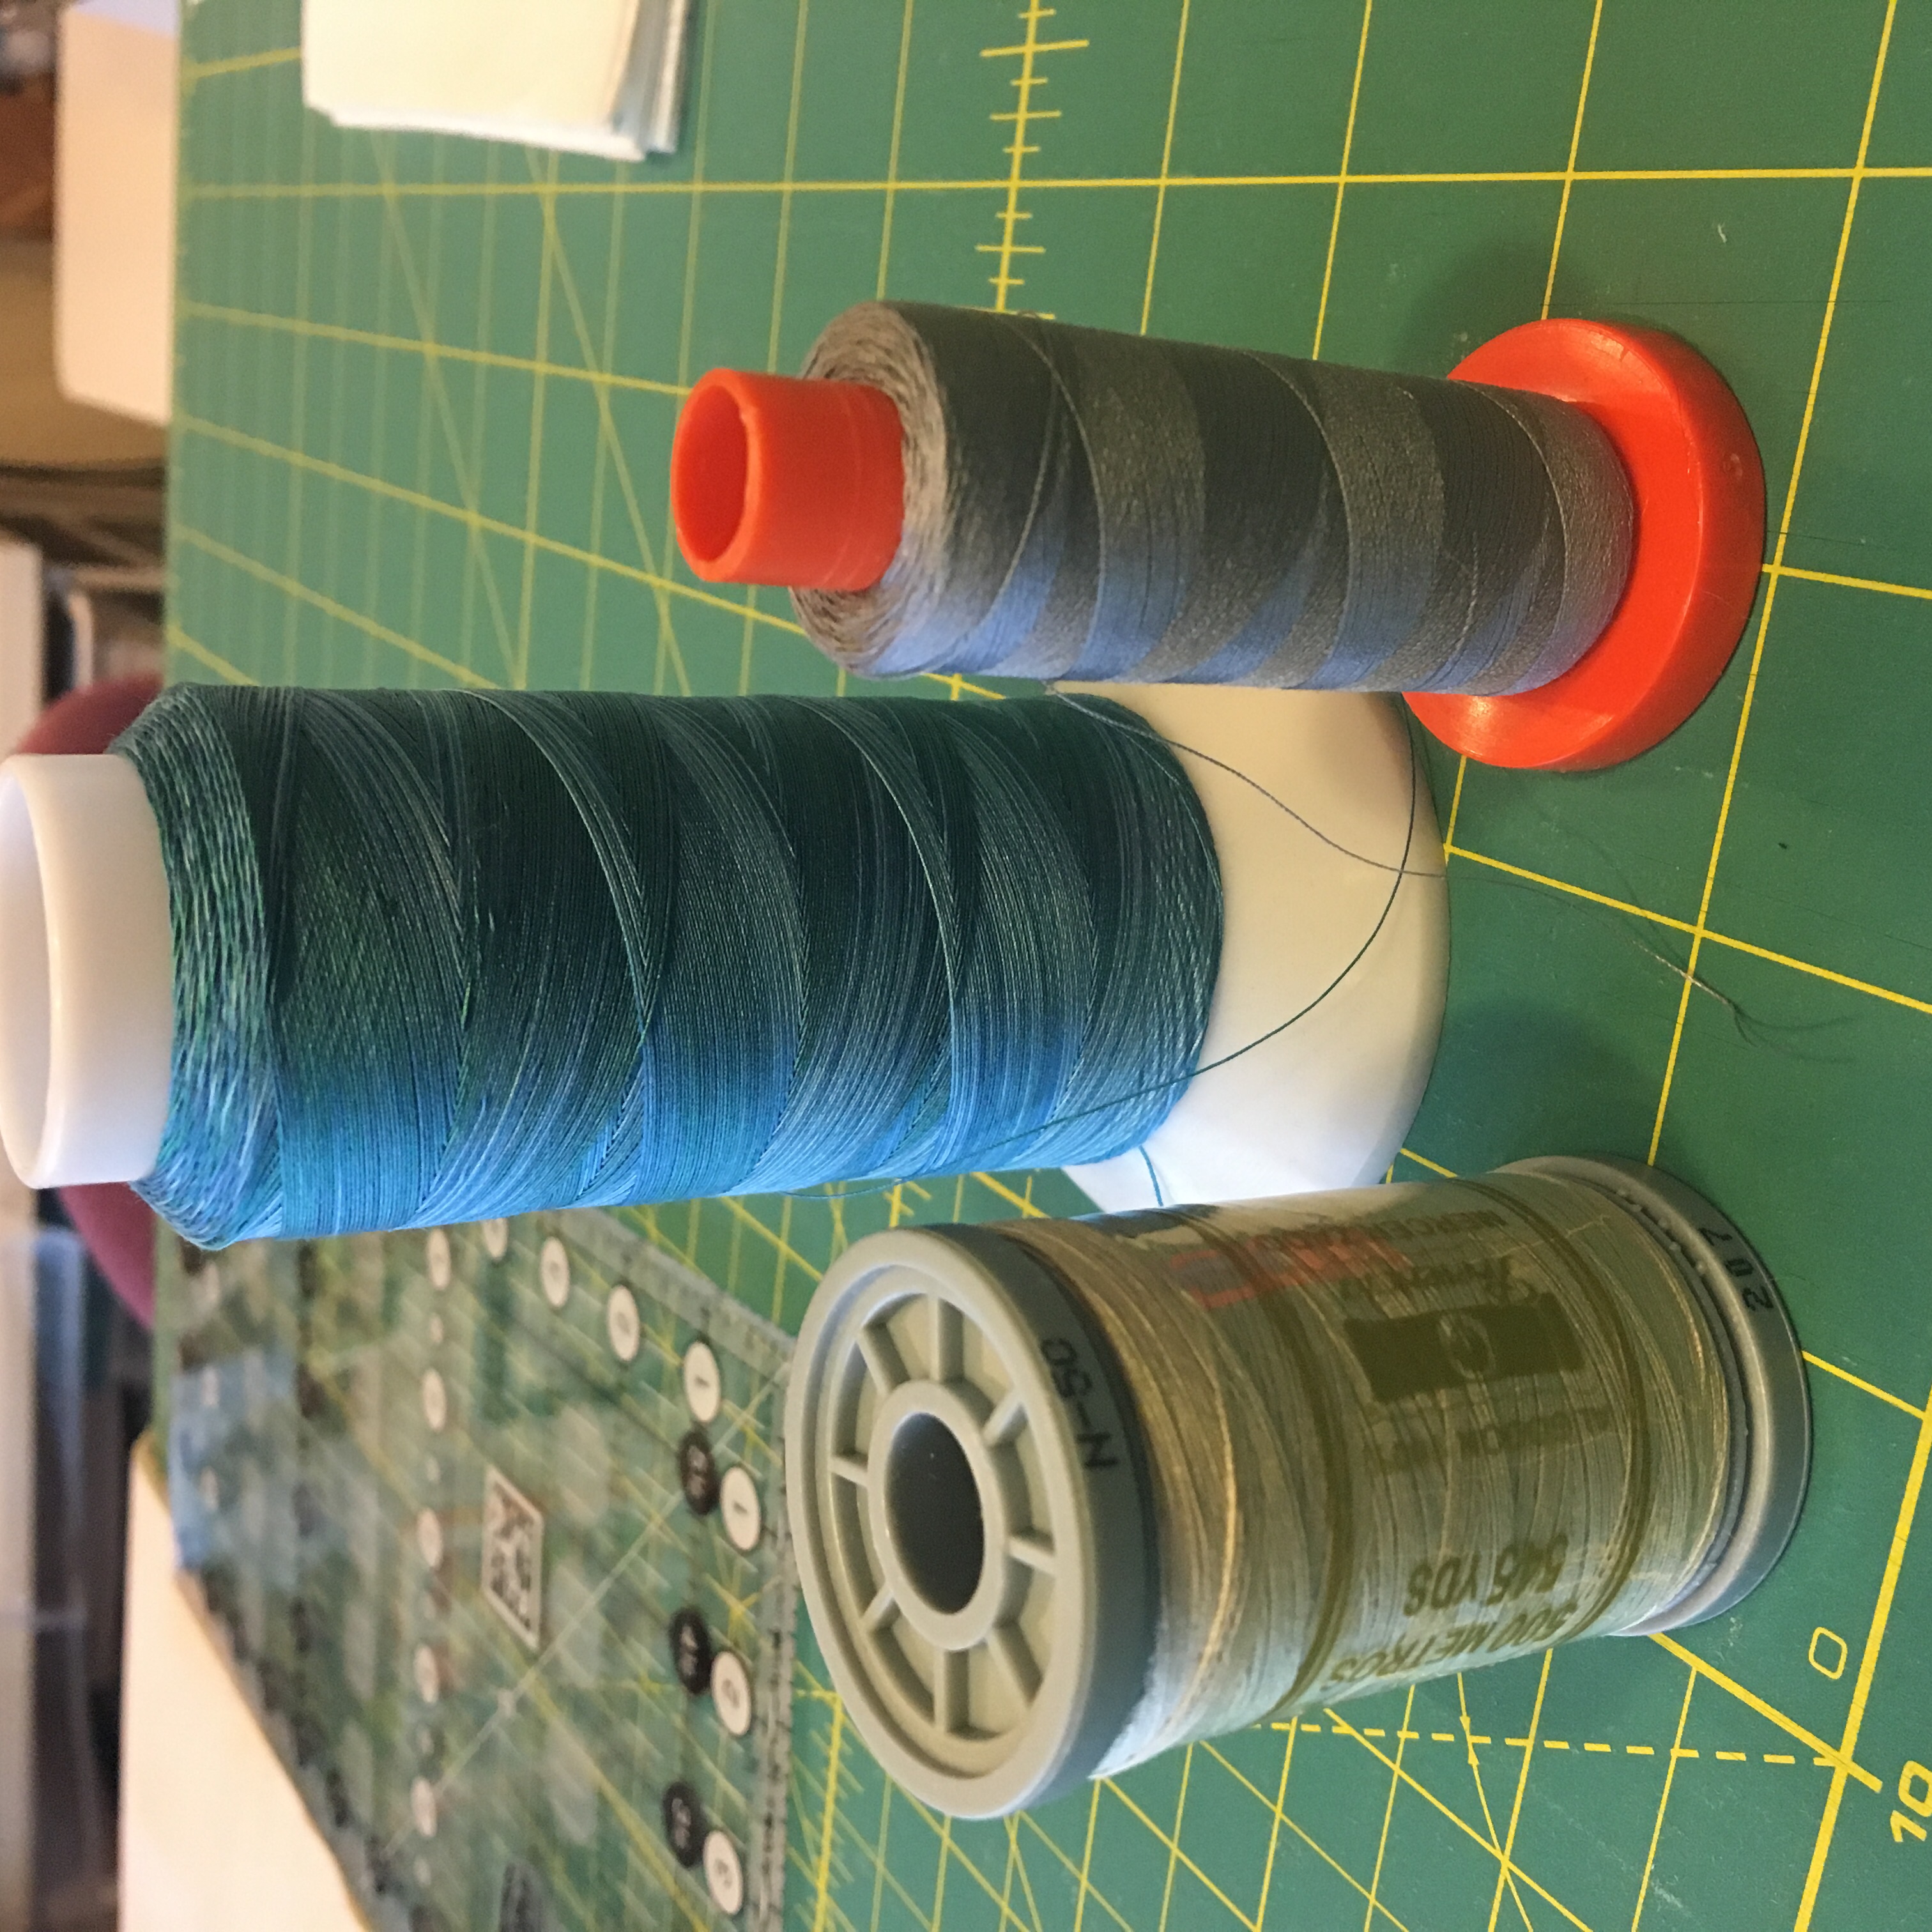
I like to piece with 100% cotton thread. I like how it sews, I like how it behaves in my machine and I like how it responds to pressing. I started out using Silk Finish which is a 50 wt thread from Gutterman. Mostly I used an ecru color, though if sewing on exclusively dark fabric I would use black thread. This meant I could buy in bulk and save a little bit of money. it’s too difficult trying to match the color of thread to the project at hand.

About 12 years ago I was introduced to Presencia 50 wt thread and I like it a lot. I can get it from my wholesale company, which again, lends itself to buying in bulk. I started using Ecru thread until there was a very happy accident. I put in an order for the thread and was in a hurry and didn’t realize I made a typo in the color number of the thread. What arrived in the package was not Ecru but more of a pale celery green. Not a bad color but not at all what I expected to get. I didn’t want to send it back so I started using it for my piecing and found that the color was a chameleon. If I was sewing on cream it looked more Ecru. If I was sewing on darker colors, it was more khaki. No matter what I was doing, it seemed to blend nicely. There’s not too much lint from the thread, so keeping my machine clean has been easy. I can get 12 bobbins wound from a large spool, so I wind a full box of bobbins so that I can easily change bobbins without having to retread the machine.

Hand piecing is a completely different story. I like to use a really fine needle to hand piece – either an 11 or a 12. The thinner the needle, the easier it is to get it to go through the fabric. A larger needle is like trying to jam a toothpick through the layers of fabric and it makes my hands hurt. Because a thinner needle means a smaller eye, it’s more difficult to get the Presencia 50 wt thread through the eye of the needle. To get really into the detail, Presencia 50 wt is a 3 ply thread which means there are 3 strands twisted together. Aurifil 50 wt is a 2 ply thread, so only 2 strands twisted together. It’s still a 50 wt thread, but with only 2 strands instead of 3, it results in a physically thinner thread. Aurifil goes through the eye of a #11 straw needle like a hot knife through butter. It’s still 100% cotton so I use it exclusively for hand piecing. Most of the time I use an ecru or light tan color, but I have been known to get some grey and white into the mix as well. It is very low lint and doesn’t get horribly tangled as I hand piece.

Quilting in my world is a free for all. I’ll use just about anything. I like the quilting stitches to show, so on my long arm, I love to use King Tut thread from Superior thread. King Tut is a 40 wt 3 ply Egyptian Cotton thread. It’s heavier than what I piece with, but is still fairly low lint (for a cotton thread) and I’ve tuned my long arm over the years to sew very nicely with this thread. I do use a larger needle (a 4.5 instead of a 4.0) so that the thread glides smoothly through the eye. (A side note, if you are breaking thread a lot when machine quilting, try going up a size in your needle. If the eye is too small for the thread, the friction on the thread can result in a lot of breaks). That being said, if I have a color on hand that will go with my project and it’s polyester or rayon, I’m still going to use it. This is probably more because when I’m ready to quilt, I’m ready to quilt now so I work with what I have on hand. Not the best approach but at least I’m being honest about it!!

As I said at the beginning, I feel very strongly that there is not ever a single “right” answer in quilting, it is always an “it depends” answer, depending on what you are trying to do, what you have on hand, and what makes you comfortable to work with. I’ve come to these conclusions about thread over about 28 years of quilting and a lifetime of sewing but this is what works for me. Maybe my loose threads in my blog will help with your thread journey too!

When is 1/4” not 1/4”?

I originally come from a background of sewing garments. In garment work, the standard seam allowance is 5/8″. Most of my life I thought that was a really stupid number, until I realized some of the things it supports: French seams are easier with a 5/8″ allowance. Grading seams are easier with a 5/8″ allowance. Even some bias seams don’t stretch as badly when being manipulated – they do stretch but the stretching doesn’t get much past 1/4″ in from the edge, so at the 5/8″ mark where the seam is, the fabric is behaving well. I learned that last one after sewing a seam, grading it to 3/8″ then realizing it was wrong, and having to gingerly rip it out and resew it. It was horribly tricky to get a smooth seam only at only 3/8″.

When I started quilting, I looked at the 1/4″ seam and thought this was heaven!!! Math is easier with 1/4″ seam. Cutting is easier with 1/4″ seam. Everything all around really should be easier with a 1/4″ seam, until that is you see phrases like “scant 1/4″ seam” or you sew two pieces together and the resulting piece is the wrong size.

Turns out 1/4″ can be even trickier than 5/8″ but in different ways.

First of all, is 1/4″ really 1/4″? All of our sewing machines have a 1/4″ mark, and most of us have a presser foot that is a 1/4″ foot. The trouble with that is that the machine manufacturer has a level of allowable tolerance in where the needle bar is on the machine, and the placement of that needle bar affects how accurate the 1/4″ mark on the sole plate is. The first time I put a ruler under my presser foot and realized that my needle was just a bit off to the left. Probably about 1/32″ off to the left, making my 1/4″ seam about 1/32″ larger.

What’s the big deal with that? 1/32″ is a TRIVIAL measurement! It’s not even marked on any of my rulers!!! Remember, though, that quilting is an additive situation. Let’s say you are making a block that has 16 seams across the width of the block. Something nifty like a trip around the world block of 1″ squares. By being off by 1/32″ over 16 seams, the resulting block is going to be off by 1/2″. [1/32*16=16/32=1/2]. This error compounds itself over the surface of the quilt and you can end up with something that is significantly off sized from what it should be.

Next thing is your pressing and thread. I piece with 50wt cotton thread. It’s not thick but it’s not 40wt either. If I sew a seam and press the seam allowances both to one side, they have to press around and over the thread in the seam. Again, this is a very tiny amount of space, but when it happens over and over, things can get out of whack very fast. Some quilters took this into account by introducing the scant 1/4″ seam. Which is really more like a 6/32″ seam instead of 8/32″ so that when the seam allowance is pressed, it acts like 1/4″ in the finished piece keeping the measurements right. Ok this could work but I have to figure out where that line is on my machine and how to maintain that same seam allowance since I would be money it doesn’t line up with either my 1/4″ mark or my 1/4″ foot.

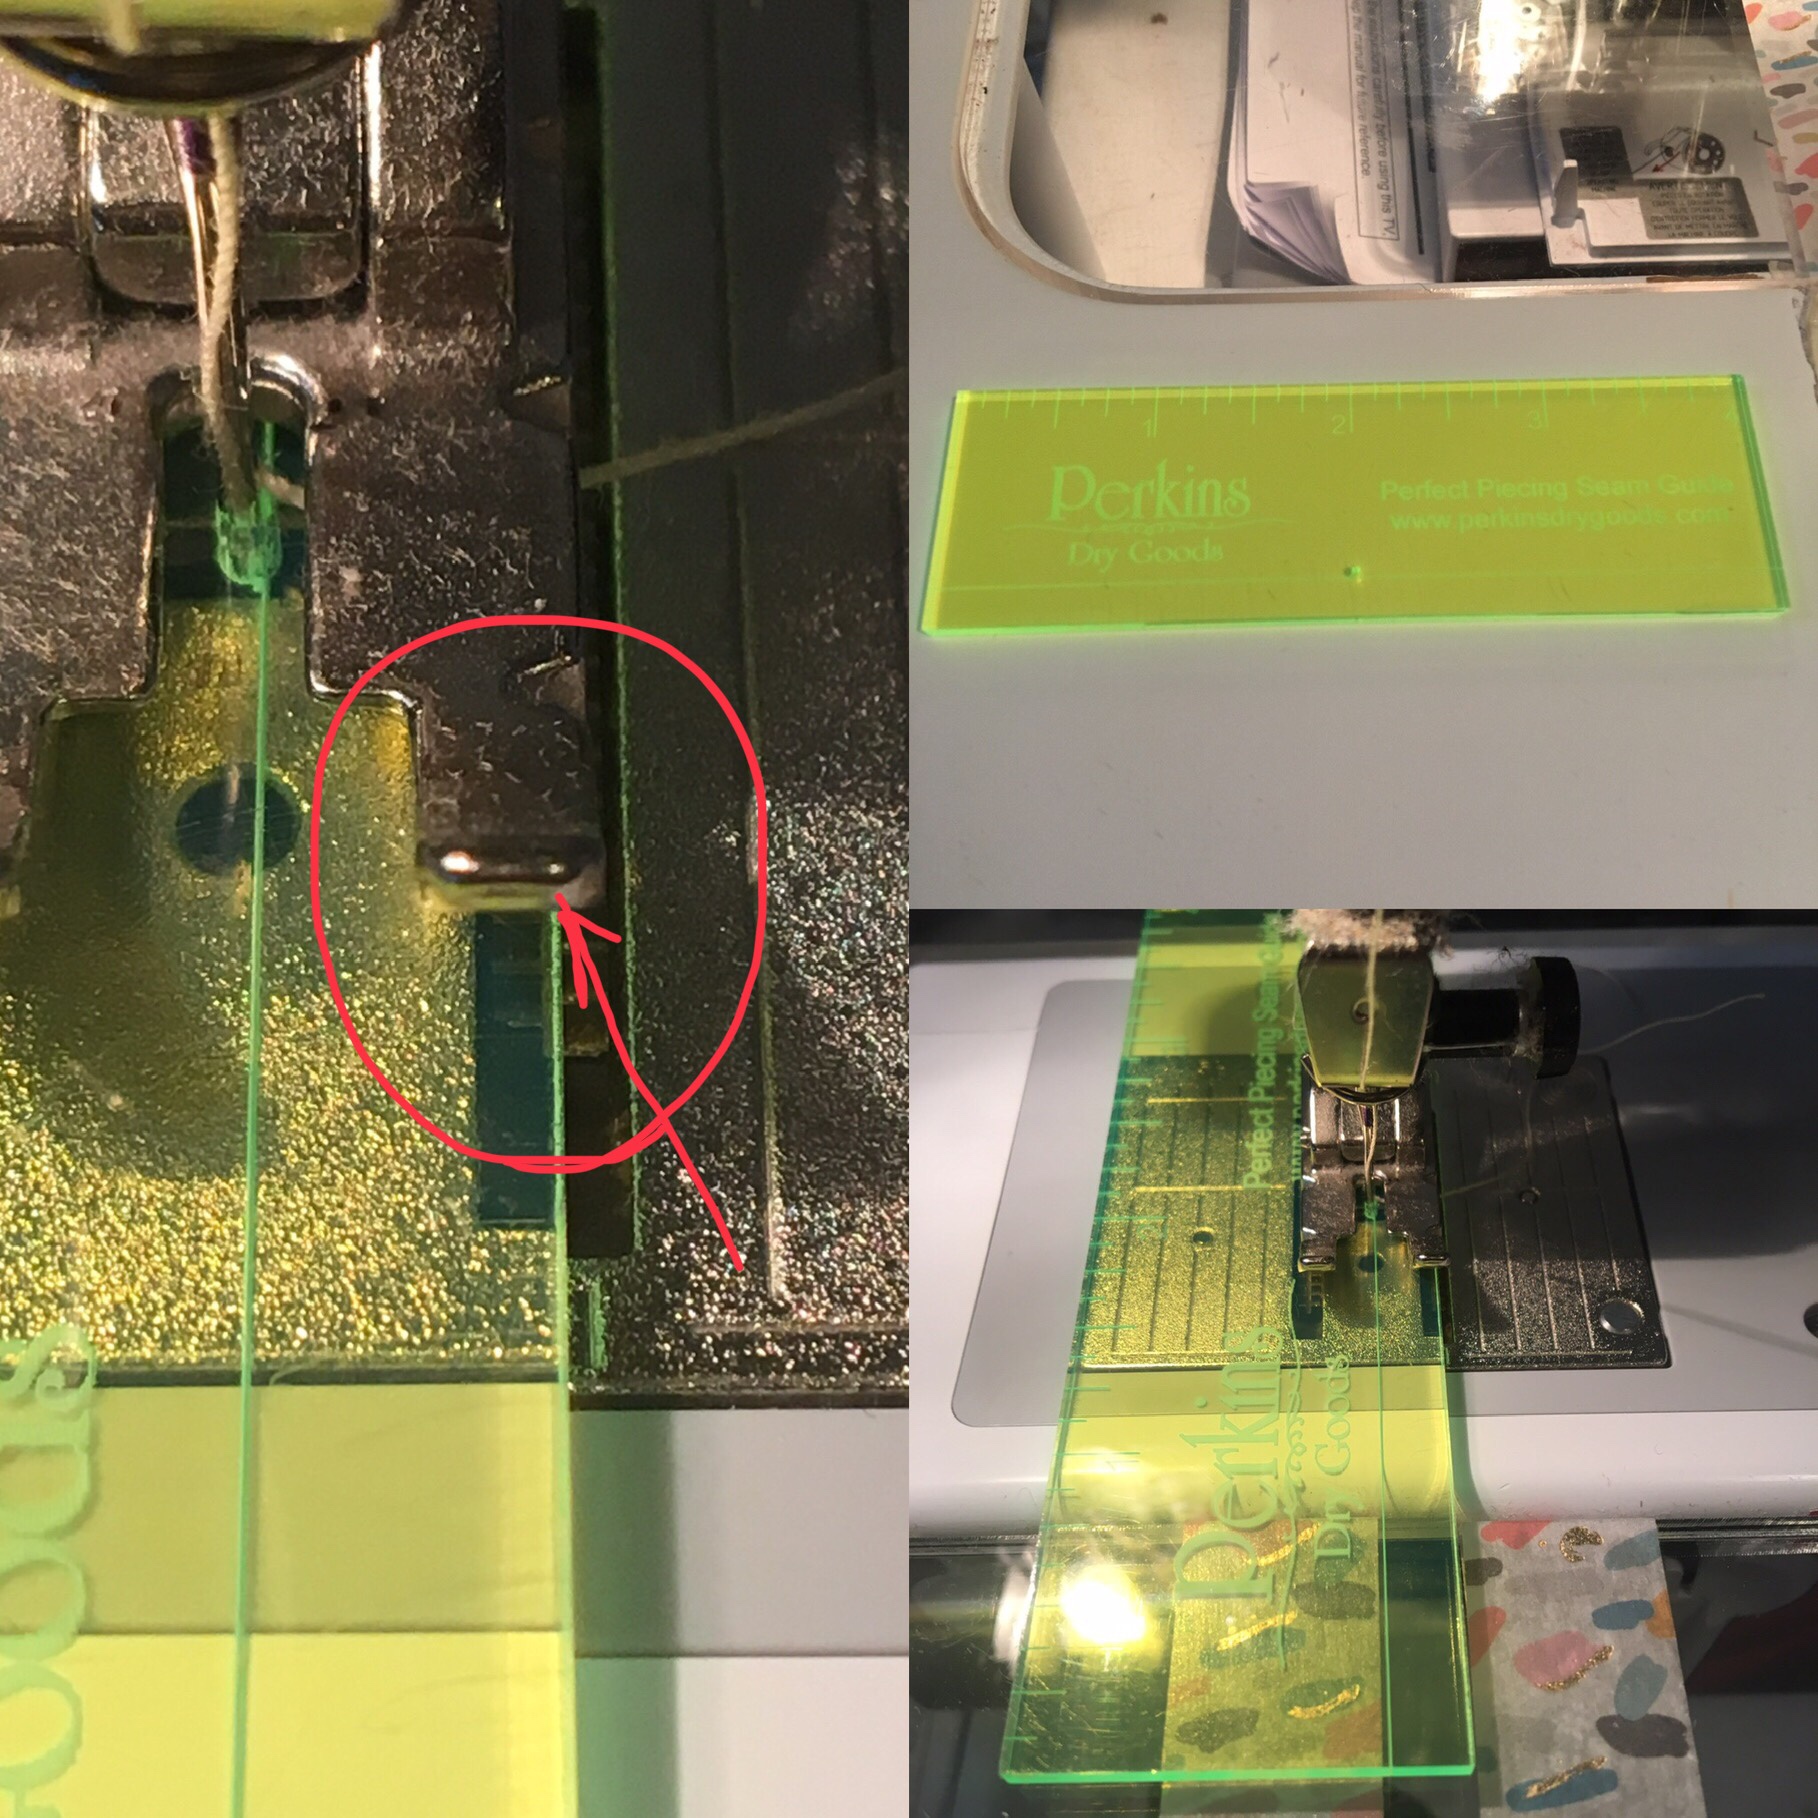
Enter the Perkins Perfect seam guide, possibly my favorite quilting notion ever. It’s a little piece of plexiglass, with a scant 1/4″ line scored down one side and a little hole right at that line. You put this under your presser foot, drop your needle into the little hole and mark the edge of the seam guide on your machine. Remove the Perkins from under the needle and now when you sew, use that mark to be your scant 1/4″. It’s very reliable. It also lets me use several different machines on the same project and ensure that my seam allowance is the same on all of them. This is spectacular! Since getting my Perkins and using it regularly, I have noticed that my quilting accuracy has improved significantly.

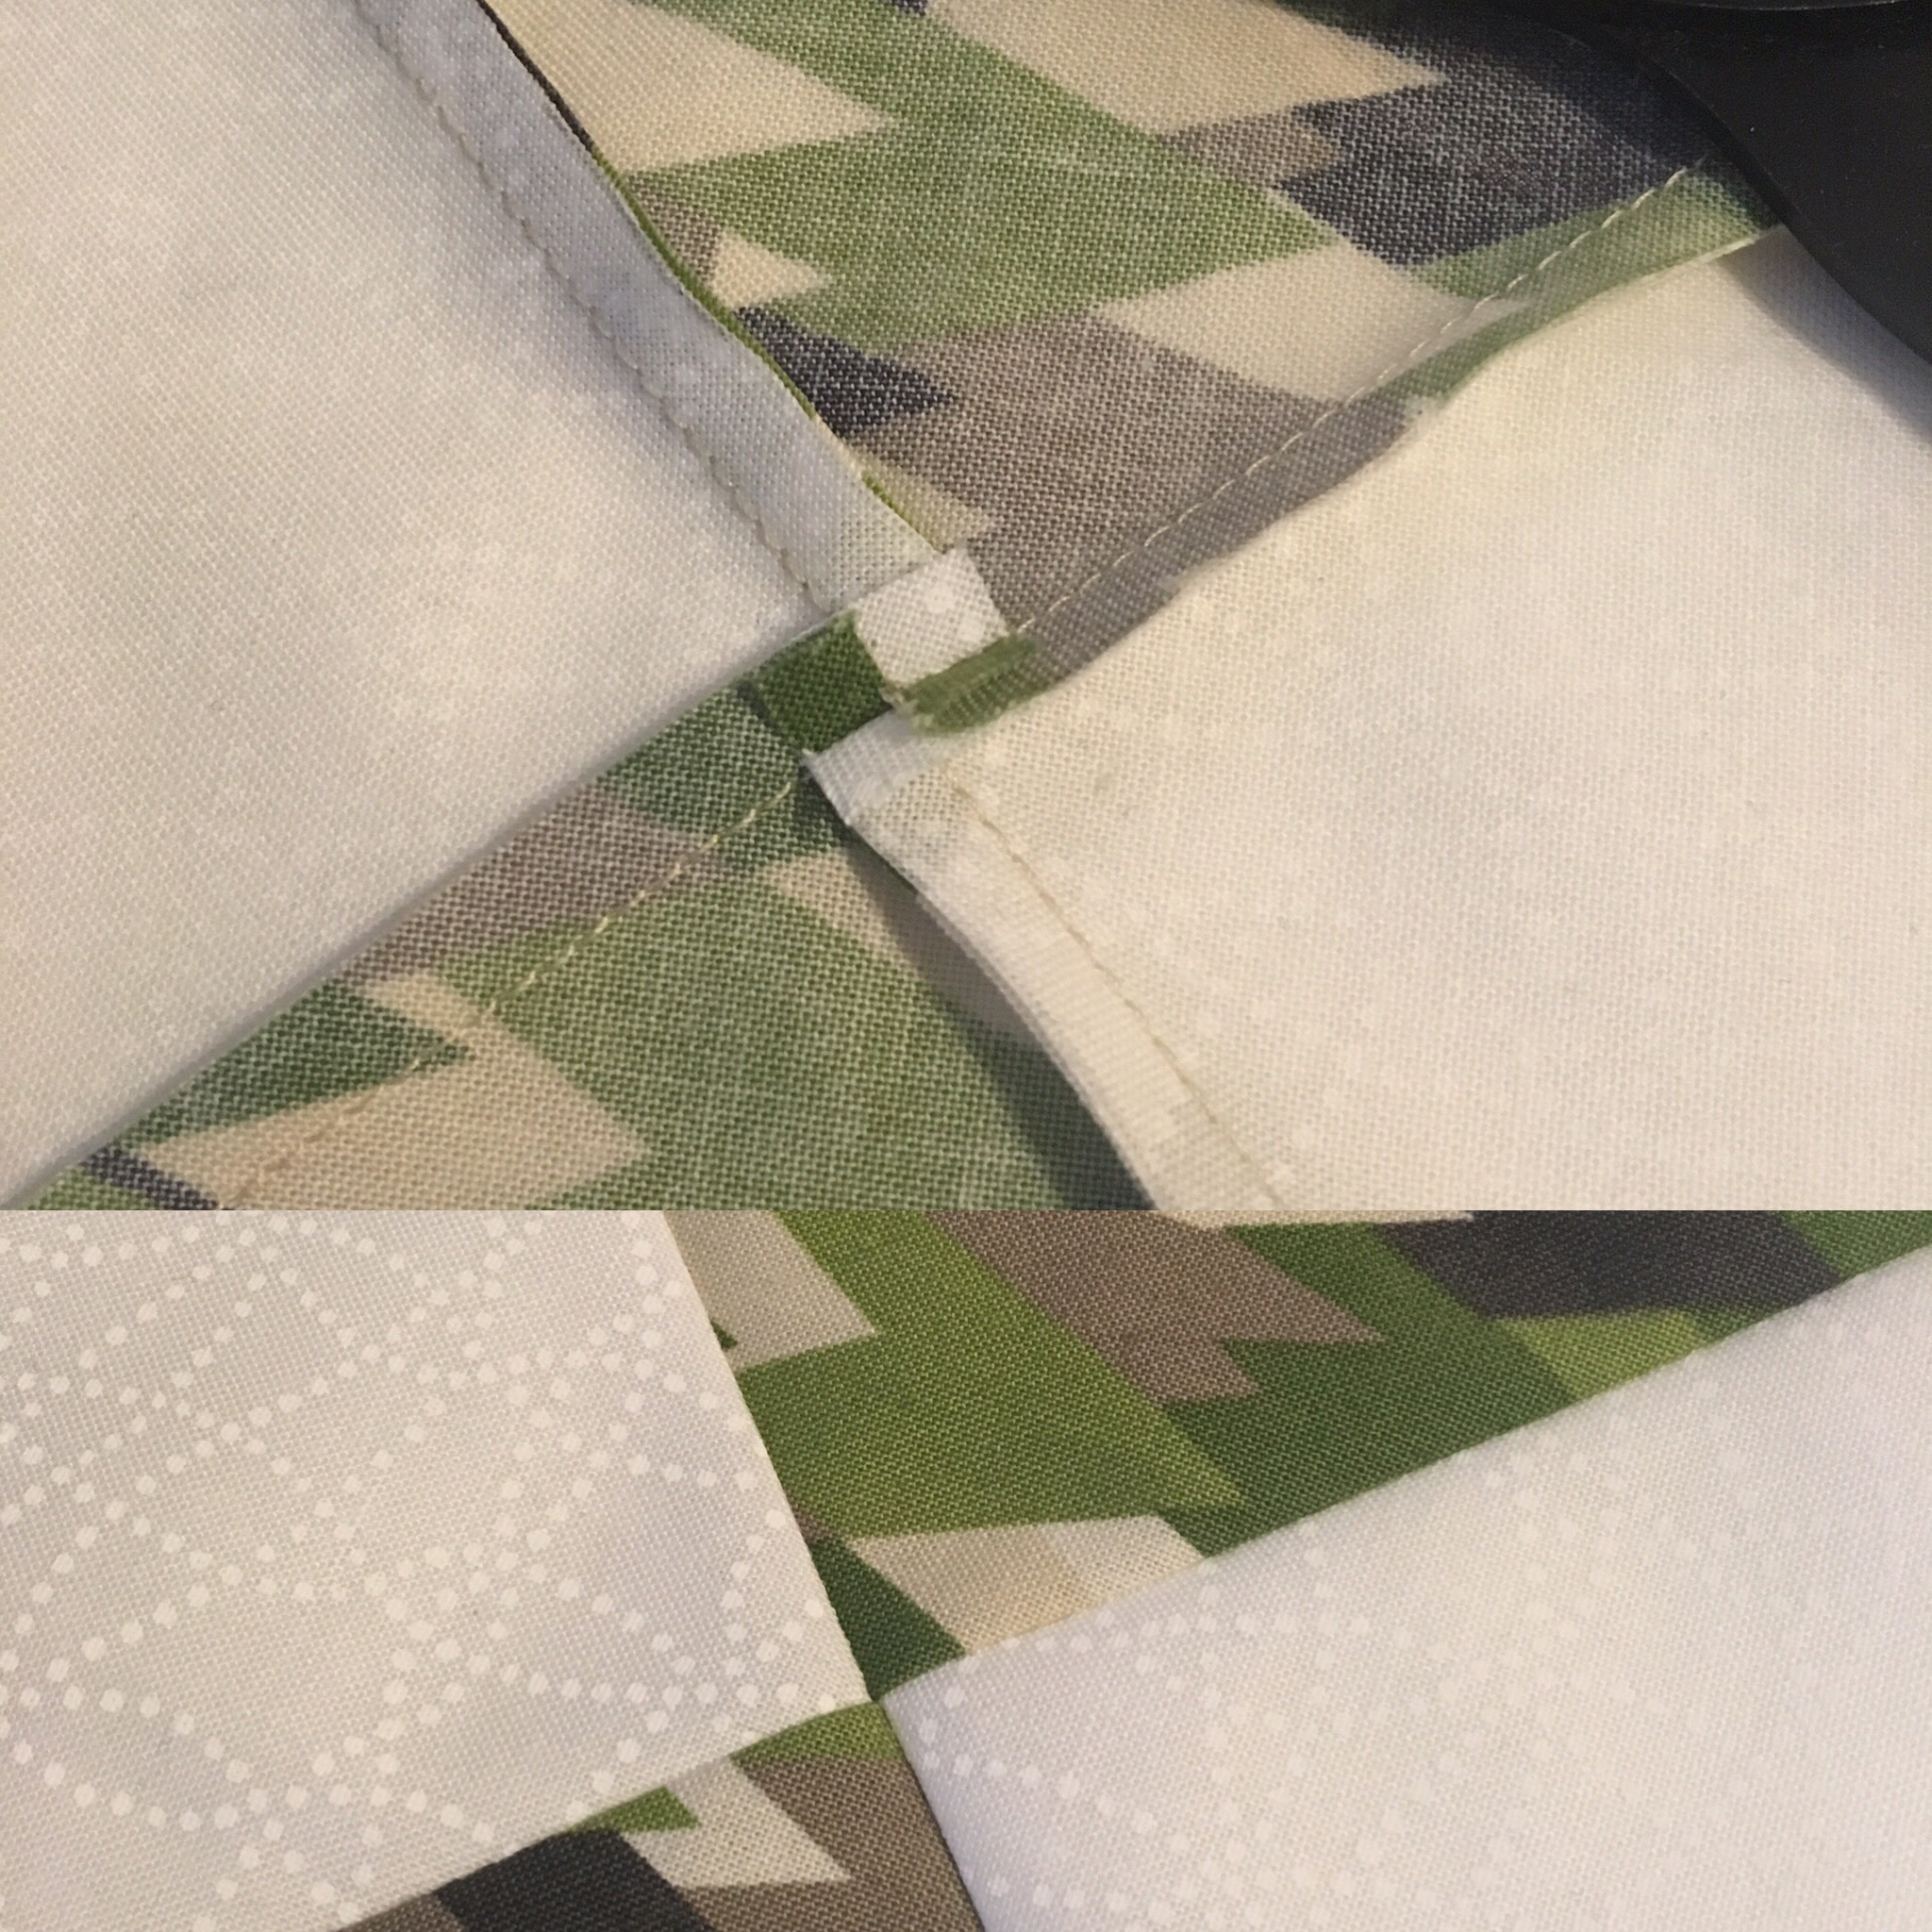
There are some cases where I cannot use a seam guide, such as sewing HSTs. In that case I’ve learned to make them bigger than I actually need, guesstimate my scant 1/4″ seam then trim the pressed HSTs to exactly the size I need (I have a notion for that but that’s for another post on another day).

A quarter inch is such a little thing but it can cause such big headaches to a quilter!

Thoughts on a Pressing Matter

One of the great ironies in my life, is that I’m a quilter who hates to iron. I purchase my clothing, quite often, based on its ability to be wash and wear right out of the dryer. To then take up a hobby that has an iron as an integral tool is very amusing to me.

Let’s take a step back for a minute and talk about the difference between pressing and ironing. To most of the world those terms are used interchangeably but they are not exactly the same thing. Ironing involves moving the iron to smooth out creases in the fabric. Pressing is placing the iron and allowing the heat and pressure to usually set a crease. I iron my fat quarters before I cut them, but I press my seams once I finish sewing

This distinction can really make a difference in what you are doing. In the case of a really long seam, like sewing together two 2 1/2″ strips, ironing the seam open can really cause it to go wonky. Subsequently, when I cut it into smaller pieces they will not be square. Instead, if I finger press the seam open first then press firmly with a hot iron, I can keep the strip set very straight and square, so the pieces I cut from it will also be straight and square.

I mentioned something else here – finger pressing. Using just the pressure of my fingers to get the fabric going the way I want it to go before I use the iron. I tend to always iron my fabric with something like Mary Ellen’s Best Press first, so when I finger press, I can get a pretty good crease going just with my fingers. I’m not having to use the weight of the iron to force the fabric around and since it’s already headed in the right direction, I can just press the seam into place. Very handy and makes my piecing much more accurate.

Now that we’ve covered ironing and pressing, the next big question is which direction: open or to one side. My answer is it depends. I’m a big it depends kinda quilter. There are very few things in quilting that I think are absolutes. Most of the time it depends on what you are trying to accomplish and I chose the method that is going to best support what I’m doing.

Back when I started quilting, the rule was you pressed both seams to the same side, always behind the darker fabric so the seam allowance wouldn’t show through the front. There were times I had so many layers of fabric that I thought I would need a rubber mallet to mash it all into something manageable. Those thick layers of seam allowance can cause all kinds of issues – broken needles and wobbly seams just to name a few. All so that there isn’t a little shadow of a seam allowance behind the light fabric.

Lately I have really been branching out. First up, I learned how to spin my seams from Bonnie Hunter (tutorial here http://quiltville.blogspot.com/2005/06/spin-those-four-patch-seams.html) I’m still pressing both seam allowances to one side, but then the crossing seam is pressed so that there is not a giant lump in the middle. No the seams don’t always go behind the dark fabric, but my blocks sure do lay much flatter and are much happier under my long arm needle.

The last 4 years, I’ve started pressing more and more seams open, especially when a lot of little seams come into the same place, it can help even more distribute the bulk. Again I get flatter seams and happier long arm needles in the process. With both of these techniques, I finger press first to get things started before taking to my iron to press firmly in place.

I try to look at a pattern I’m going to do and think about my pressing plan before I get started. Certain styles of blocks I’m developing a go to plan. For example, 4 patches, I always spin my seams now. Half square triangles, I press the seam open. Not because there’s a lot of bulk in the HST itself, but because usually the blocks I’m going to make with the HSTs will have a bunch of seams coming together in one place (like at the center of a pinwheel block) and pressing the HST seams open to start with will result in less bulk in the final block setting.

So on your next project, spend a couple of minutes evaluating these pressing matters, you might really like the improvement in the finished product.

Nickel Squares and Tribbles

A lot of my friends know I’m a huge Star Trek Fan. There was an episode in the original series where they encounter a life form called the Tribble. They are fur balls (literally) that multiply at a rate that would impress rabbits. It was a cute episode, but what I enjoy even more, is that in several interviews, cast members noted that for months after the episode, they kept finding Tribbles in various nooks and crannies of the set. Despite multiple attempts to completely clean up, Tribbles kept appearing.

A couple of years ago, my Friday group did a swap of Nickel squares (5″ squares of fabric). We swapped sets of two light and two dark 5″ squares. A lot of squares. I supposed in the interest of full disclosure, I should note I was the one in charge of the swap. We had chosen that setup because it supported a number of layouts in the book Nickel Quilts by Pat Speth. We had done some extensive math (ok, I had done some extensive math, but everybody had agreed) on how many ‘sets’ were needed to accomplish a full sized quilt from several of those patterns.

We swapped nickel squares for a year. Every month. Most folks were on time and it was a great swap. I should probably note that the main pattern favored is a block called Tillie’s Treasures, and the 4 5″ squares make a very small and detailed finished block. I knew early on that Tillie was not for me, and decided I would use the squares to make 8″ pinwheel blocks (my favorite block pattern).

I started cranking out pinwheel blocks and managed rather quickly to put together a fabulous twin sized quilt. I knew I wasn’t using all the squares by a long shot, so I started working on a bunch of 8″ birds in the air blocks too. That one isn’t done yet, but I put all the 5″ squares in a box with the blocks and I pull it out from time to time.

In the subsequent couple of years, as I rummage in my sewing room, come across the odd sets of 5″ squares from the swap. Loose and running around in the environment as it were. When I do, I stick them in the box with the others and keep going. It’s rather disturbing how often I run across some more 5″ squares. When I think I have collected all of them they keep showing up. Like Tribbles.

This month at our regular Friday meeting, I noted how the squares are still turning up randomly in my sewing room and several other gals noted the same thing. Every time we think we have found them all, a couple more show up. Like Tribbles.

On the Tribbles there was some speculation that a cast or crew member was bringing them in and planting them on set to be found later. I’m fairly sure that no one is bringing in 5″ squares and planting them in my sewing room (I will admit I’m only about 99.99% sure but still) and they are still showing up.

I’m to the point now where I just laugh when I find them. I don’t need to answer the mystery at this point. I’m going to be going through my whole stash in the next 6 months, cleaning out in order to move. What will really be telling is after I move, if the random 5″ squares start appearing again.

I’ll let you know…

Analysis Paralysis: Getting yourself started

Have you ever had trouble getting started on something? A task so big that you really are just so completely overwhelmed that you don’t have a clue how to begin? You know it has to be done and some how the urgency of the task just makes the difficulty worse. Yup. I think we have all been there.

My Mother used to use the phrase “month of Sundays” and I pondered that often. I took it to mean 30 days where you have more control over your time. (I used to say nothing to do but I never have a day with nothing to do anymore). I get this. Not in a month of Sundays means that even with 30 days dedicated to nothing but this task, and I still wouldn’t have a snowball’s chance in Hades of getting it done.

<insert heavy sigh here>

I have been getting more successful at dealing with this by breaking things down into chunks and working on the smaller pieces but this time I feel like I am faced by Mt. Everest and I have no idea where to begin. All this week I have been doing anything but get started. ANYTHING. I even cleaned my house. That should tell you how bad it is. I am hoping that by writing this blog post I can put enough awareness into my situation that I can wrest some kind of control and at least get started. I know if I just DO SOMETHING I can get some movement going.

I am realizing it doesn’t even really matter what I do first. This isn’t about doing the right thing first, it’s about doing anything first. It’s the words on the blank page. I did learn a long time ago when writing that if I don’t know where to start, start in the middle and go back and write the beginning later. I’m a rather structured person, so I tend to think that there is a prescribed order to things. “Let’s start at the very beginning, a very good place to start”. Yea. As my programming career grew, I moved from structured languages where you wrote everything in the order it was to happen, to languages where you wrote snippets that could be called any time. My head exploded in a class when my instructor told me it didn’t matter what order those were presented in, it would all still work.

As I get older, I’m starting to see that there can be a lot of value in this approach. You don’t have to start at the beginning, you don’t have to do things in order unless there is a dependency. So I really need to step outside my comfort zone on this one. I don’t have a complete list and I am overwhelmed but I am going to do something to break the log jam. Of course somebody could point out that writing this post is just another form of avoidance on my part, but it’s more like the pep talk in the locker room before the big game (just how many different metaphors can I stuff in this post?). I’m talking myself up so I can run out on the field and start.

Ask me in a week if I started.

Getting rid of thread barf

We’ve all been there. You are starting a seam on your sewing machine, and the machine sucks the top thread down underneath the fabric. There are some horrific sounds, possibly a couple of skipped stitches and the seam leaves a rats nest of thread on the underside of the fabric: thread barf.

I have used a lot of machines in my life, expensive machines, bargain machines, new machines, antique machines, and no machine is immune. Some do it less often – I feel this is a correlation to Murphy’s Law – the more important it is, the more likely you are to have thread barf. That being said there is a way to avoid thread barf 100% of the time!!

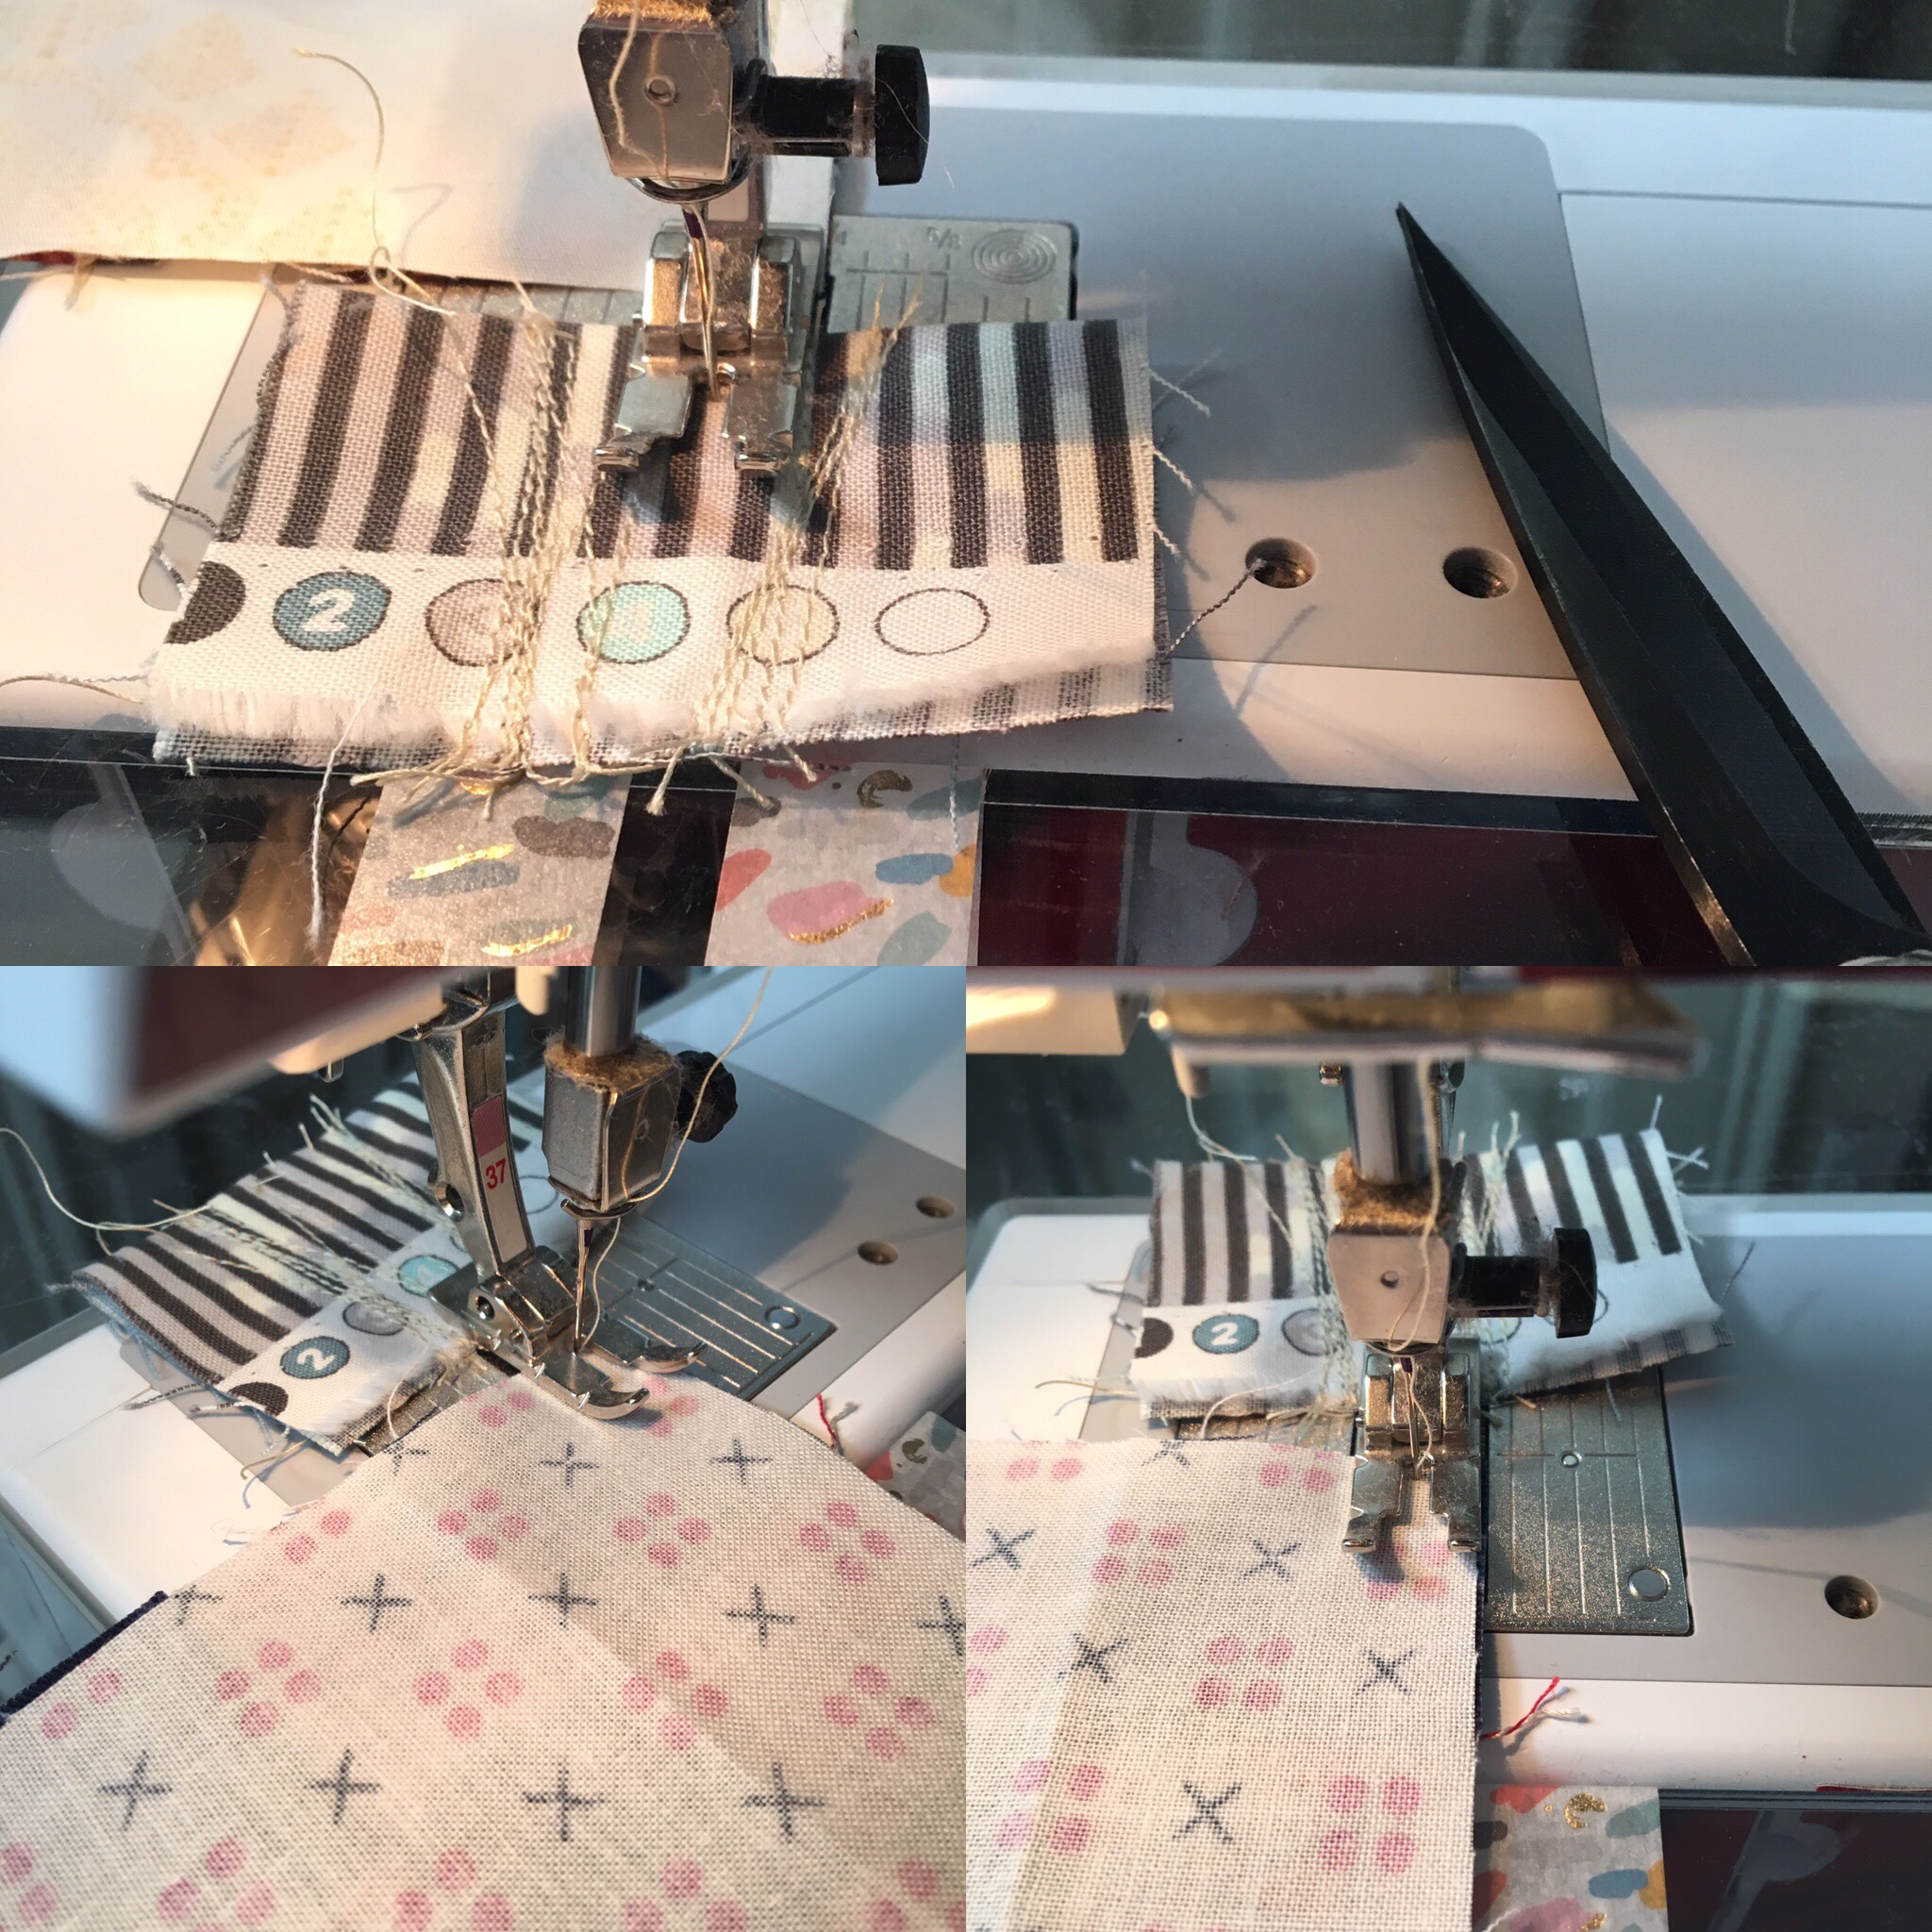
I’m talking about using Leaders and Enders! If you chain piece, you know part of the joy in chain piecing is that you sew from one piece to the next smoothly with no possibility of thread barf. The top thread is neatly tied up in the existing line of stitching and cannot misbehave. Using Leaders and Enders just mean you start sewing on a piece of scrap fabric, so that when you start sewing on your project piece, you are already established in a seam, so you smoothly start the seam on your new piece. When you finish the piece, you sew off onto another piece of scrap fabric, and clip the seam to free your project piece. A second benefit is you never have to lift your presser foot and you don’t ever release the tension discs on the top thread. You basically never stop sewing, you are just chaining from Leader to project to Ender (which now becomes the next Leader) to project to Ender and so on.

But Wait! There’s MORE! Yes it gets even better!!! You don’t have any thread tails to go back and snip with this method which means your floor (and your sweater) are not littered with thread that you have to clean up.

If you are really organized and ambitious, you can piece two projects at a time. Bonnie Hunter talks about this regularly using one project as her leader/ender seams, while piecing her main project. I have friends who work a modified version of this, piecing scrappy 4 patch blocks as their leader/ender seams. I’m easily distracted by shiny objects and very often find myself doing nothing with main project and sewing only leader/ender project pieces. Sigh. So most of the time I stick with scrap fabric for my leaders and enders but I still reap the benefits of no thread barf, no threads to trim or clean up and not having to raise and lower my presser foot.

The cover photo for this post shows leaders and enders in use. Give it a whirl and see if it removes the dreaded thread barf from your sewing life. My goal this year is to train myself to sew scrappy 4 patch blocks as my leaders and enders. There’s some cutting that needs to happen and some organization of my sewing space, but I think it’s an achievable goal for this year. TWO PROJECTS AT THE SAME TIME!!

How much to stash?

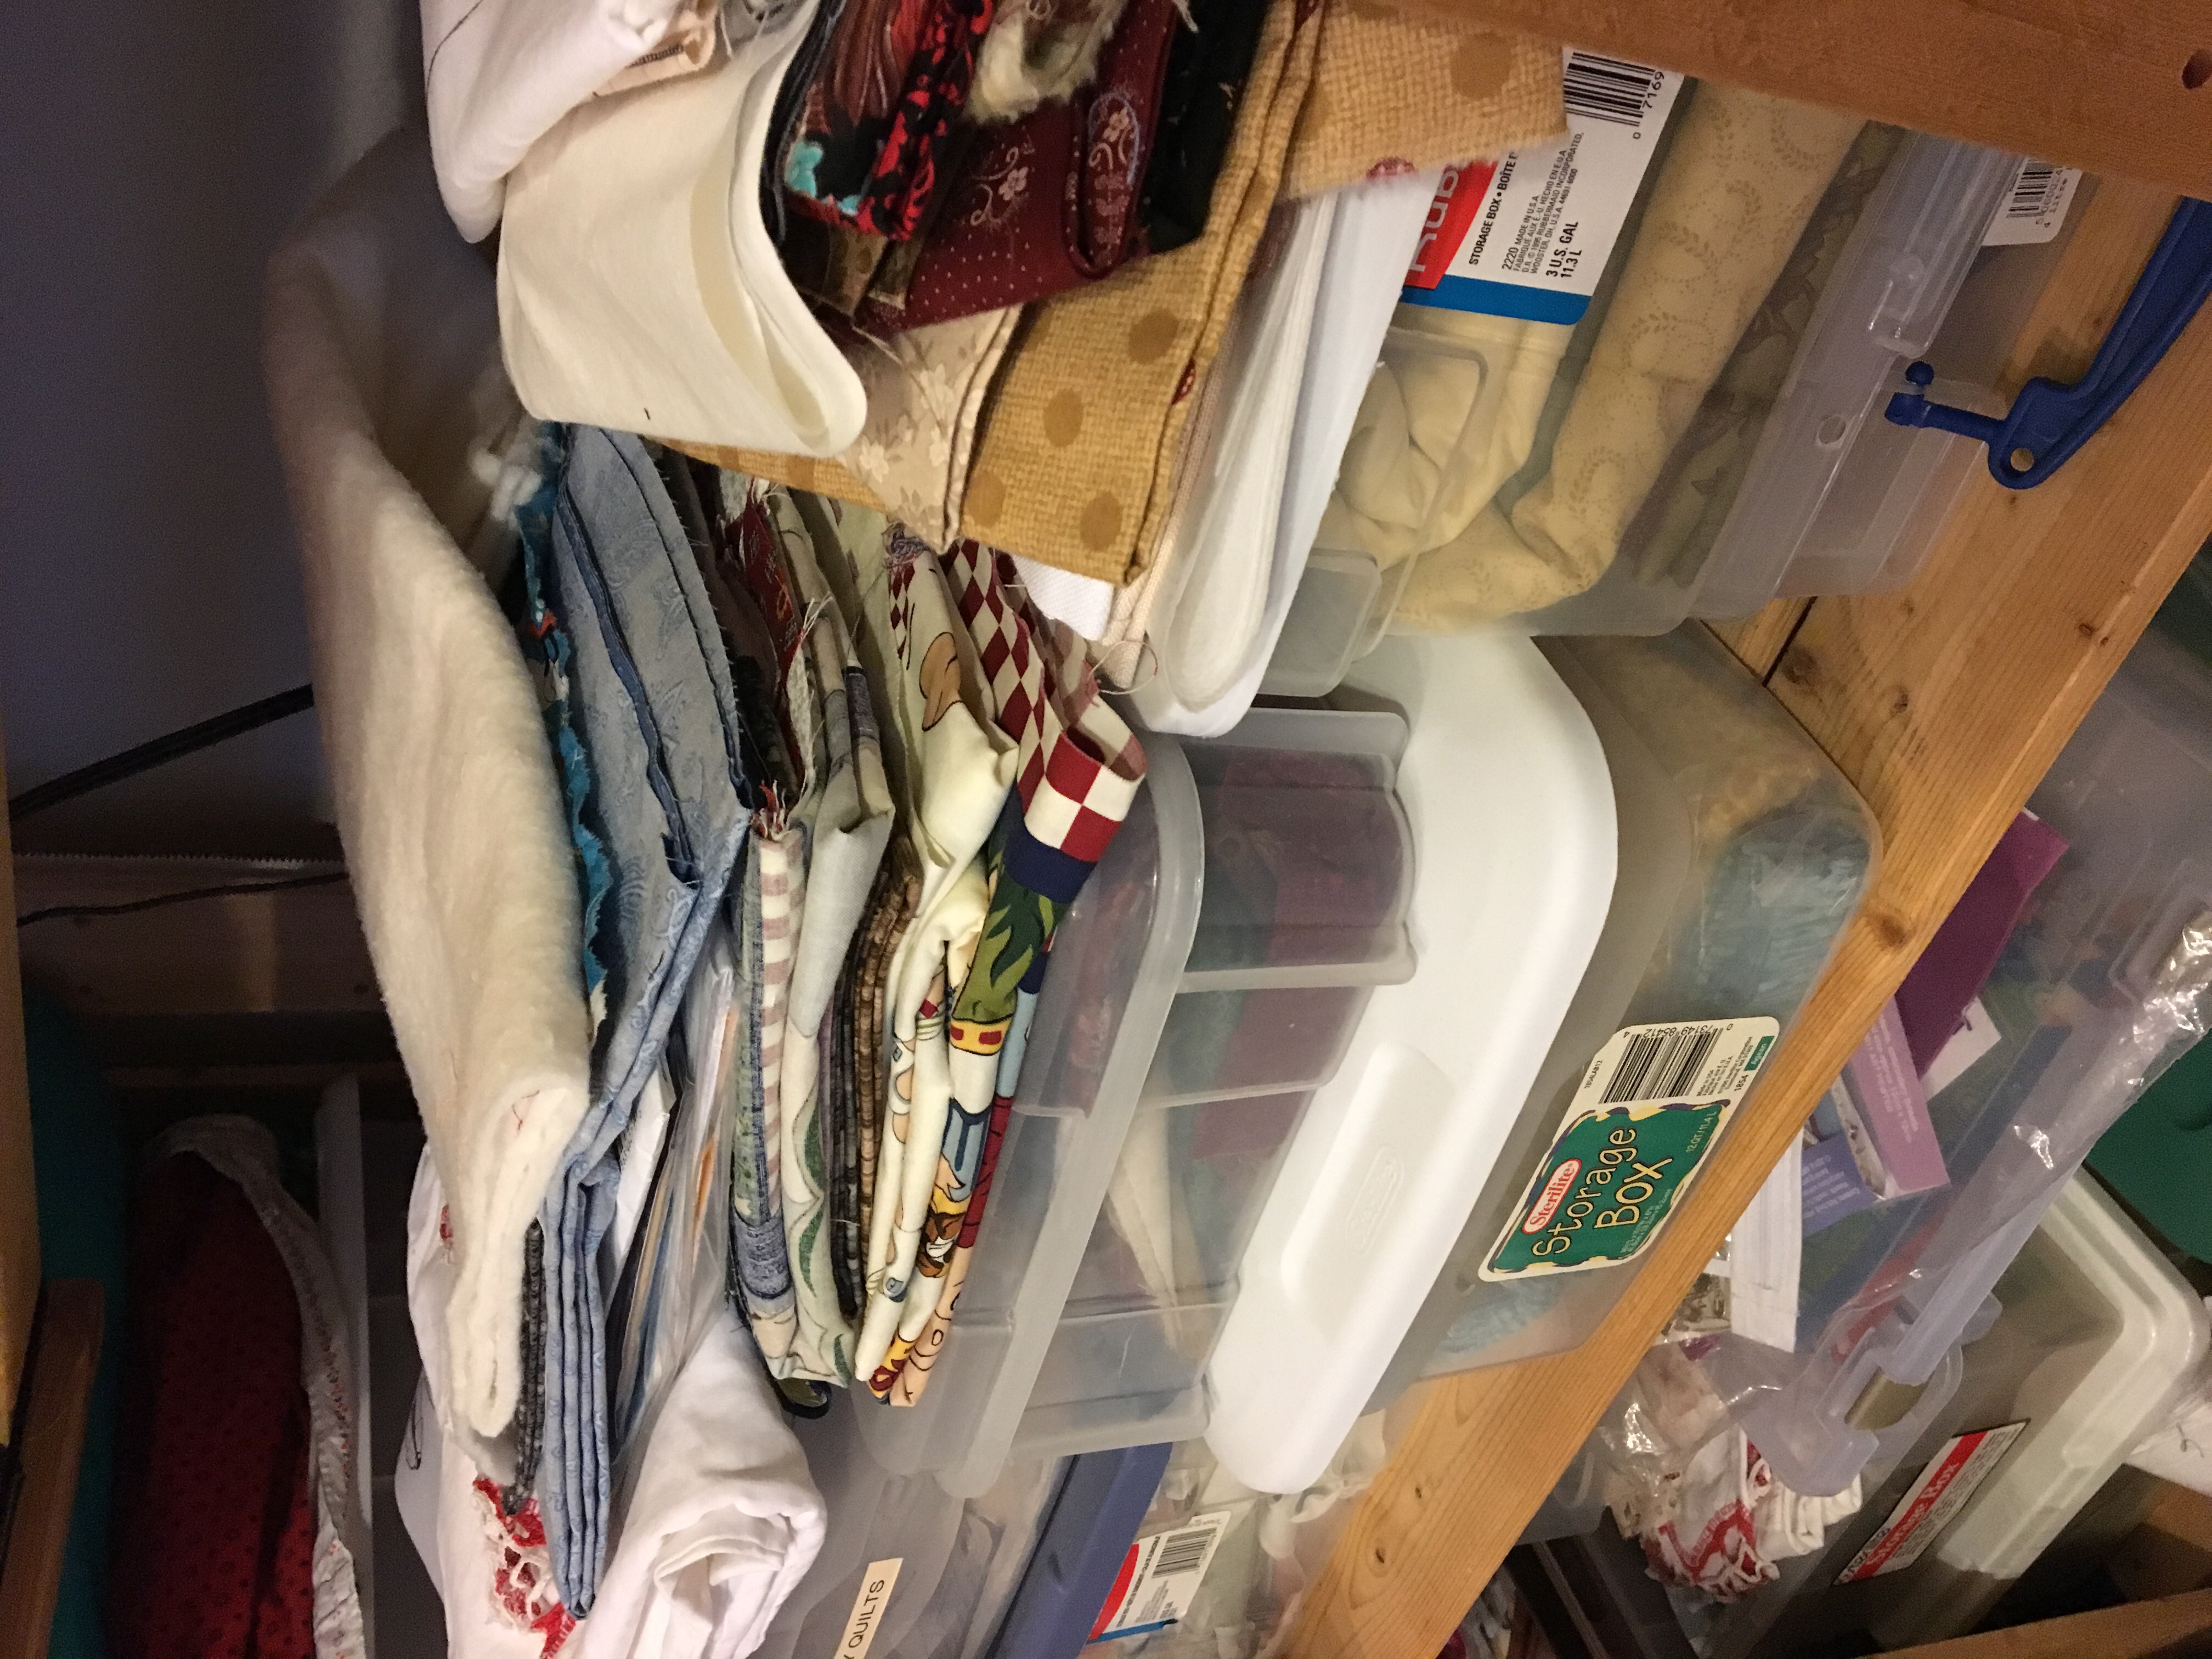
I think just about every quilter I know has a stash. Some have it neatly arranged on shelves. Some have it in bins. Some have yardage, some have precut sizes, but it seems like all of us have a lot of fabric waiting for an opportunity. I’m no exception. I’ve been seriously quilting almost 30 years now, so there’s a rather sizable stash. I mentioned in another post that I misplaced a 9 YARD PIECE OF FABRIC. How does one lose 9 yards of fabric???? That’s a lot of fabric to misplace. (I have since found it in a box where I did not expect it to be).

Lately I’ve been considering this situation a lot. My taste in fabric and my style of quilting is really going through a huge shift right now. One of the key points I have discussed before is how scrappy things are going. Ultra scrappy. Scrappy to the extreme. Scrapilicious! To do that, I don’t necessarily need lots of yardage, what I need is lots of variety. LOTS of variety. I stand and look at my fabric stash and end up cutting a little bit off of a lot of pieces, so I’ve come to a HUGE decision.

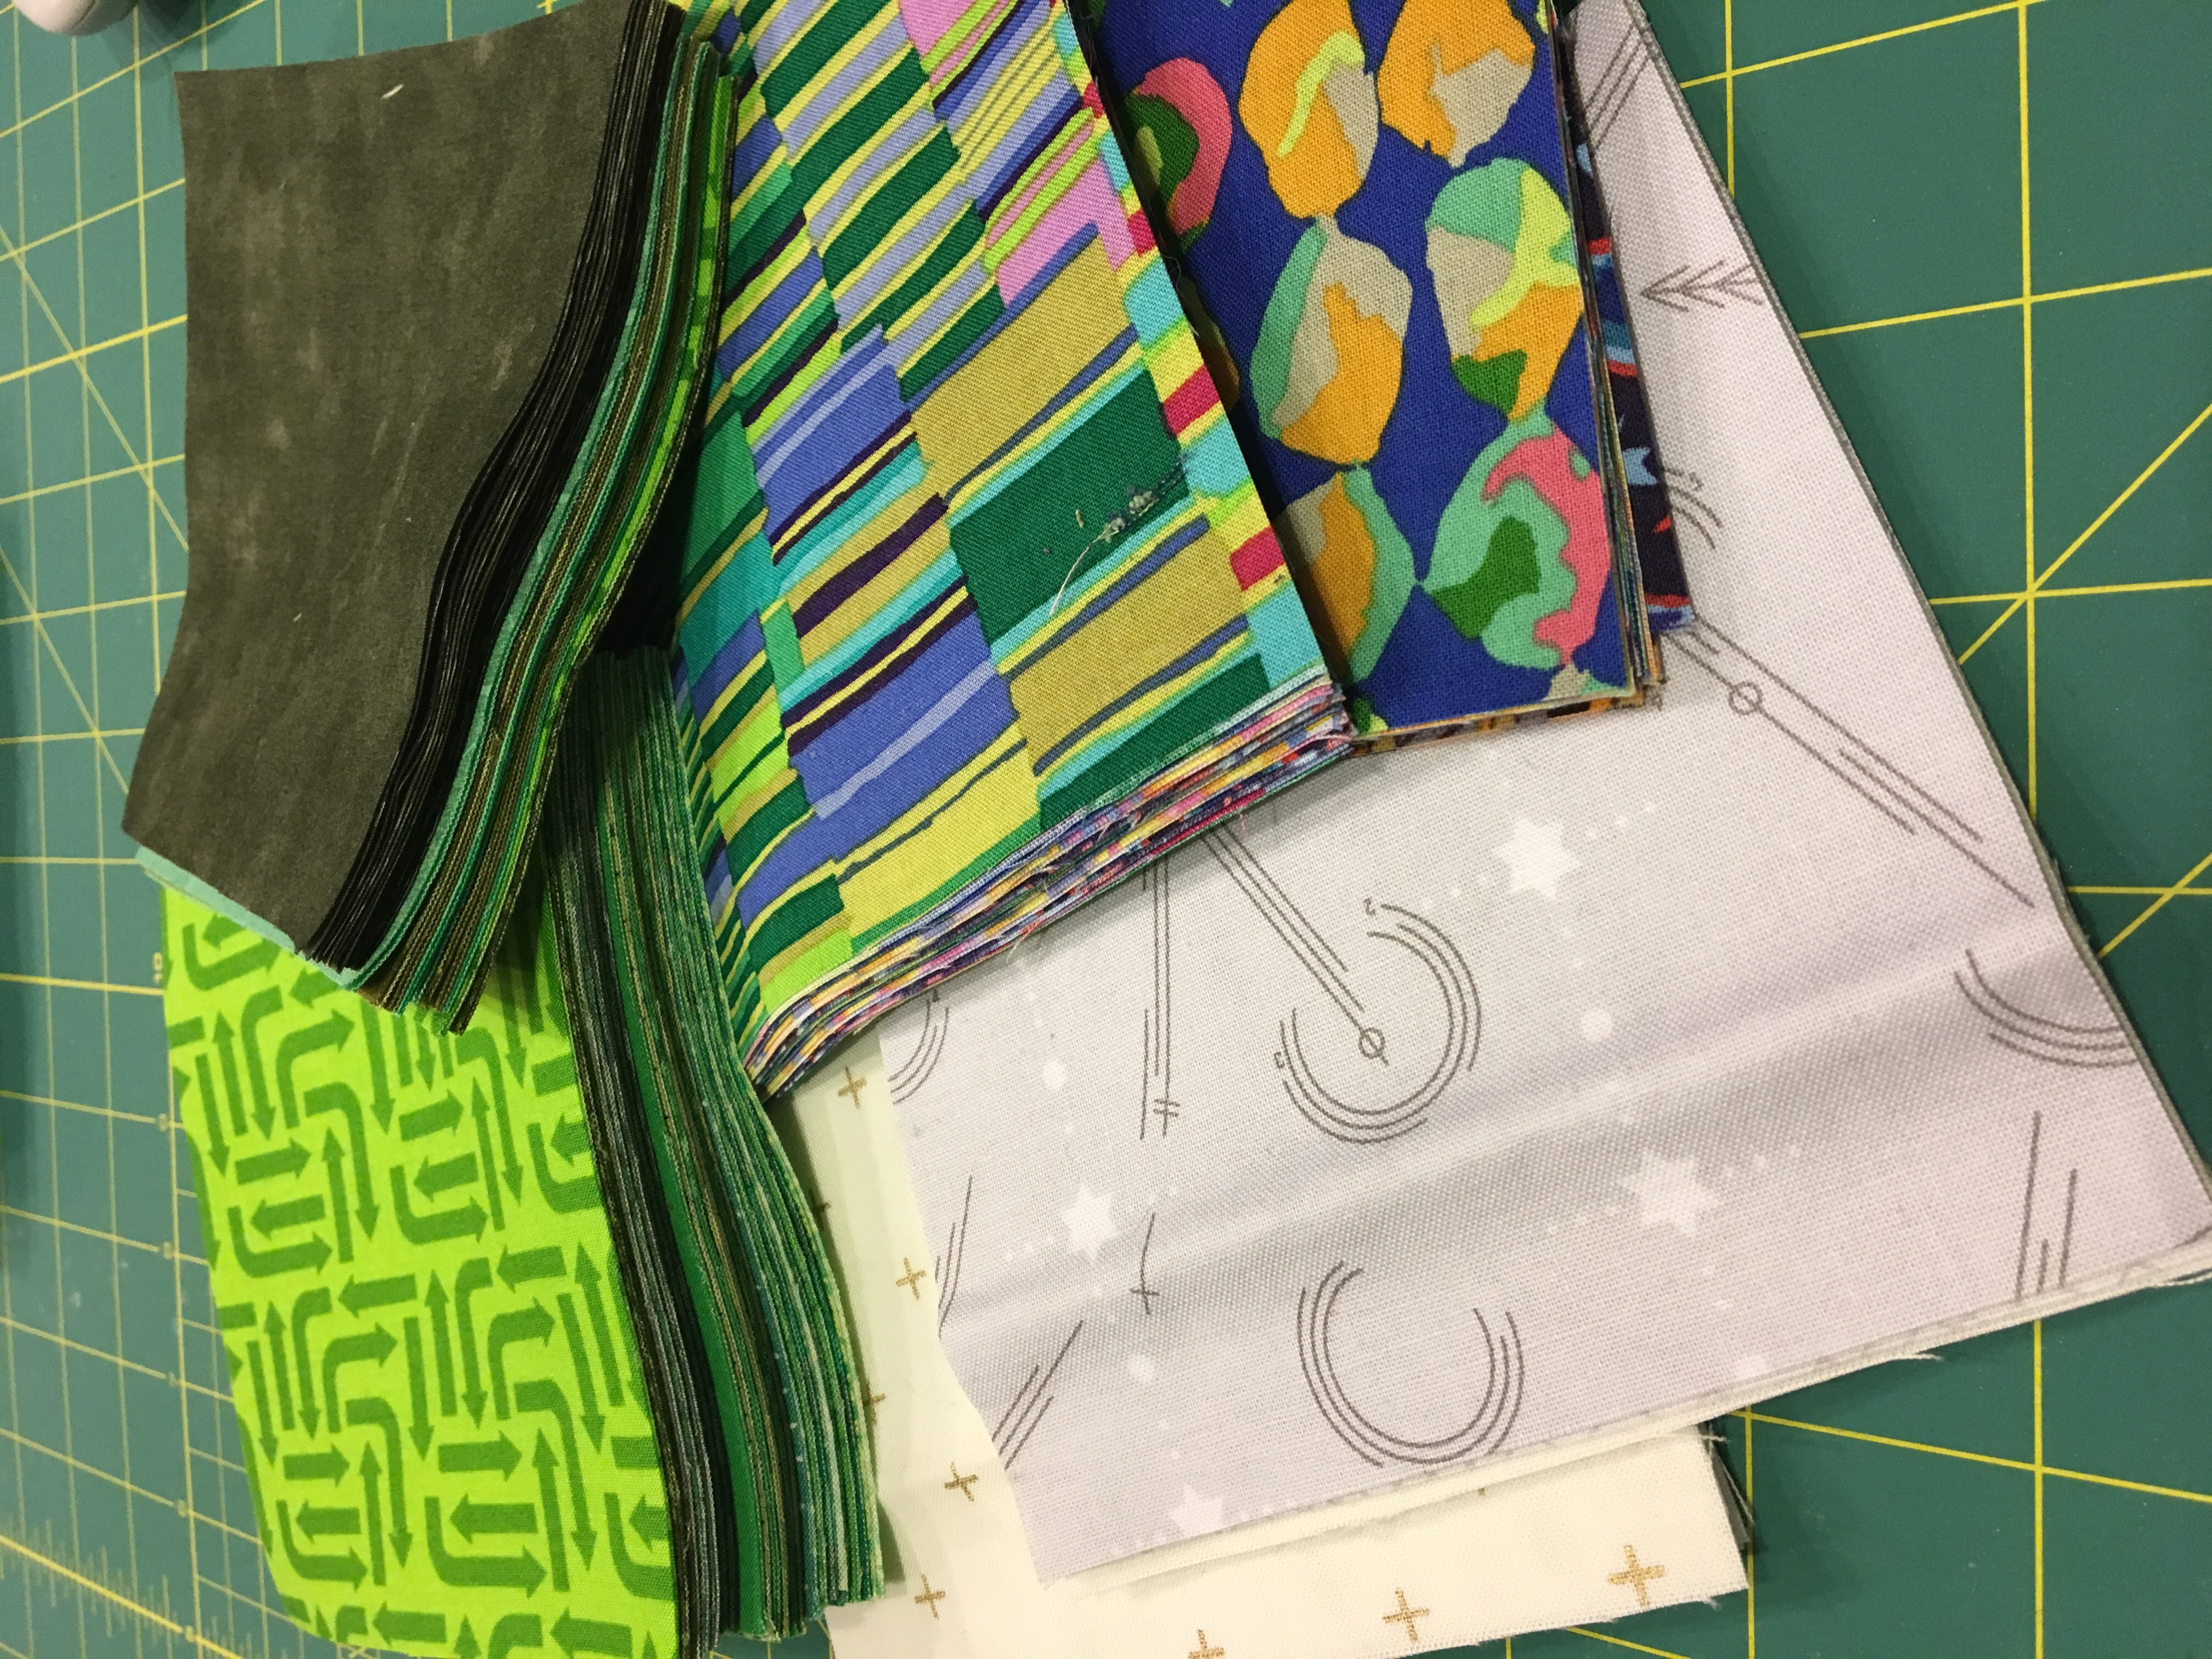
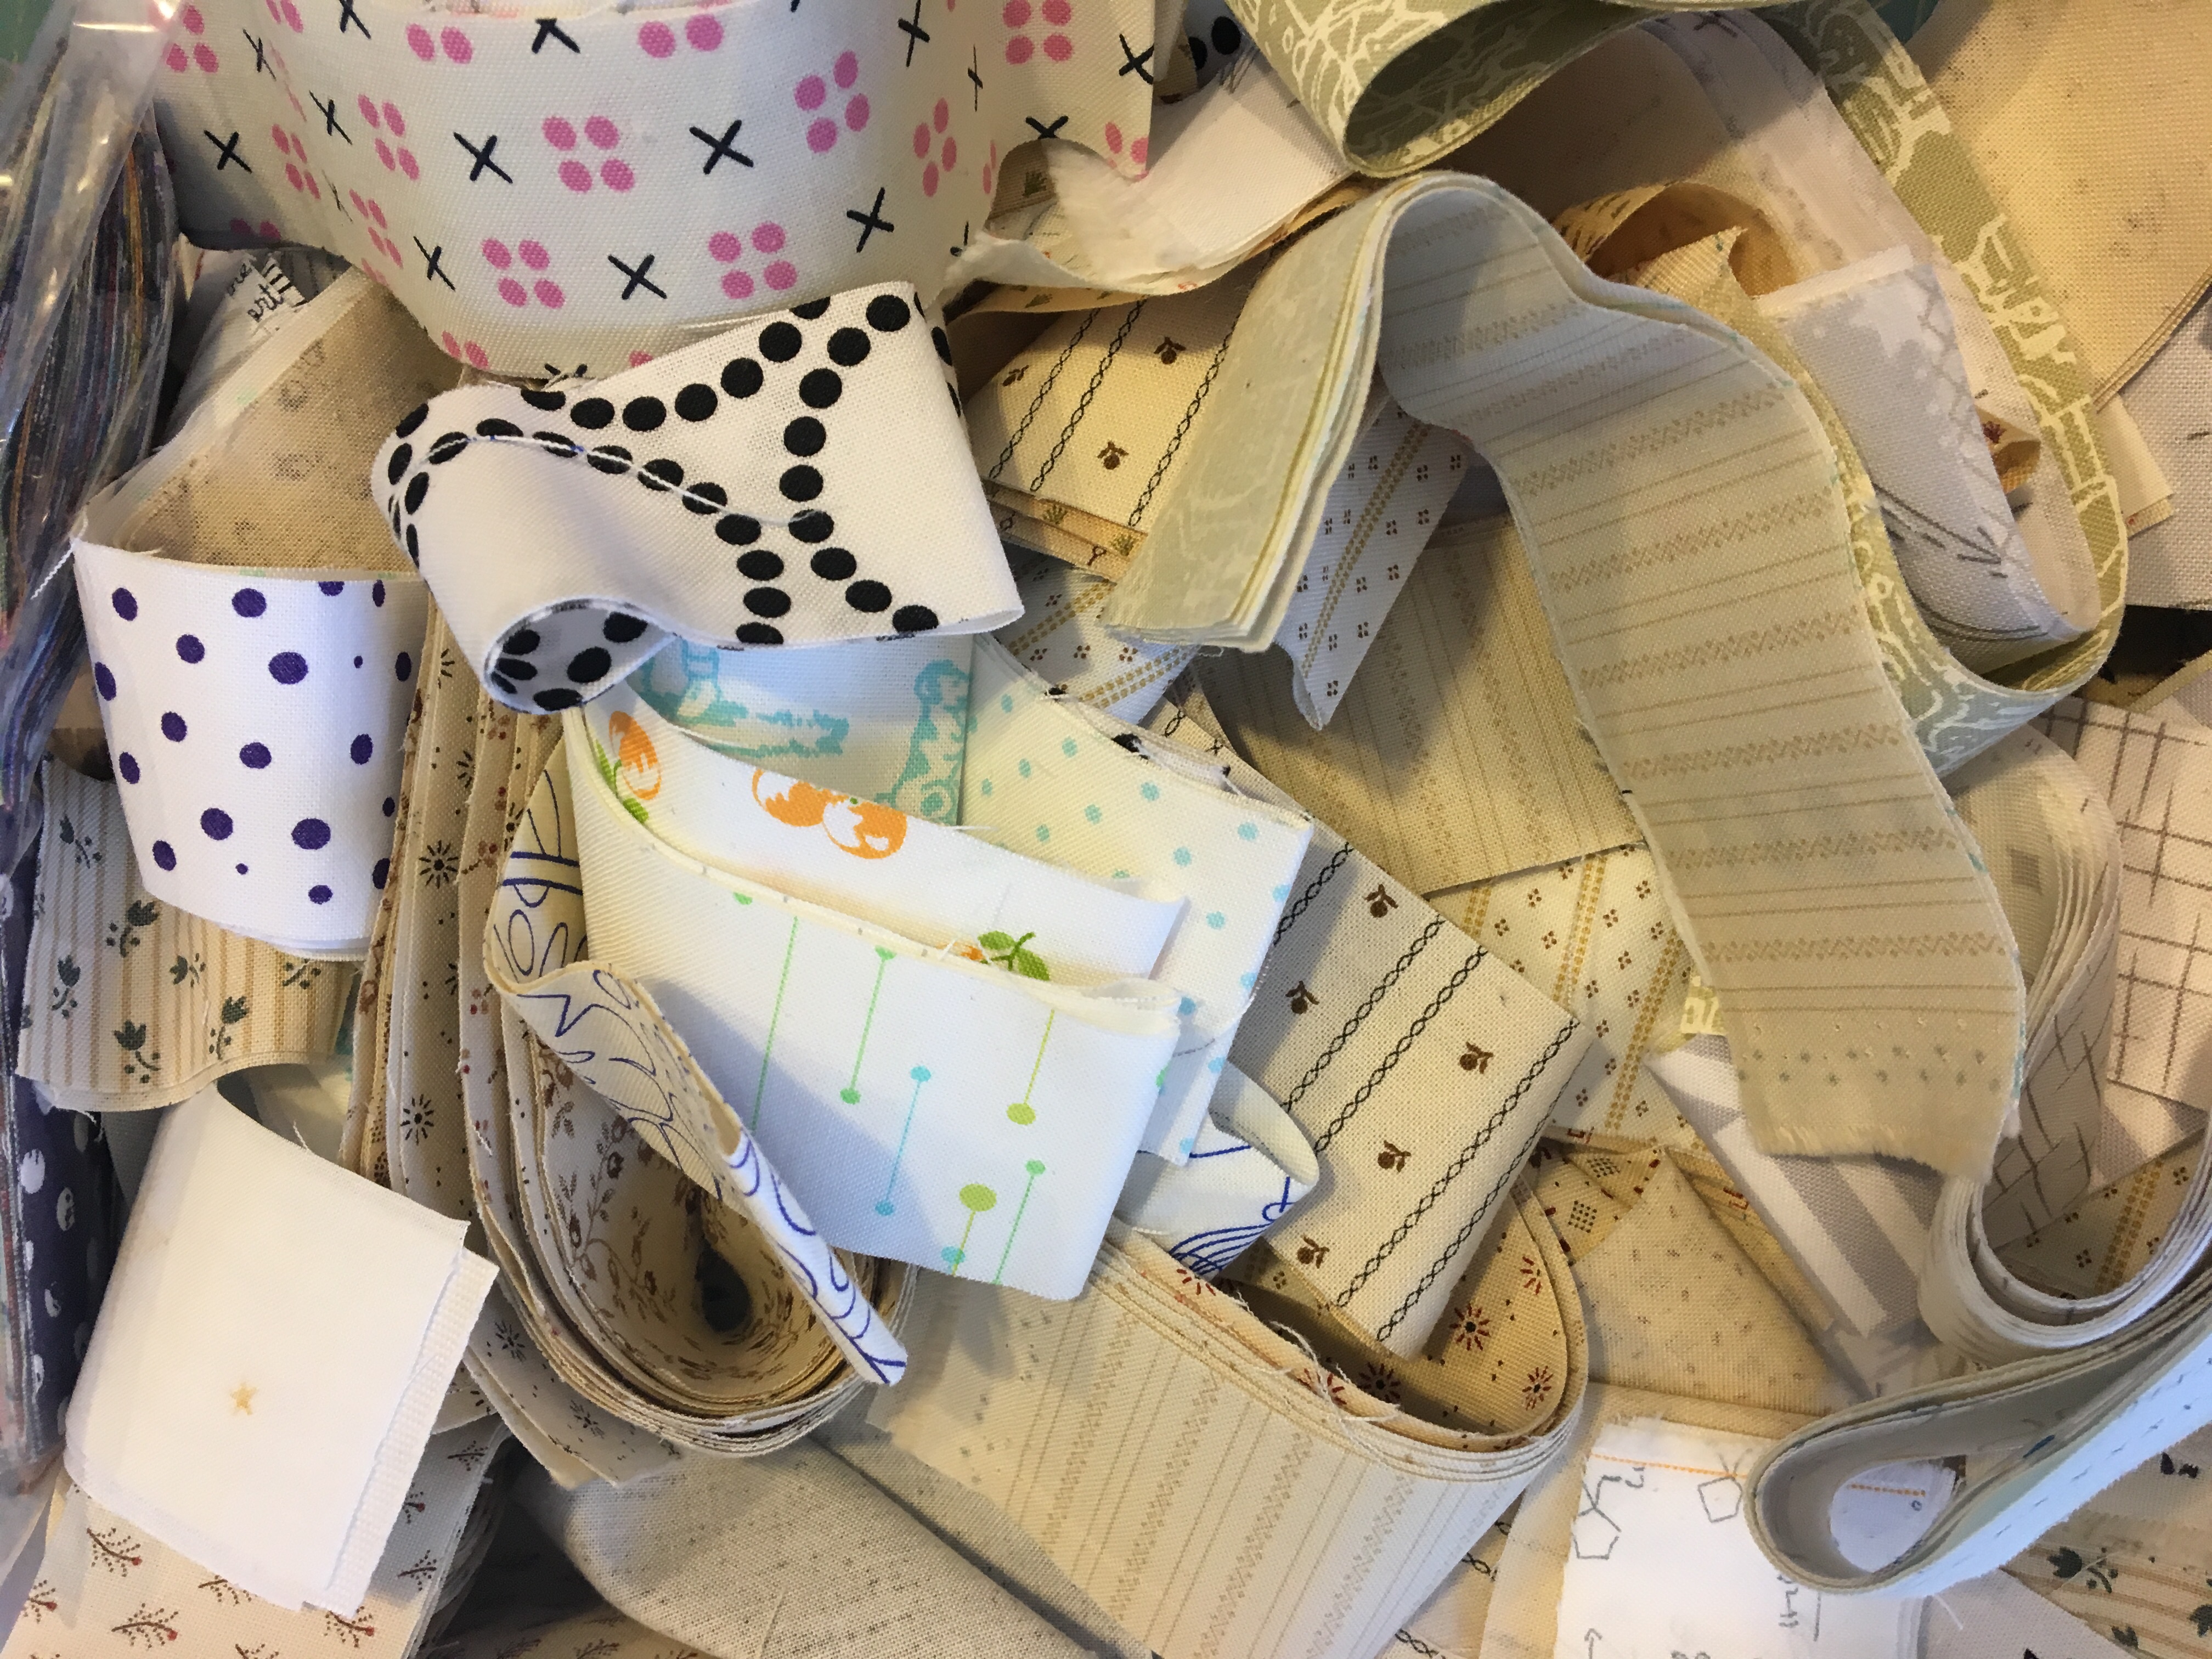
I am going to eliminate the current stash I have and turn it into a precut stash. I have evaluated the ongoing projects I have, and everything can be worked out of 1.5″ and 2.5″ strips or 5″ squares. So I’m going to go through my entire stash, and cut these preset sizes off of each piece, and put the rest of the stash in a donation pile. Then I will sort the precuts into light and dark bins.

I know this is not going to happen over night. My goal is to cut a little bit every day rather than try to tackle it all at once. I also want to go through and make sure there isn’t anything else to add – maybe a 2″ strip would be wise. At the end of this, my goal is to have my stash in a very manageable state that will fully support my projects, rather than a huge disaster that makes it difficult to find anything. It will certainly take up less space than it does now.

I’m learning how to be mindful in a lot of areas of life and it’s time to start being mindful with my stash.