I love binding quilts. It’s the last step before you can yell TA-DA! And hold up your finished project. Attaching binding has been a fairly straight forward process except the start stop point. I’ve tried a number of different methods, but they always were very obvious as the start/stop when looking at the quilt. At best, it was a straight seam instead of a bias seam, at worst it was a giant lumpy mess where there should have been a smooth transition.
A few years ago I learned how to get a bias seam that matched all my other binding seams so that you couldn’t tell which one of those seams was the start/stop of attaching the binding, and I get this effect without math or any kind of special tool so I thought I’d share it.
I prepare my double fold binding the same way for every quilt. It doesn’t matter how wide you make your binding, nor does it matter if you are using bias binding or straight of grain binding, this technique works the same way every single time. I hope you find this tutorial useful. This is the most ambitious tutorial I’ve written so far, and I’ve tried to include enough pictures to illustrate each point.
Hiding the start/stop point of the binding with a bias seam:
Start attaching your binding leaving about a 12″ tail of binding, and start in the middle of a site. For mini quilts, I start right before the corner as I need about 18″ of space on the side to make this technique work.

Attach the binding the whole way around the quilt, mitering the corners as you go. When you get back around to the side where you started, stop sewing leaving yourself about an 18″ gap with no binding attached at all.

Square up the end of the binding where you started leaving the tail about 9″ long

Cut the ending piece of binding so that it over laps the starting piece by how wide it is. I use the piece I cut off from the start as my guide so I don’t have to remember how wide the strips were cut for that particular binding. I actually make this cut just a tiny bit less than the width

Overlap compared to width of binding strip

Using the piece I cut off to gauge where to trim the ending piece

Next I open up both the start and ending binding strips and lay them right sides together at right angles. I find using two pins here is very useful, you will be sewing from the top outside corner of the top piece to the bottom inside corner of the underside as shown in the picture below.

Binding pinned right sides together ready to sew together with a bias seam.
Once the seam is done, I take the pins out and before I trim anything, I smooth the binding flat to make sure the seam goes the right direction and that I don’t have a twist in either piece.

Binding smoothed out to confirm seam is correct and there’s no twist.
Trim the seam so that there is only a 1/4″ seam allowance left.

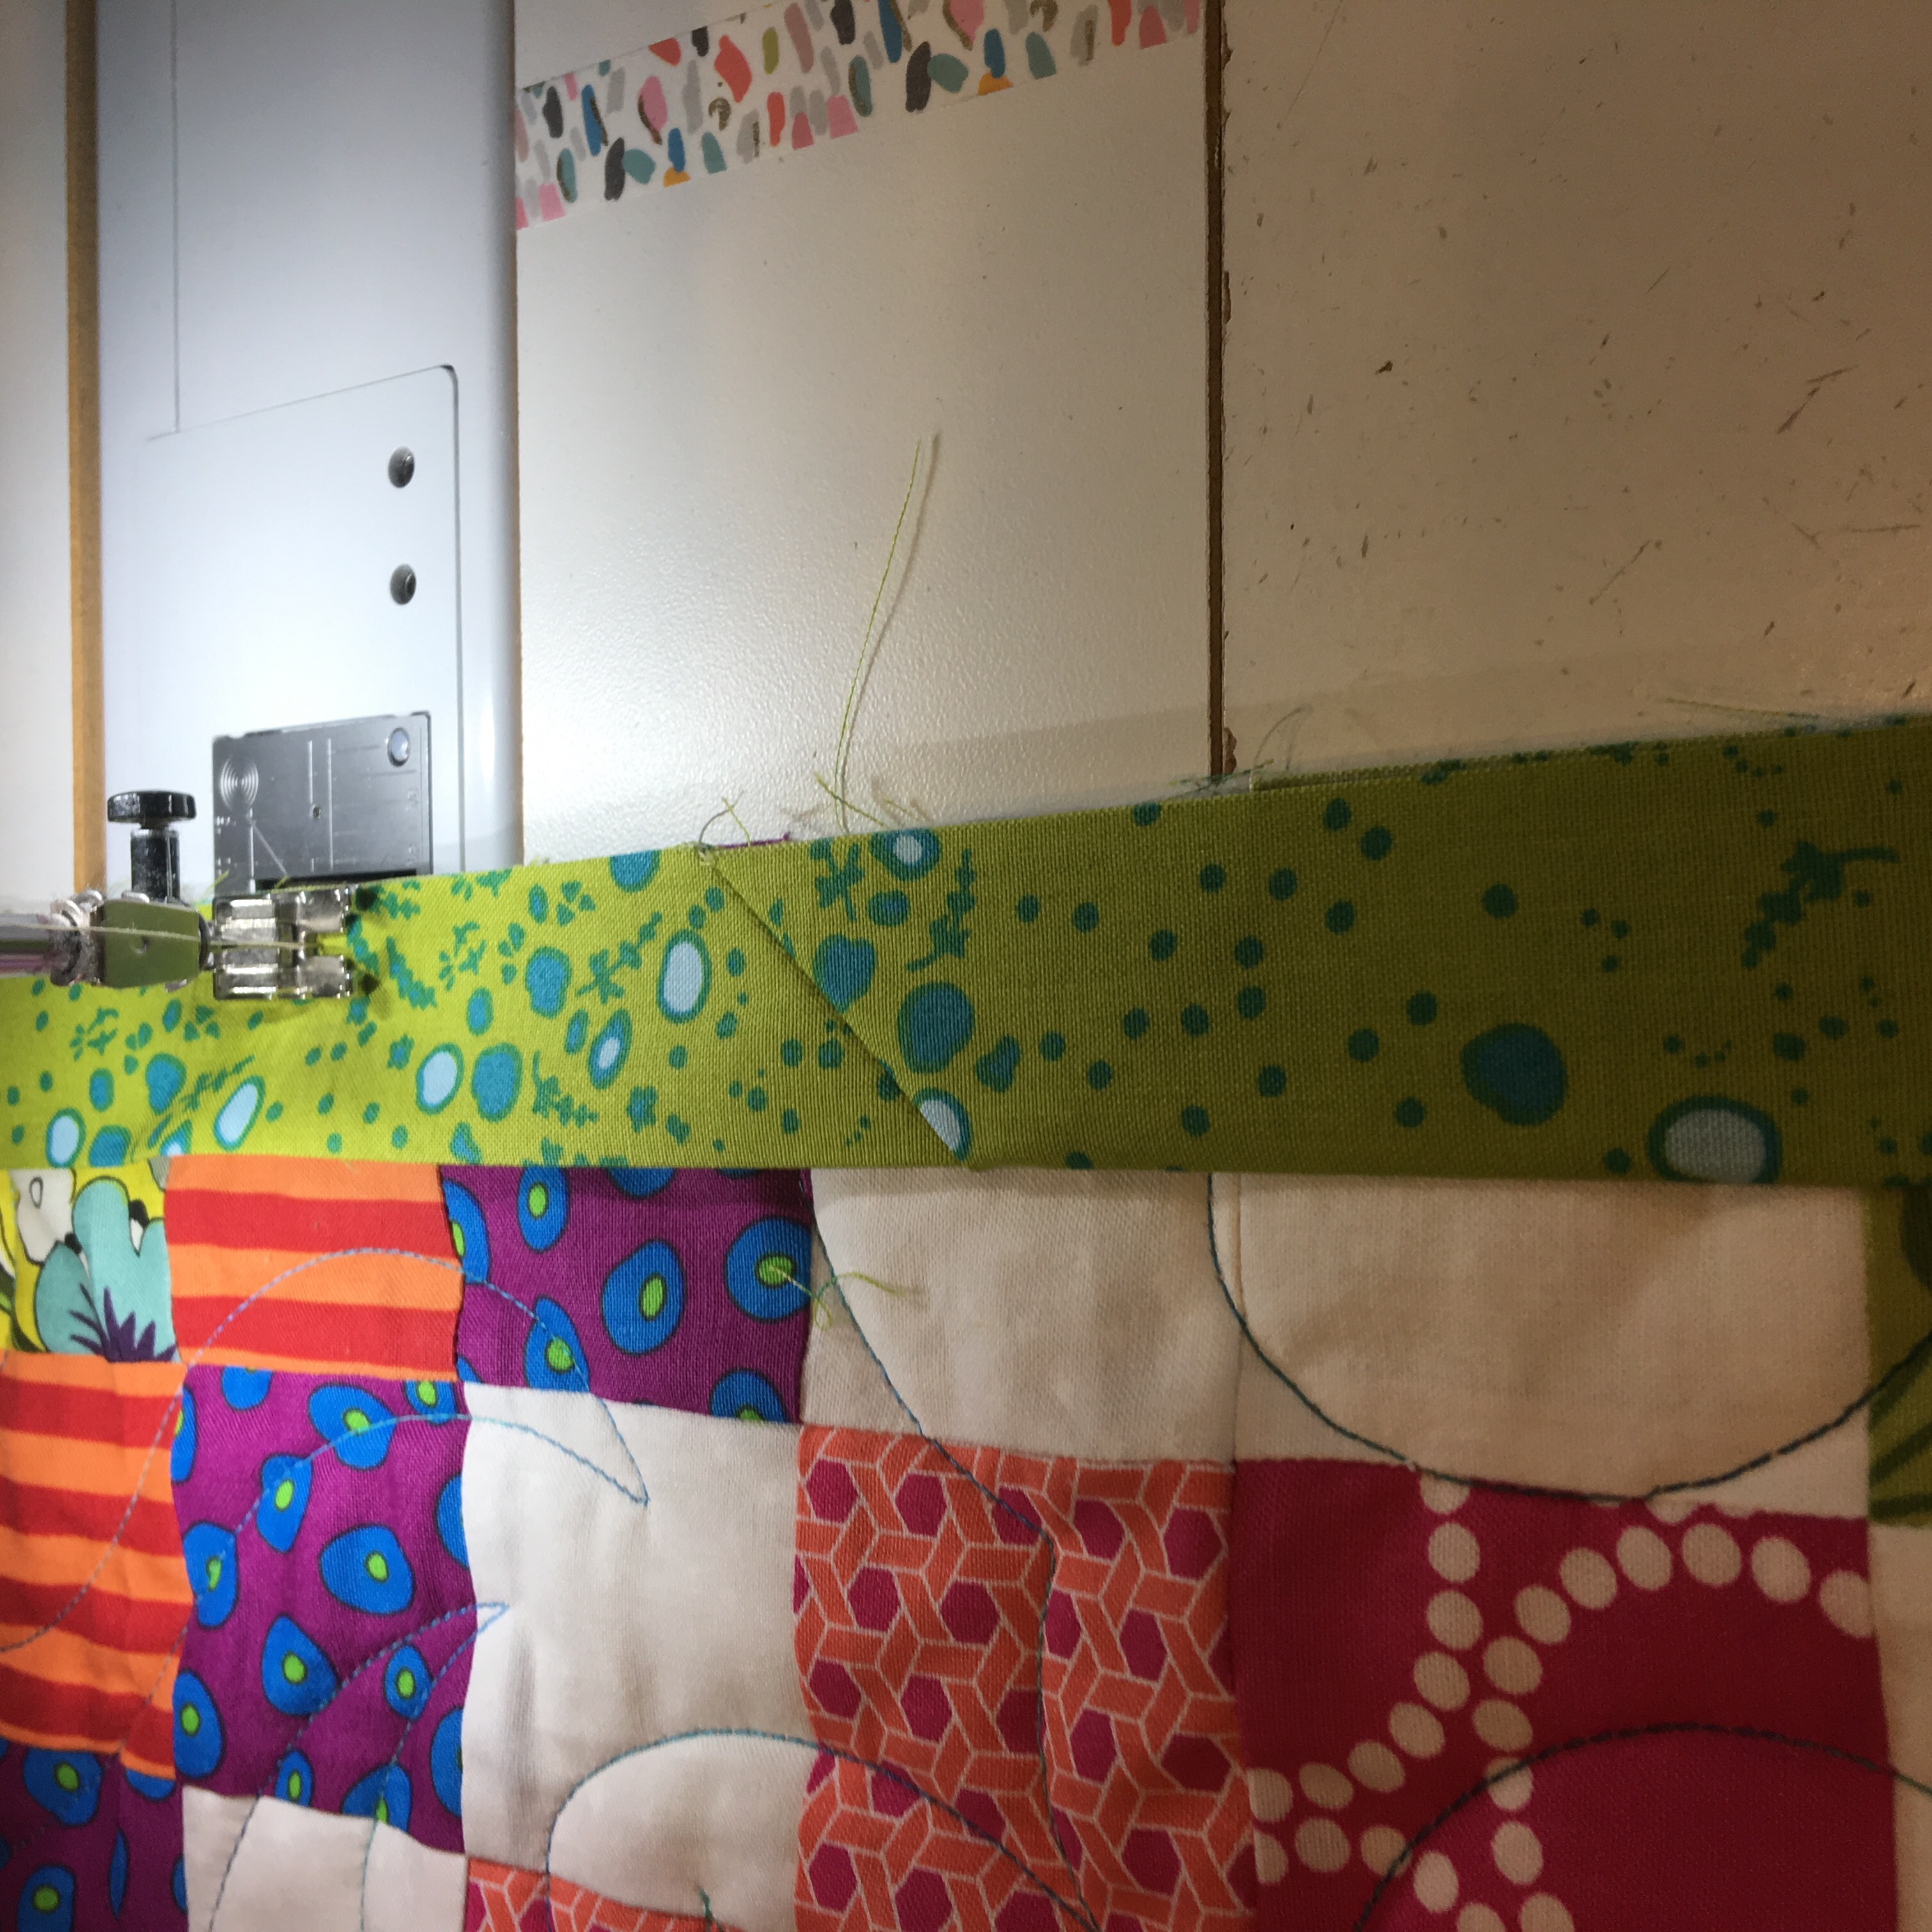
Smooth the binding out so that it is folded and lays flat and attach the remaining gap to the quilt top. The start/stop point of the binding will now be a bias seam just like all the other seams in the binding.

Start/Stop bias seam for continuous binding.


You must be logged in to post a comment.