One of the great ironies in my life, is that I’m a quilter who hates to iron. I purchase my clothing, quite often, based on its ability to be wash and wear right out of the dryer. To then take up a hobby that has an iron as an integral tool is very amusing to me.
Let’s take a step back for a minute and talk about the difference between pressing and ironing. To most of the world those terms are used interchangeably but they are not exactly the same thing. Ironing involves moving the iron to smooth out creases in the fabric. Pressing is placing the iron and allowing the heat and pressure to usually set a crease. I iron my fat quarters before I cut them, but I press my seams once I finish sewing
This distinction can really make a difference in what you are doing. In the case of a really long seam, like sewing together two 2 1/2″ strips, ironing the seam open can really cause it to go wonky. Subsequently, when I cut it into smaller pieces they will not be square. Instead, if I finger press the seam open first then press firmly with a hot iron, I can keep the strip set very straight and square, so the pieces I cut from it will also be straight and square.
I mentioned something else here – finger pressing. Using just the pressure of my fingers to get the fabric going the way I want it to go before I use the iron. I tend to always iron my fabric with something like Mary Ellen’s Best Press first, so when I finger press, I can get a pretty good crease going just with my fingers. I’m not having to use the weight of the iron to force the fabric around and since it’s already headed in the right direction, I can just press the seam into place. Very handy and makes my piecing much more accurate.
Now that we’ve covered ironing and pressing, the next big question is which direction: open or to one side. My answer is it depends. I’m a big it depends kinda quilter. There are very few things in quilting that I think are absolutes. Most of the time it depends on what you are trying to accomplish and I chose the method that is going to best support what I’m doing.
Back when I started quilting, the rule was you pressed both seams to the same side, always behind the darker fabric so the seam allowance wouldn’t show through the front. There were times I had so many layers of fabric that I thought I would need a rubber mallet to mash it all into something manageable. Those thick layers of seam allowance can cause all kinds of issues – broken needles and wobbly seams just to name a few. All so that there isn’t a little shadow of a seam allowance behind the light fabric.
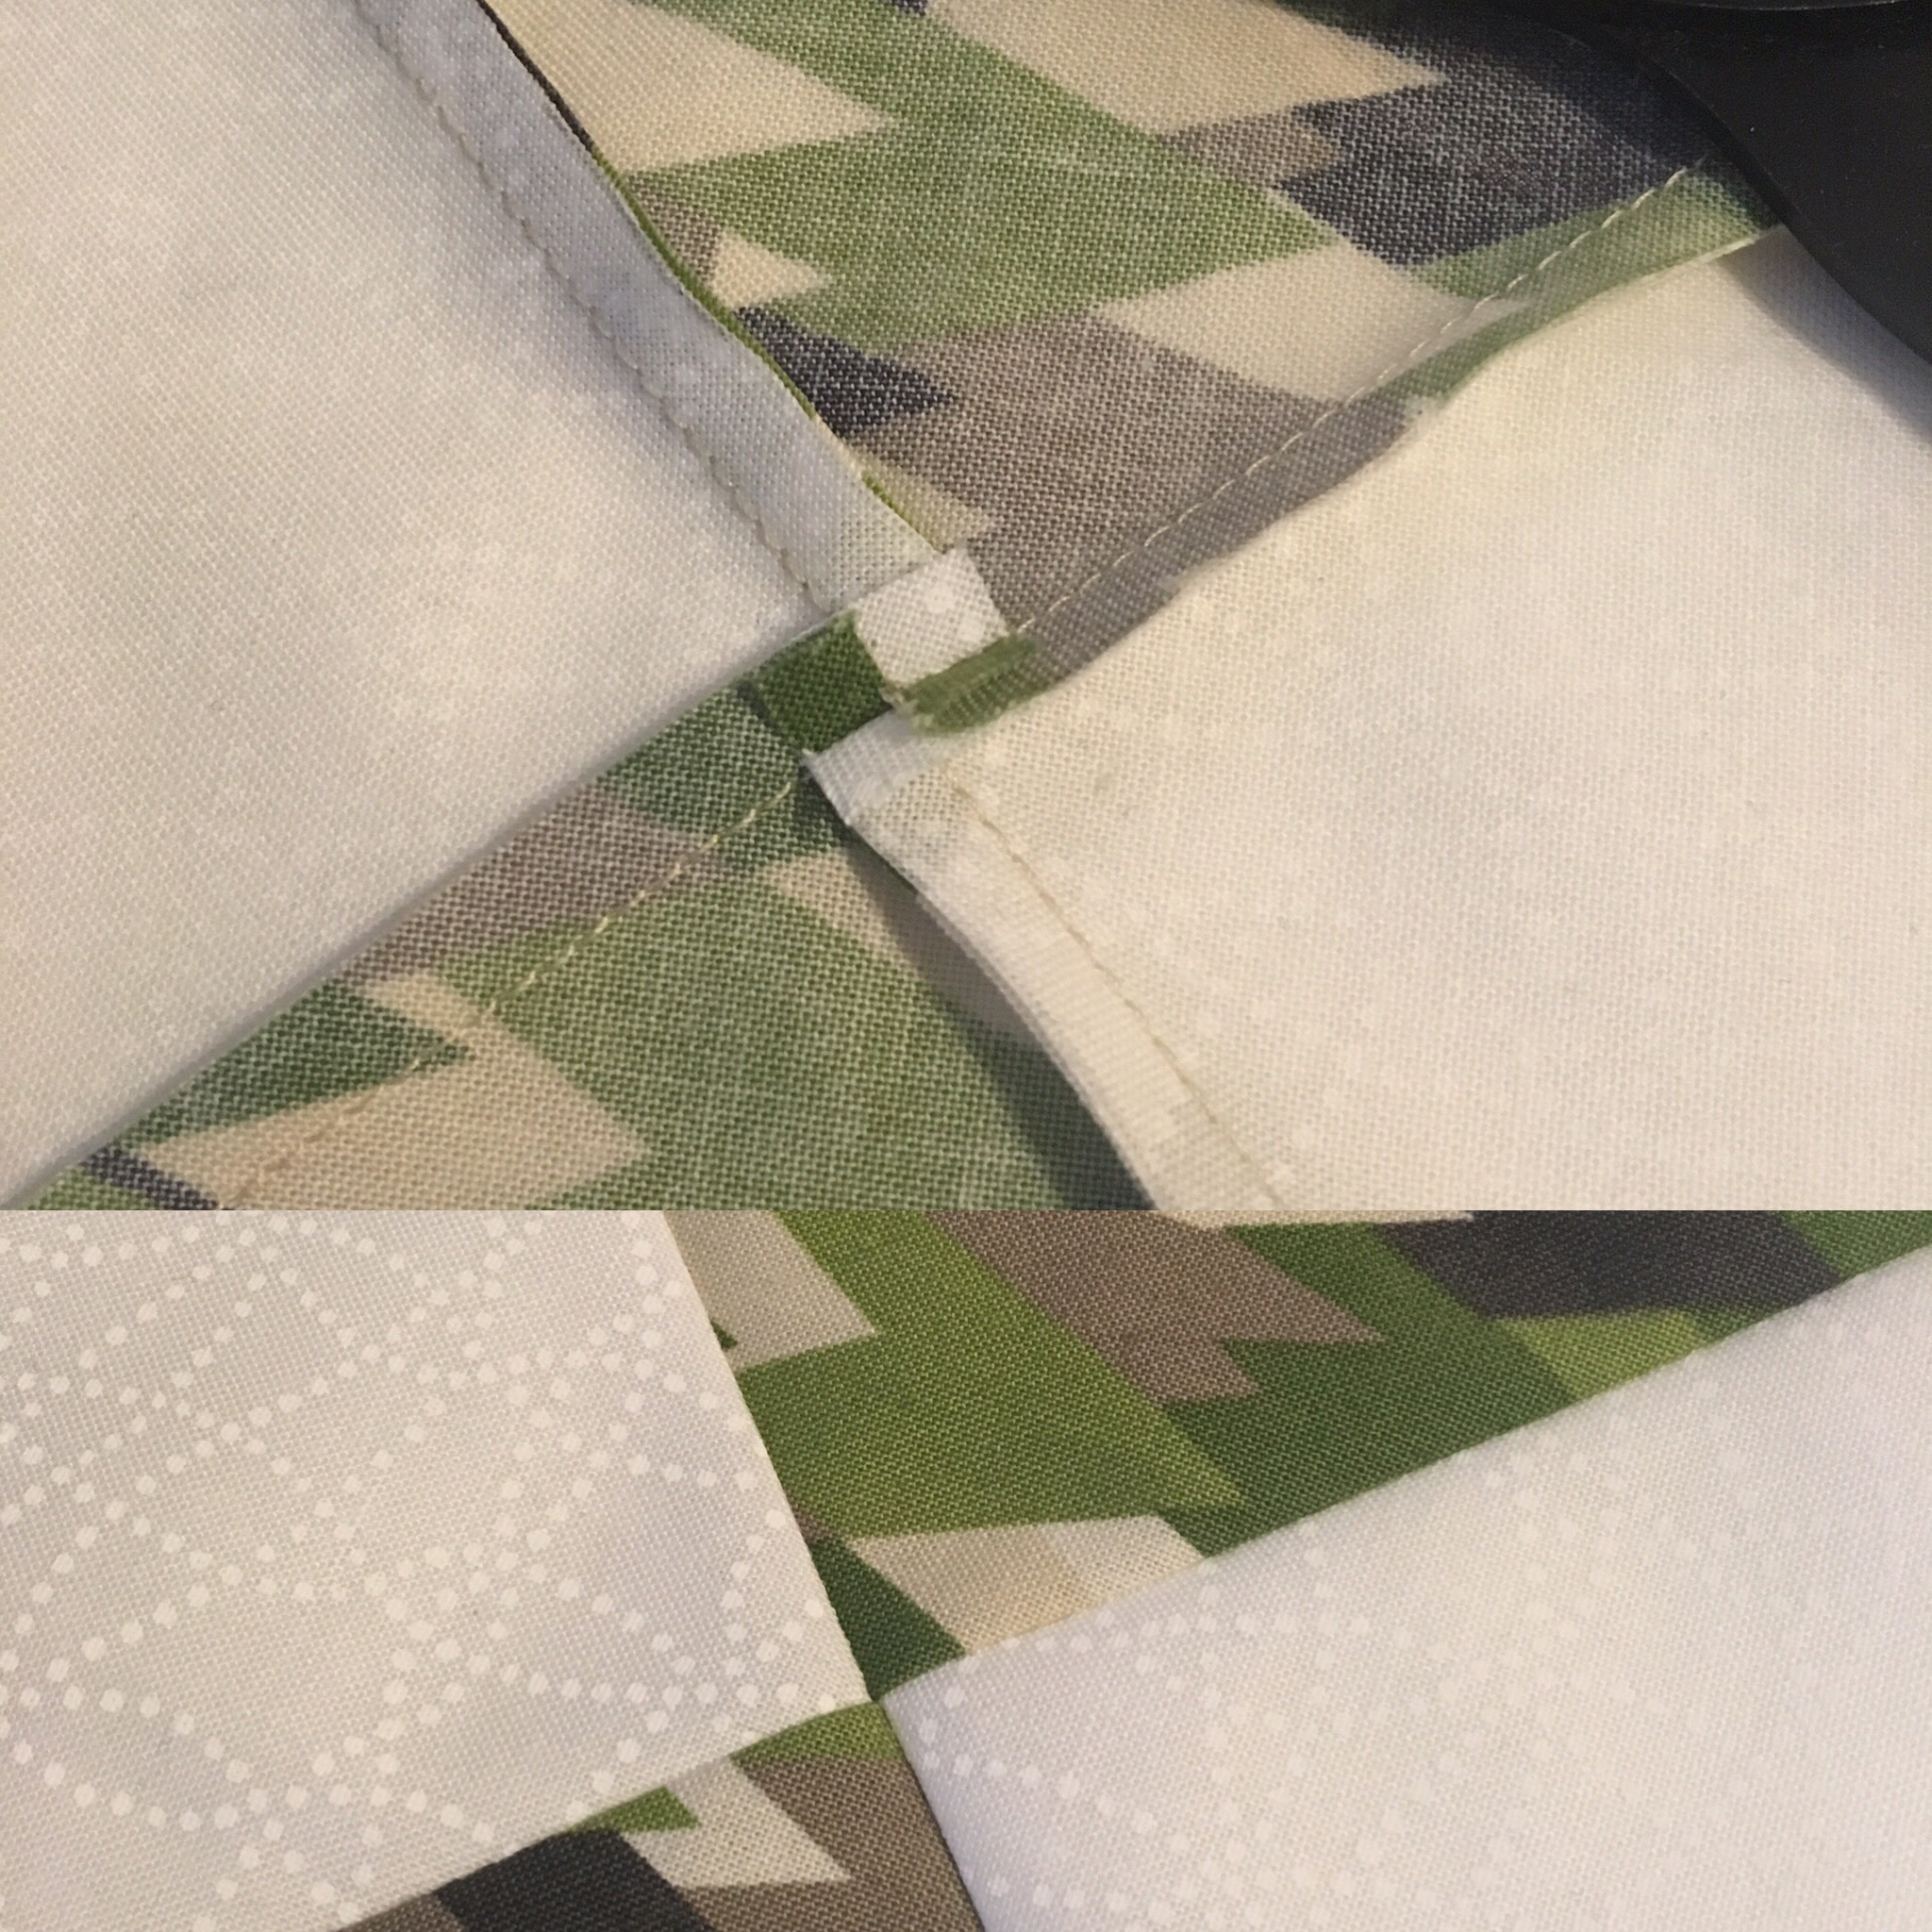
Lately I have really been branching out. First up, I learned how to spin my seams from Bonnie Hunter (tutorial here http://quiltville.blogspot.com/2005/06/spin-those-four-patch-seams.html) I’m still pressing both seam allowances to one side, but then the crossing seam is pressed so that there is not a giant lump in the middle. No the seams don’t always go behind the dark fabric, but my blocks sure do lay much flatter and are much happier under my long arm needle.
The last 4 years, I’ve started pressing more and more seams open, especially when a lot of little seams come into the same place, it can help even more distribute the bulk. Again I get flatter seams and happier long arm needles in the process. With both of these techniques, I finger press first to get things started before taking to my iron to press firmly in place.
I try to look at a pattern I’m going to do and think about my pressing plan before I get started. Certain styles of blocks I’m developing a go to plan. For example, 4 patches, I always spin my seams now. Half square triangles, I press the seam open. Not because there’s a lot of bulk in the HST itself, but because usually the blocks I’m going to make with the HSTs will have a bunch of seams coming together in one place (like at the center of a pinwheel block) and pressing the HST seams open to start with will result in less bulk in the final block setting.
So on your next project, spend a couple of minutes evaluating these pressing matters, you might really like the improvement in the finished product.


