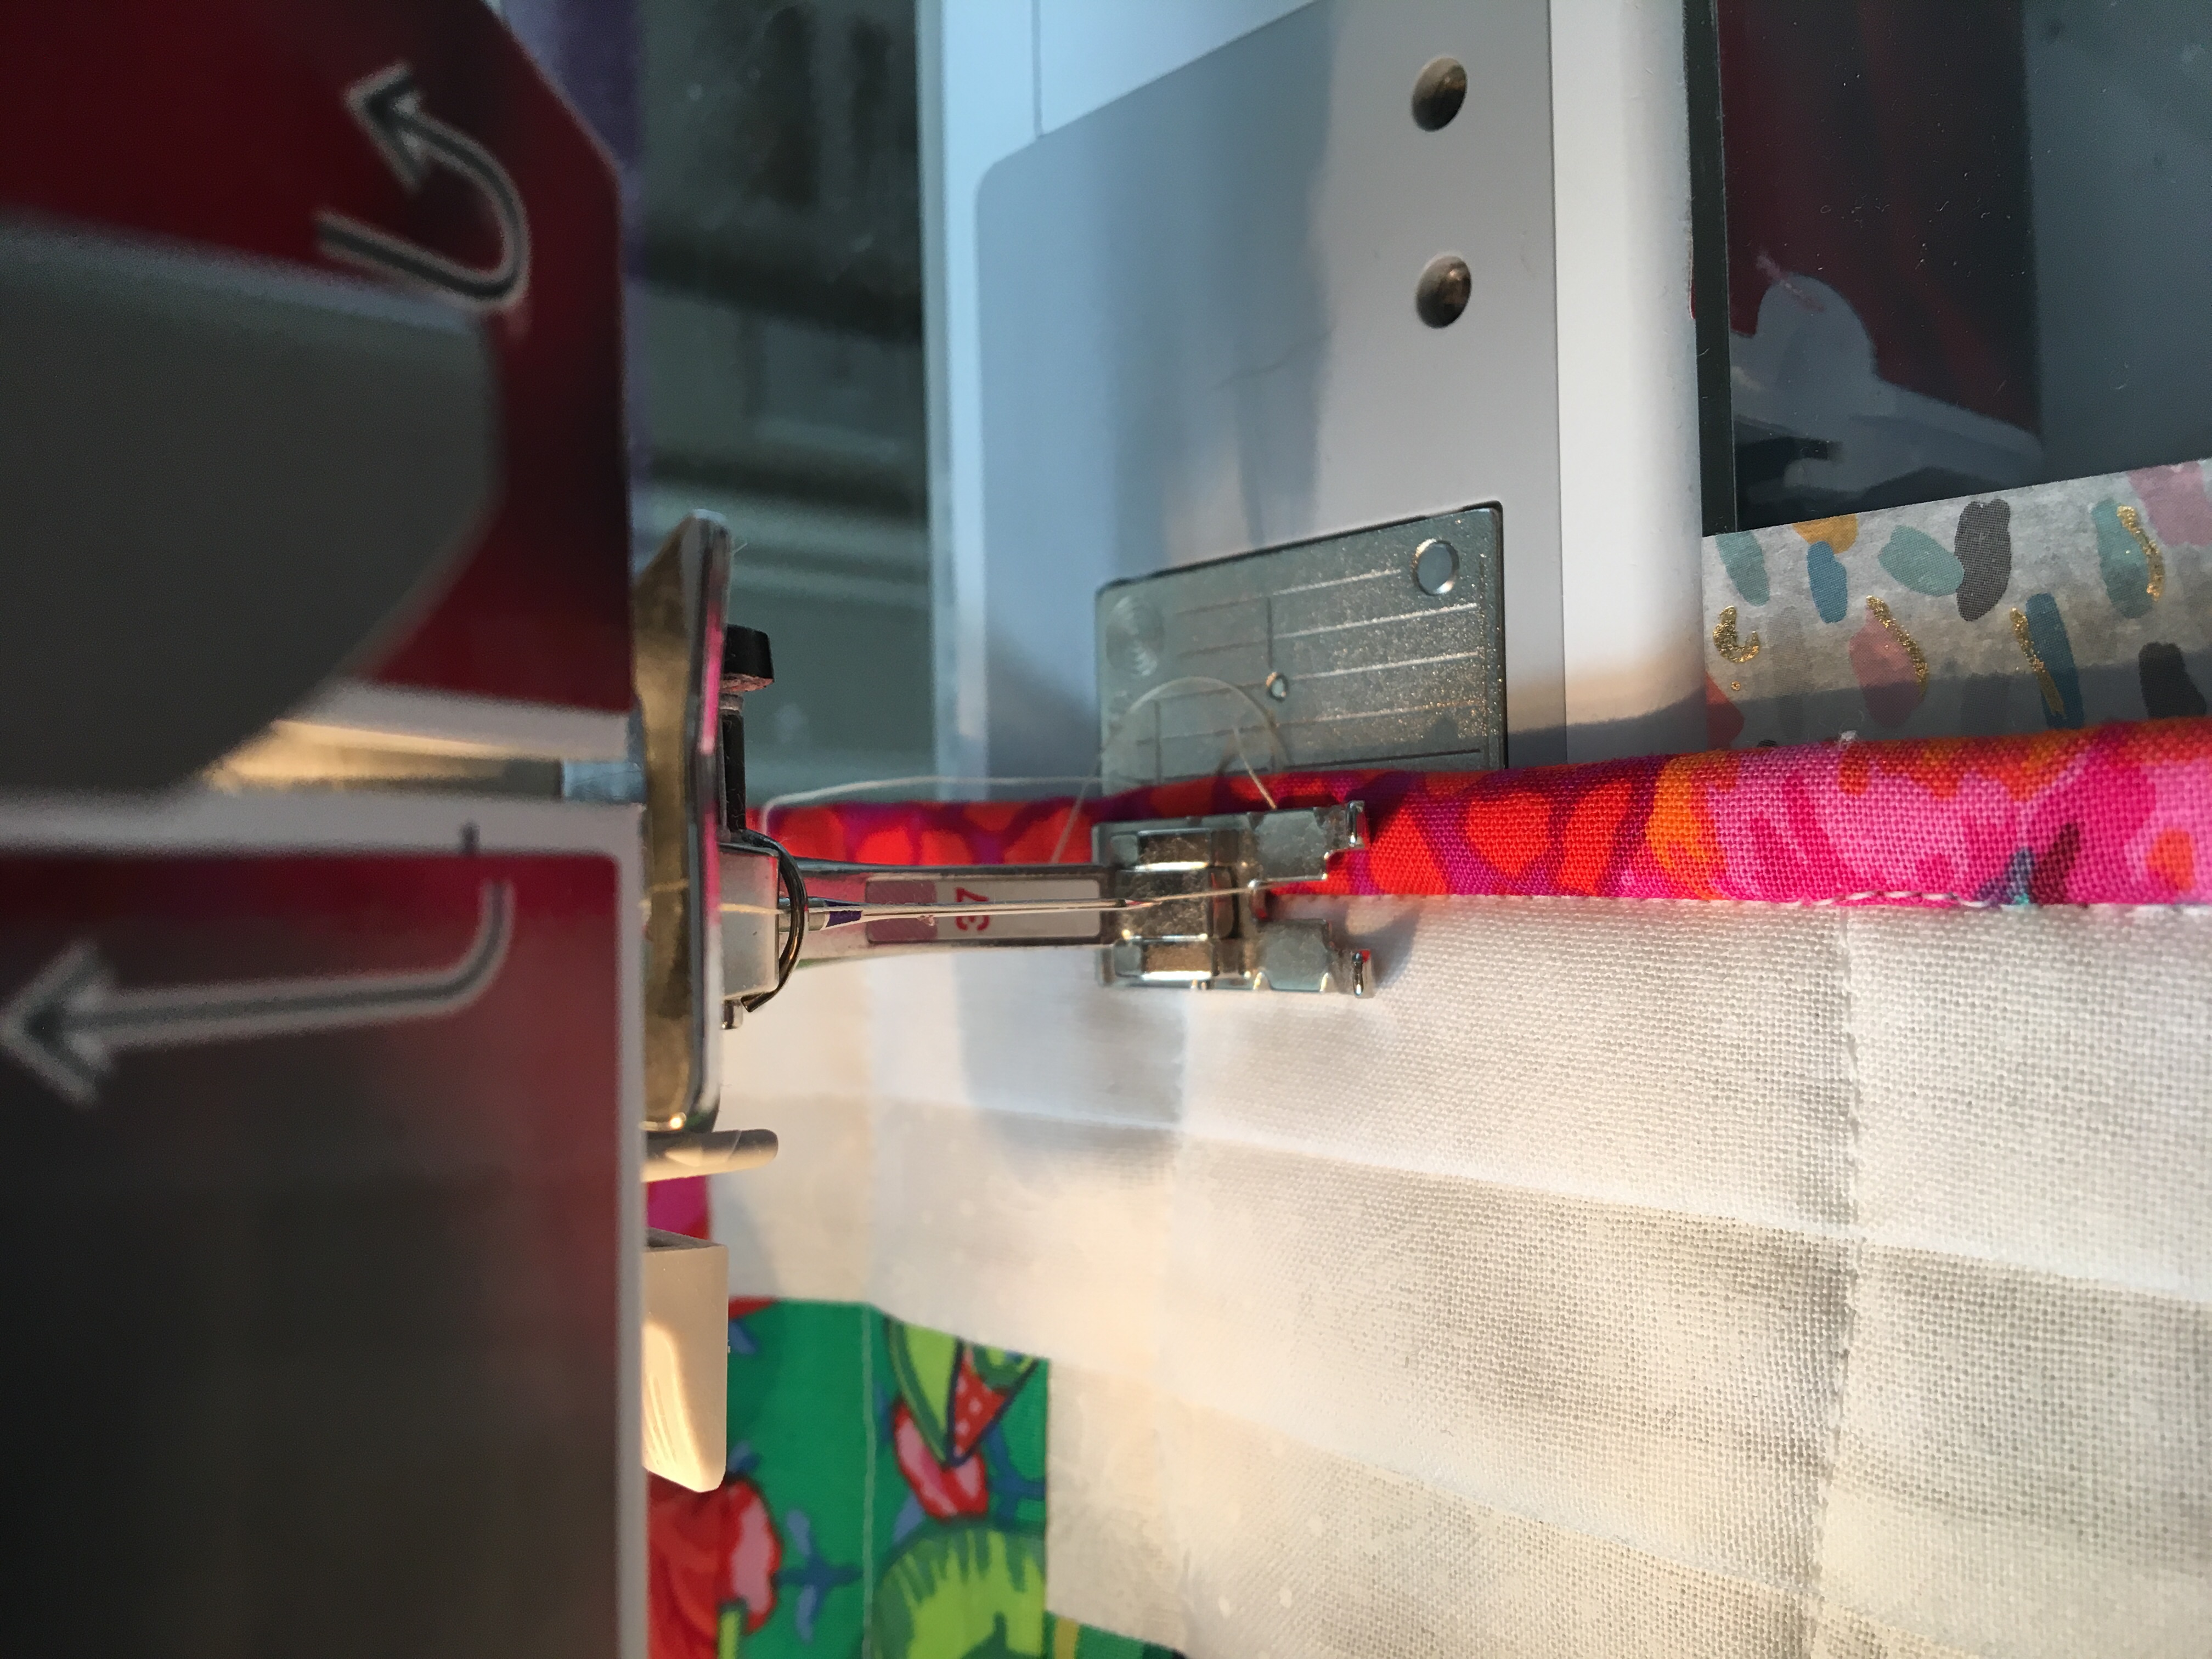
One of my favorite parts of the quilting process is binding the quilt at the end. I’m sure it’s because binding signals another completion (something that was very rare in my early quilting days). You can’t do the binding out of order, you can’t do it first because it’s your favorite part, it has to be the last step (not counting a label possibly) so it represents completion on a big scale.
That being said there are several methods of binding a quilt. In the 20’s and 30’s it was very common to fold extra backing fabric around to the front for the binding. In the late 1800’s double fold binding was popular because men’s stubble wouldn’t rub a hole in it so fast, In fact, many quilts had an extra bear guard sewn across the top of the quilt where it would encounter the people sleeping under it. Lately we have a multitude of options including binding with piping and binding with a faux flange built into it. Binding is usually first stitched on by machine, though I know a number of long arm quilters who attach the binding while the quilt is still loaded on the long arm. I am not good enough at a regular 1/4″ seam with my long arm so I prefer to do this step on my machine. After that, it’s up to the quilter whether to finish the binding by hand or machine. I let the use of the quilt dictate the finish style.
For any quilt that I am planning to put in a show, OR if the quilt is small enough like a table topper, I will finish the binding by hand. I enjoy hand work, and I like how the binding is invisibly attached when it is finished by hand. It looks the same on the front and back of the quilt, with neatly mitered corners, producing such a clean finish. For binding I am going to finish by hand, I cut strips 2″ wide and finish them for double fold binding.
Quilts that are going to be laundered heavily or used as bedding, I am actually getting to prefer finishing my binding by machine. I still stitch the binding on to the front of the quilt, but then I fold it to the back and finish by stitching in the ditch on the front. This binding I cut 2.5″ wide and fold for double fold binding. The stitching on the back is fairly even, and the wider strip gives me enough room to make sure I catch the binding on the back in the sewing machine stitch. This method wears very well and from the front of the quilt, doesn’t look any different than binding I finish by hand. On the back there’s just a wider piece of fabric with a seam down it. I know this method of finishing will hold up well to a lot of washing.
I have seen faux flange binding where a contrast piece of fabric is sewn onto the binding so that when it’s pressed in half, it looks like a flange was put under the edge (the contrast piece is cut wider than the binding piece so that when the whole thing is pressed in half, some of the contrast shows). In this method, the binding is attached to the back of the quilt first, then the binding is top stitched from the top of the quilt right along the ditch of the flange. This method usually makes the binding wider on the front than standard 2″ double fold binding but it’s a very decorative look. There are a number of blog tutorials if you google “flanged binding tutorial”, but I am impressed with the one from Sew Fresh Quilts ( https://sewfreshquilts.blogspot.com/2015/01/flanged-binding-tutorial.html ) I’m looking forward to giving this method a try on my next quilt, curious to see how it goes.
No matter what method you use, the binding is the finishing touch to the quilt. I like to think of it as the frame on the picture, sometimes it can be really fancy to enhance the picture and other times I want it very subdued or even made out of the same fabric as the border of the quilt so the binding is almost invisible.


